•Propagating Task Changes from Planned to Scheduled
This article describes the steps necessary to create samples in a planned or scheduled task. This process requires that the contract information for the Plan be complete, as described in Setup Contracts. Separate steps are provided for creating samples that do not require parent samples ("Create Samples") and those which do ("Create Child Samples").
Create Samples
1.Open an existing planned or scheduled task by either double-clicking the task, or selecting it, then clicking Edit in the Planned Tasks group of the Plan ribbon. Or, add a new planned task per instruction in Add Planned Tasks.
2.Navigate to the Samples tab.
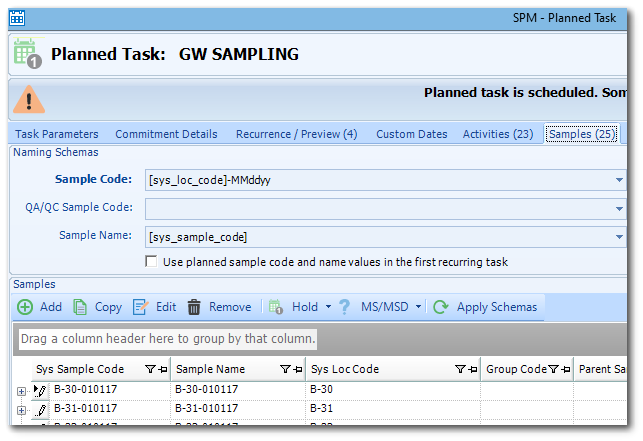
3.Ensure the Sample Code, QA/QC Sample Code, and Sample Name schemas are configured to the desired parameters, which are typically completed during Plan creation. Only the Sample Code schema is required.
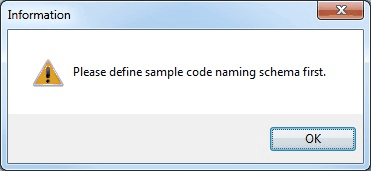
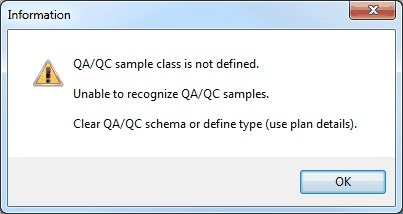
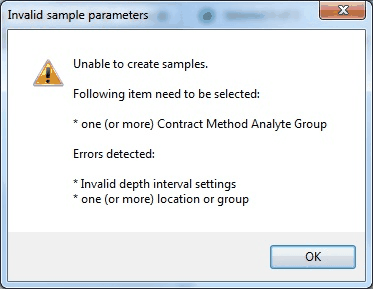
One of the following messages will be displayed if sample schema is not properly setup.
4.In the Samples section, click Add. A dialog will appear with sample types as defined in the RT_SAMPLE_TYPE table.
5.Select the desired sample type and click OK.
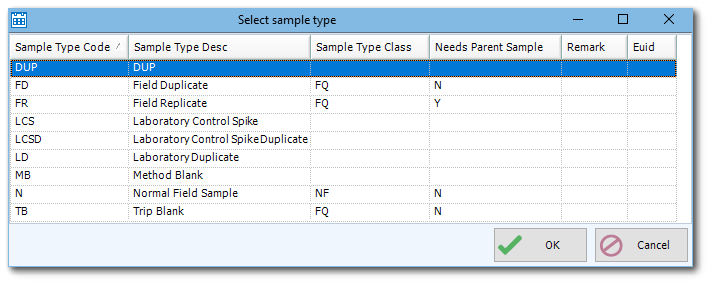
6.A new dialog will appear, allowing for the selection of sample parameters. Depending on the sample type, a different interface will be shown. Samples with Needs Parent Sample = Y will inherit sample information from their parent sample (see Create Child Samples section below for more details). For a standard sample, a new dialogue will open.
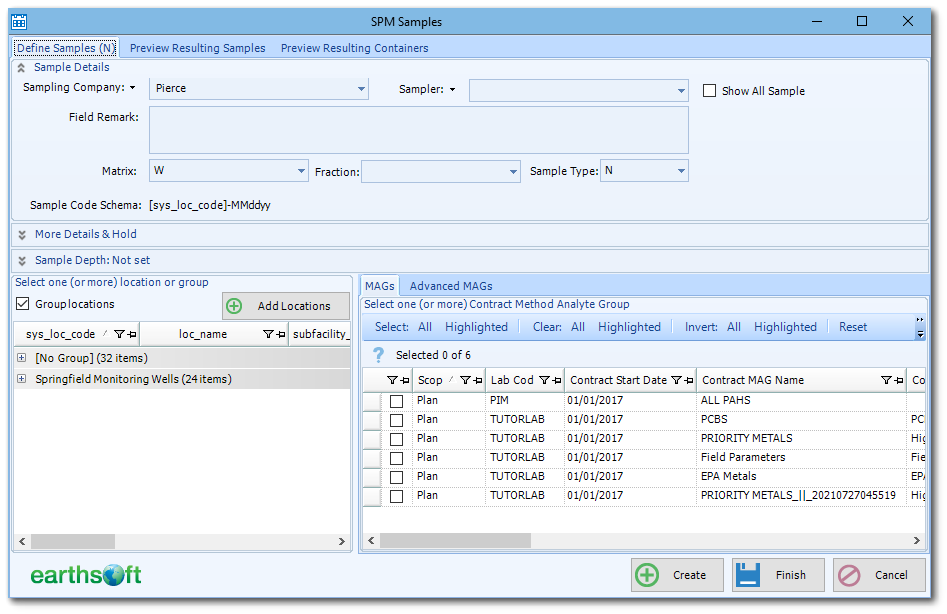
7.Enter sample data in the Define Samples tab as follows:
a.Sample Details (Optional) – Allows user to enter sample properties like Sampling Company, Sampler, Remark, Matrix, and Fraction or to change the Sample Type.
b.More Details & Hold (Optional) – Allows user to set additional sample details, like sampling method, medium and source, whether the sample is a composite, or is on-hold for analysis. Once on-hold is set, this property can be cleared or released in the samples list on either the Planned Task or Scheduled Task. Read Set Samples 'on hold' for more details.
c.Sample Depth (Optional) – Allows user to define depths at which the sample is to be taken. See Set Sample Depth for Planned Samples for more details on this option.
d.Select one (or more) locations or groups (Required) – When an entire location group is selected, users have the option to either create one sample per group, or one sample for each group member at the planned task level. A single location group sample will be processed during task scheduling, and will create a sample for each location belonging to the group.
Notes: •To plan samples whose locations may not be known until the sampling event is underway, it is suggested to create a virtual location to which samples can be assigned. More details on this process are described here: Plan QC Samples for Locations Chosen During Sampling Event. •Locations can be created from the Add Locations button if they are not available. |
e.Select one (or more) Contract Method Analyte Group (Required) – Select Contract Method Analyte Groups (MAGs) for sample analysis by lab or in the field (required). At least one MAG needs to be selected for sample creation. Use the Advanced MAGs tab to select a sub-list of MAGs.
8.Once optional sample parameters are entered and required locations and MAGs are selected, click Create. A message dialog will be shown with information of successful or failed sample creation. Examples follow:


9.Created samples may be previewed in Preview Resulting Samples. If Plan Contract information contains Method and Container information, resulting containers may be previewed in Preview Resulting Containers. The number of created records will be stated in parentheses in each tab.
![]()
10.More samples may be created by changing any of the information on the form (e.g., sample type, location/MAG assignment, etc.) and then clicking Create again, without the need to reopen the form.
11.To complete sample creation, click Finish.
Create Child Samples
Some sample types require parent samples (e.g., Field Duplicates). These samples will show as Needs Parent Sample = Y in the Select Sample Type window that appears when a new sample is created. They are created from an existing parent sample as follows:
1.Open an existing planned or scheduled task by either double-clicking the task, or selecting it, then clicking Edit in the Planned Tasks section of the ribbon.
2.Click the Samples tab.
3.Highlight an existing sample in the list that will be the parent sample to the samples that will be created.
4.On the Samples toolbar, click Add.
5.When prompted, select the desired sample type, then click OK.
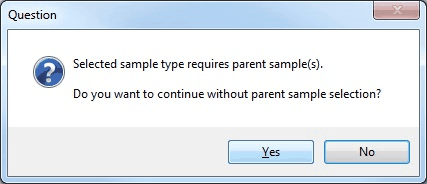
Notes: •If the sample code naming schema would not generate a unique sample code for this sample, the sample code will be obtained by appending the selected sample type to parent's sample code. •If no sample is selected previous to this step, SPM will display the following message, asking for confirmation of sample creation without a parent.
|
|---|
6.Review the resulting samples/containers in the window that appears. By default, each child sample inherits sample details and assigned MAG(s) and containers from its parents.
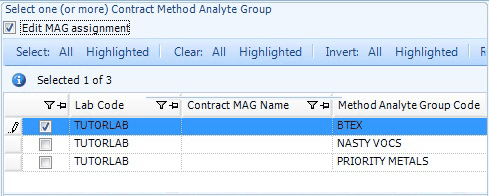
7.(Optional) To override MAG assignment (which can result in container change):
a.Click Parent Samples tab.
b.Check Edit MAG assignment.
c.Modify MAG assignment as needed.
8.To complete sample creation, click Finish.
Sample Naming Schema Changes
When changes are made to any sample naming schemas (e.g., Sample Code, QA/QC Sample Code, or the Sample Name), the Apply Schemas button is to be used, if these changes are to be applied to all the existing samples.

Propagating Task Changes from Planned to Scheduled
When a planned item change is made to a planned task and there are scheduled tasks, the planned task item change can be propagated to already scheduled tasks. Please read the Propagating Tasks Changes from Planned to Scheduled topic.