New locations may be created in SPM without having to go back to Professional. There are two ways to open the Create Locations window:
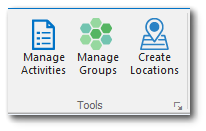
1.Select the Create Locations button in the Tools group of the Plan ribbon.
After the SPM - Create Locations window opens, specify the following:
•Location type.
•Number of locations to create.
•Starting number of the first location.
•Zero Pre Fill Count, which adds leading zeroes to the location number. See the example below.
•Location naming schema. Use the predefined schema or enter a new one by typing into the box.
•(Optional) Location depth and depth unit. Location depth is used for creating samples at different depths. More information is available in the article Define New Samples at Different Depths.
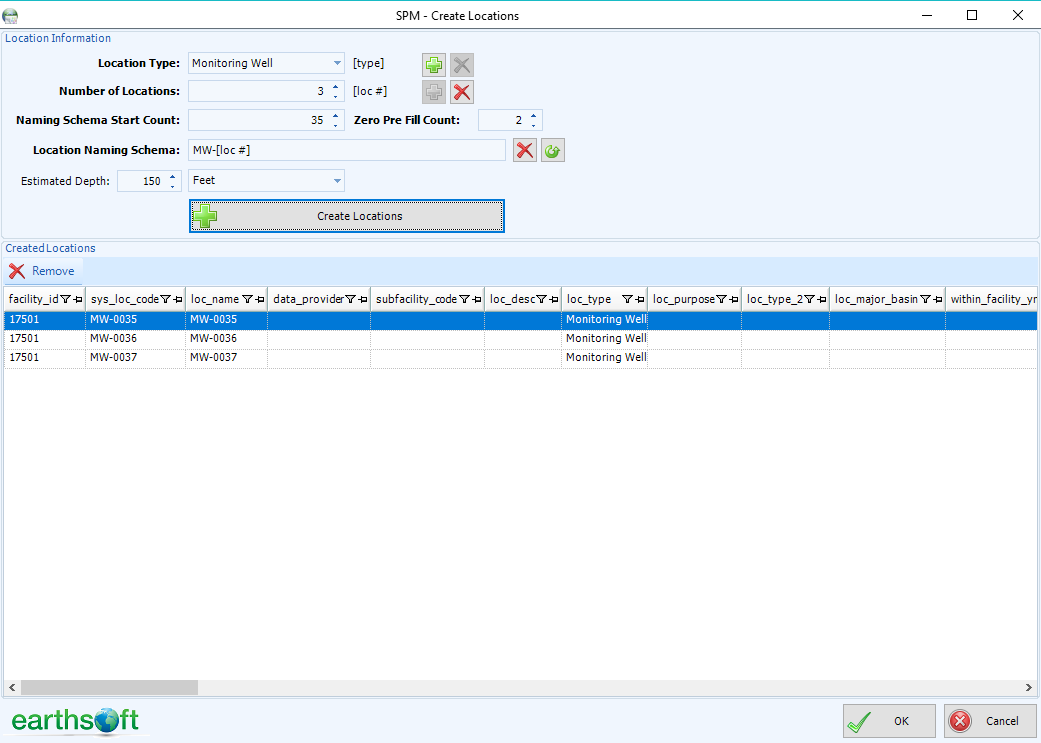
Once the required parameters are entered, click Create Location to generate locations. In case a duplicate location is created, SPM will prompt you to address the conflict.
Multiple location batches can be generated without closing the screen.
To finalize location creation, click OK. To discard created locations, click Cancel.