A batch processing tool is available to facilitate migration of numerous data sets (i.e., many source data files with the same data structure). The following steps detail how to create EDDs using the EQuIS Link batch processing tool.
1.Open EQuIS Professional and select EDP ![]() from the Import group of the Home ribbon. Professional EDP opens in a separate window.
from the Import group of the Home ribbon. Professional EDP opens in a separate window.
2.Load the desired format file (e.g., Geotechnical.zip) to use as the target sections and fields in the EDD. Load a format file by selecting the Format button ![]() located in the Open group of the Home ribbon.
located in the Open group of the Home ribbon.
3.Load the desired mapping project template. Select the Link ribbon and click the Open button in the Project Group. In the Open File window, browse to the folder containing the desired mapping project template file. Select and Open the file to load the data mappings.
4.Click the Batch Process button in the Tools Group.
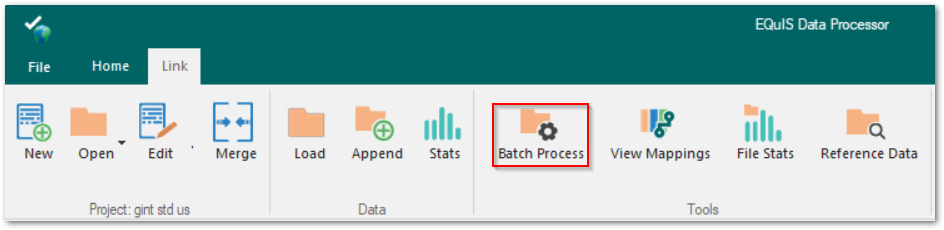
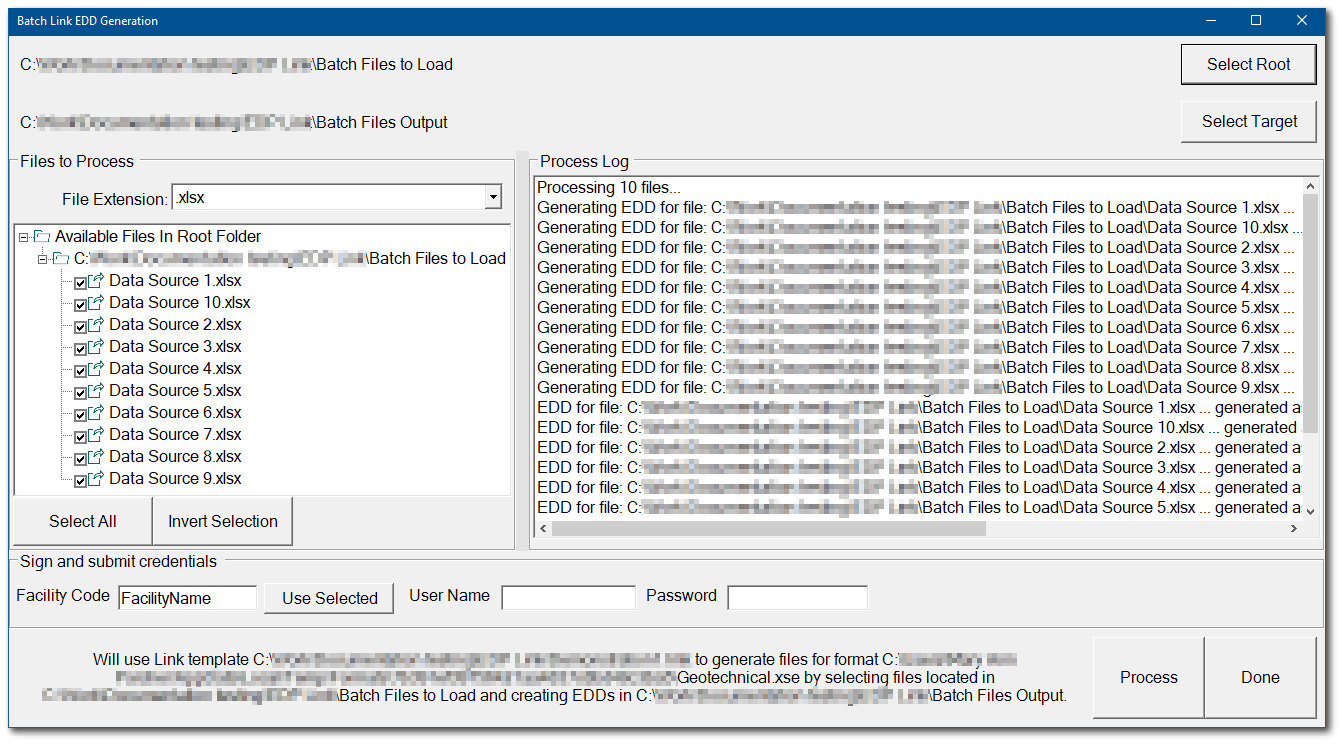
5.The Batch Link EDD Generation window opens.
6.Click the Select Root button to set the file directory path to the location of the source data files.
7.Click the Select Target button to set the file directory path to save the EDDs created during the batch process.
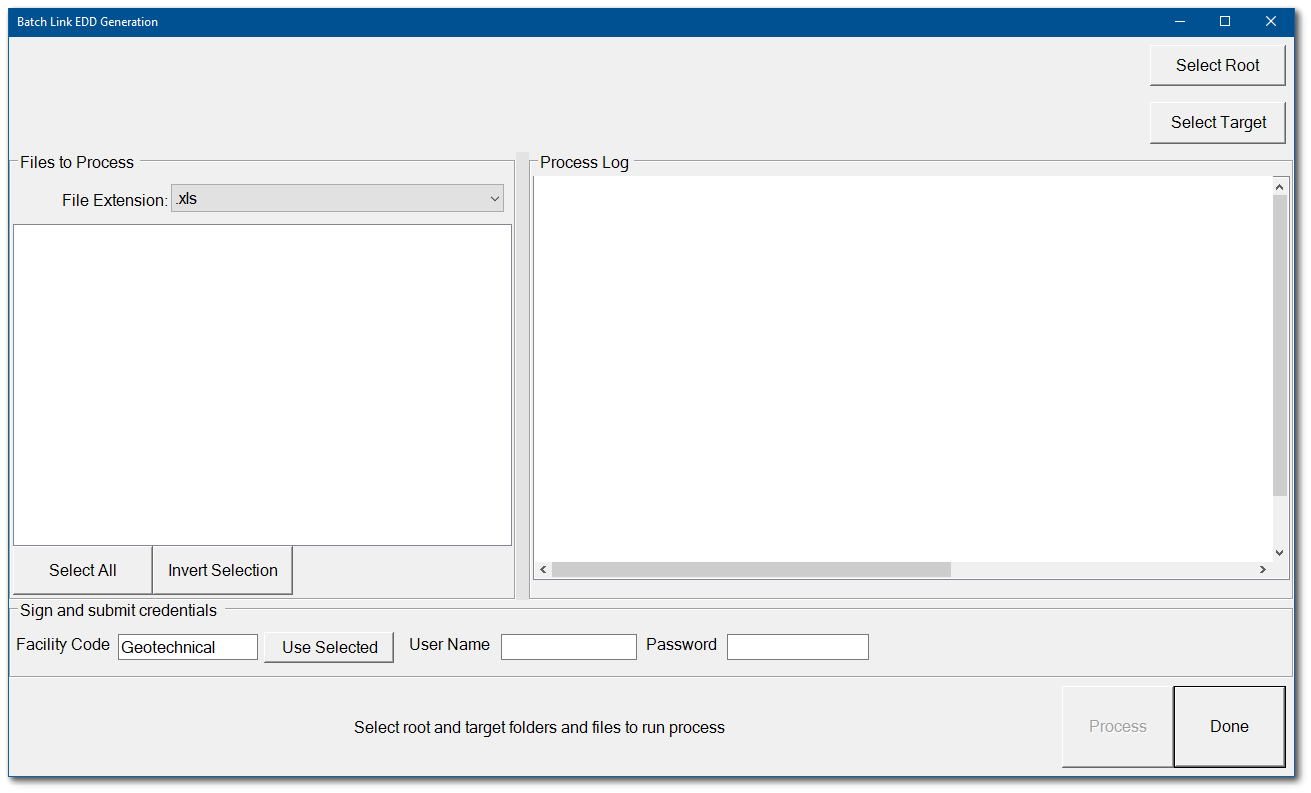
8.Click the File Extension drop-down menu to select the file type associated with the data source files. The available file types with batch processing support are: XLS, XLSX, XLSM, MDB, ACCDB, AGS, GDT, GLB, GPJ, XML, TRX, and CSV. Steps for batch processing of CSV files can be found here.
9.The files available with the root folder that match the selected file type will be visible in the file selection box. The root and target folder paths will be displayed.
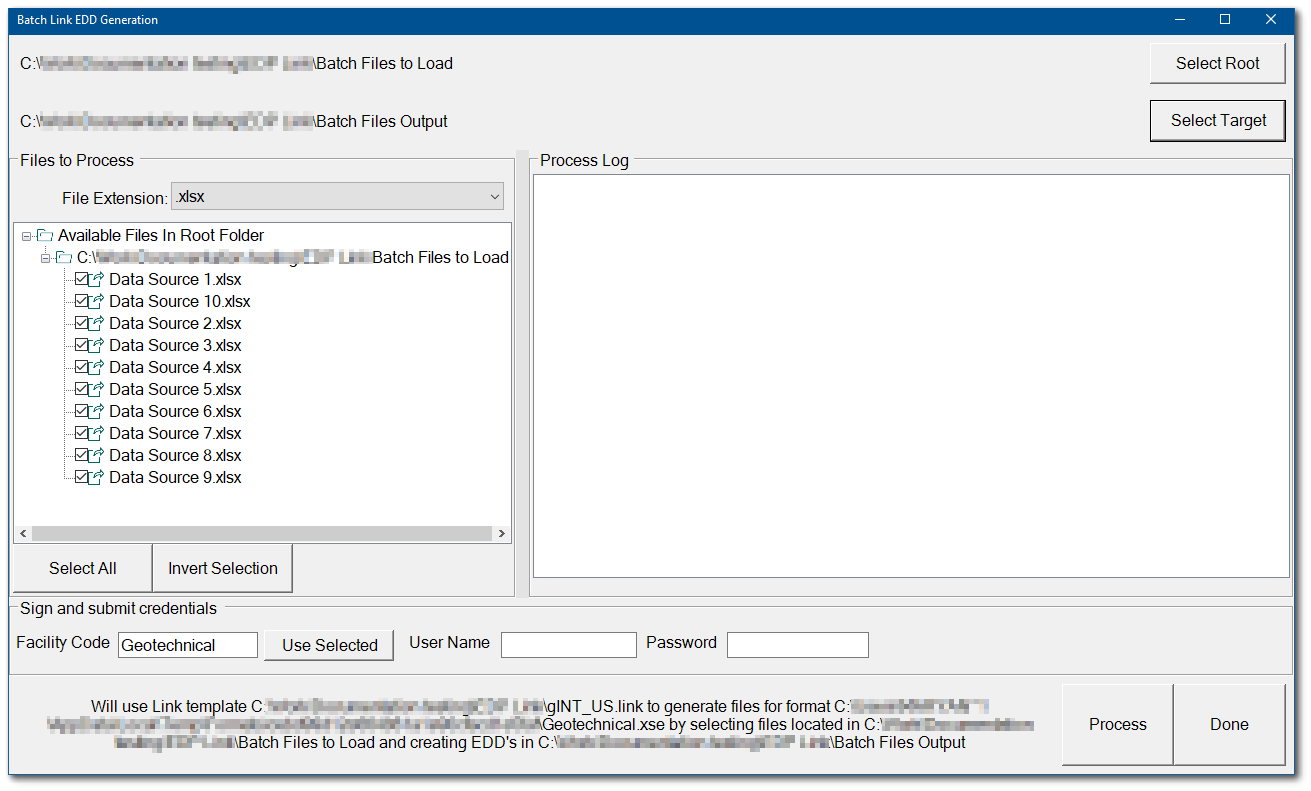
10.By default, all files in the root folder matching the file type will be selected. The Invert Selection button can be used to deselect all files. Each data source file can be individually selected or deselected. Click the Select All button to select all the files.
11.If a User Name and Password are entered, each generated EDD (.zip file) will be signed with those credentials. This is required to upload these EDDs to Enterprise for processing.
12.Once all data source files have been selected, click the Process button. Each selected data source file will be mapped to the format using the mapping project template.
13.Individual Mapper Status windows will be briefly displayed. When processing is complete, the processed files will be displayed in the Process Log window.
14.An archive ZIP EDD file and corresponding log file are created for each selected data source file and saved to the target folder. The file name is automatically generated with the structure of:
•Data source file name
•Current data and time
•Facility name
•Format type
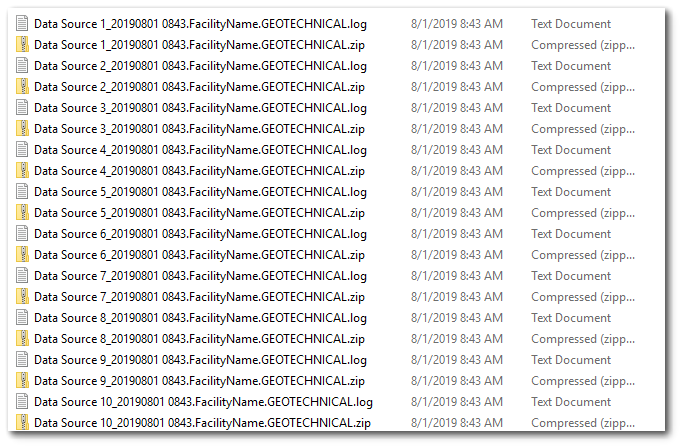
These files are ready to commit to the database via the normal EDP commit process.
15.Click the Done button to close the Batch Link EDD Generation window.
Note: .ZIP files that contain multiple data files, of the same data type (e.g., .trx), can be batch processed using a Link "virtual" format (e.g., via the Enterprise EDP Upload widget). |
|---|