•Navigating Through a Data Form
To open the Templates/Forms tab in Collect Mobile, tap the Menu ![]() icon then tap the Templates/Forms option. By default, the Templates tab is hidden. To display the Templates tab, go to the General tab of the Settings page.
icon then tap the Templates/Forms option. By default, the Templates tab is hidden. To display the Templates tab, go to the General tab of the Settings page.
Templates Tab
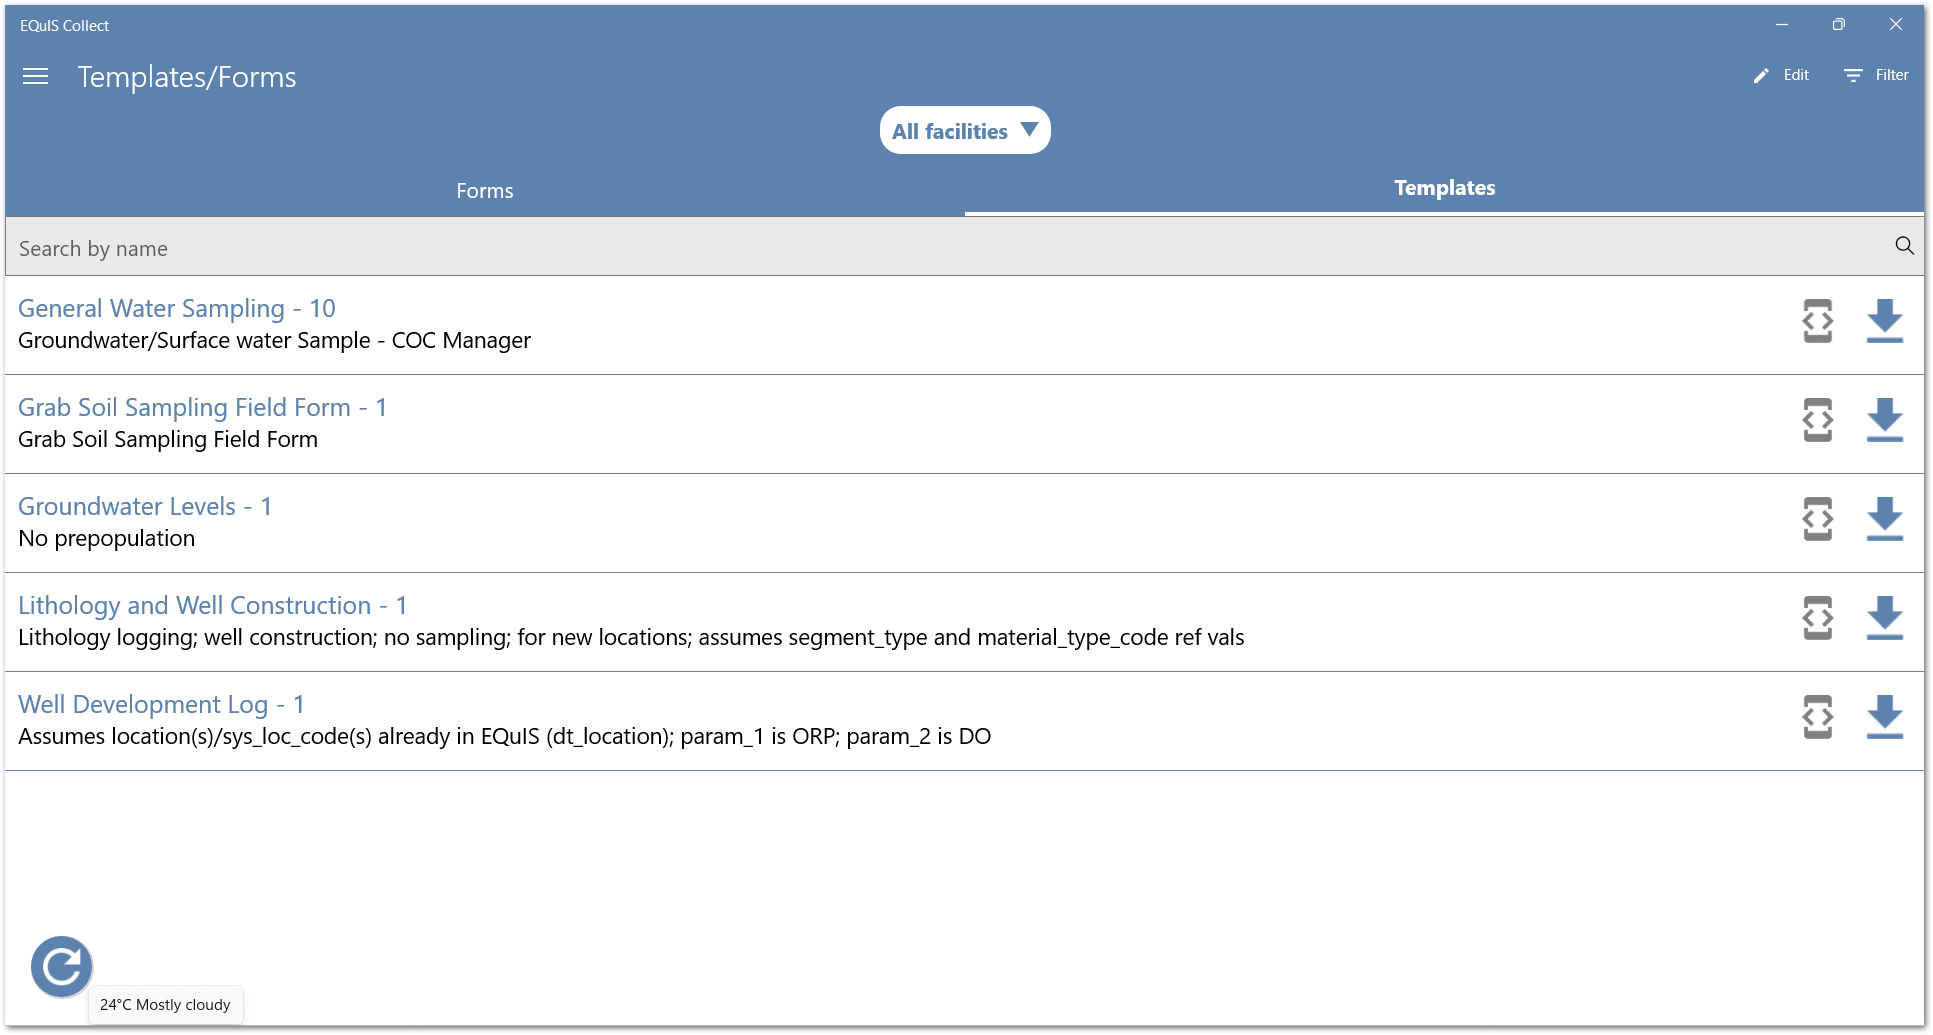
Tap the Templates tab to display the templates assigned to the user in Collect. The name and version of the template are displayed in the following format: [Template Name] - [Version]. Templates are listed in alphabetical order with the templates downloaded to the device at the top of the list. If numerous templates are assigned to a user, the search box can be used to find the desired template.
If not automatically downloaded, new templates will display a Download ![]() icon. Tap on the Download
icon. Tap on the Download ![]() icon to download the template to Collect Mobile. Once downloaded, the template can be used to collect data. When a locally available template has been changed on the server, a Refresh
icon to download the template to Collect Mobile. Once downloaded, the template can be used to collect data. When a locally available template has been changed on the server, a Refresh![]() icon is displayed for the template.
icon is displayed for the template.
Create a Data Form
If the "Hide templates tab" option in the Collect Mobile settings is turned OFF, a data form can be created in the Templates tab. If the "Hide templates tab" is turned ON, see the Forms Tab section for information on creating a data form in Collect Mobile.
1.Tap the desired template. The Information screen will then open.
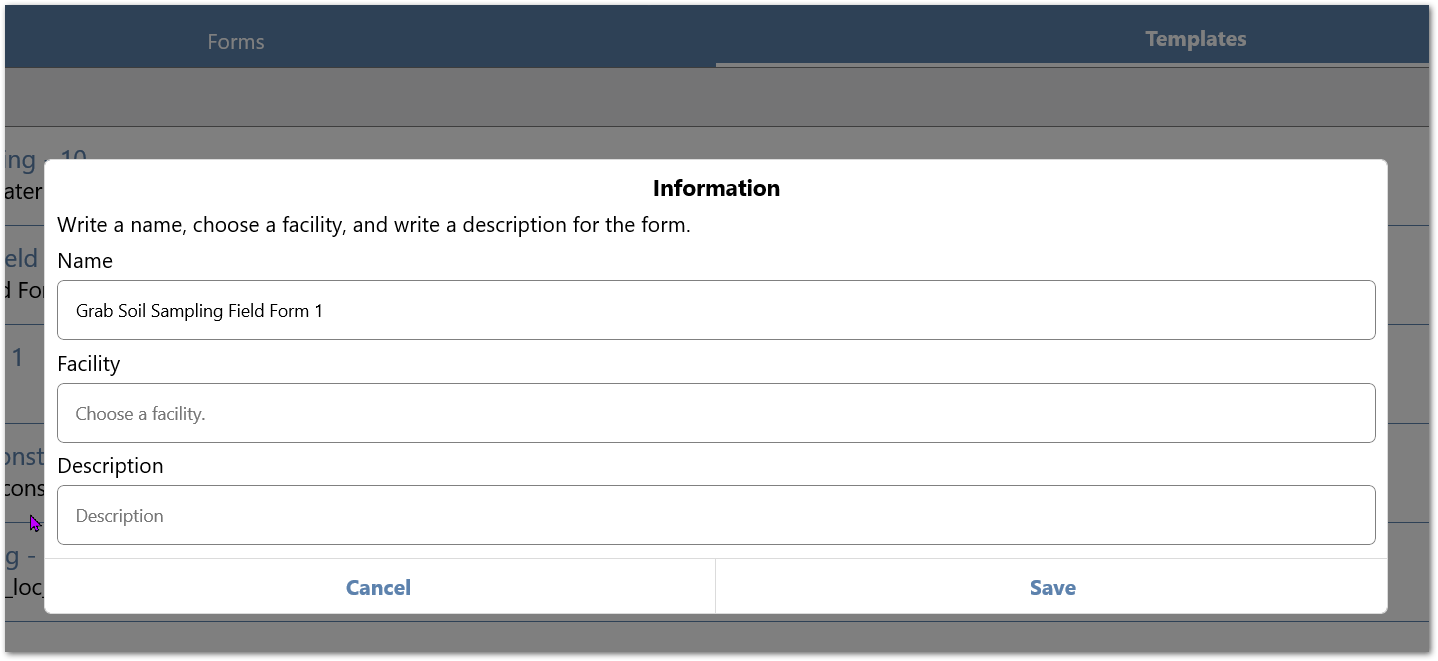
2.Enter a form name, select a facility, and add an optional form description.
a.When selecting a facility, the user can use the search bar or scroll to find a facility in the list. Alternatively, the user can select the Get closest facility to my location button.
Notes: •Any local (i.e., Field) data form created from a facility specific template will automatically have that facility populated in the facility chooser. However, users are still able to change which facility the data form will be pushed to. A prompt will appear to "Upload" or "Modify" the facility when pushing the form. •When a template is assigned to a facility group, all available facilities will be displayed for the user to choose from in the facility chooser drop-down menu. |
|---|
3.Tap Save to create the data form. Once the data form is saved, it will appear in the Forms tab.
Note: Data forms created locally (i.e., created using Collect Mobile) do not use pre-population. In order for the data form to be pre-populated, the form must be created using Collect Enterprise. |
|---|
Forms Tab
All data forms are displayed on the Forms tab regardless of their origin (i.e. in Collect Enterprise (server) or in Collect Mobile (local)). If numerous forms are available, the search box can be used to easily find the desired form. Tap the desired form to open it.
Create a Data Form
If the "Hide templates tab" option in the Collect Mobile settings is turned ON, a data form can be created in the Forms tab. Otherwise, the data form must be created from the Templates tab. See the Templates Tab section for more information.
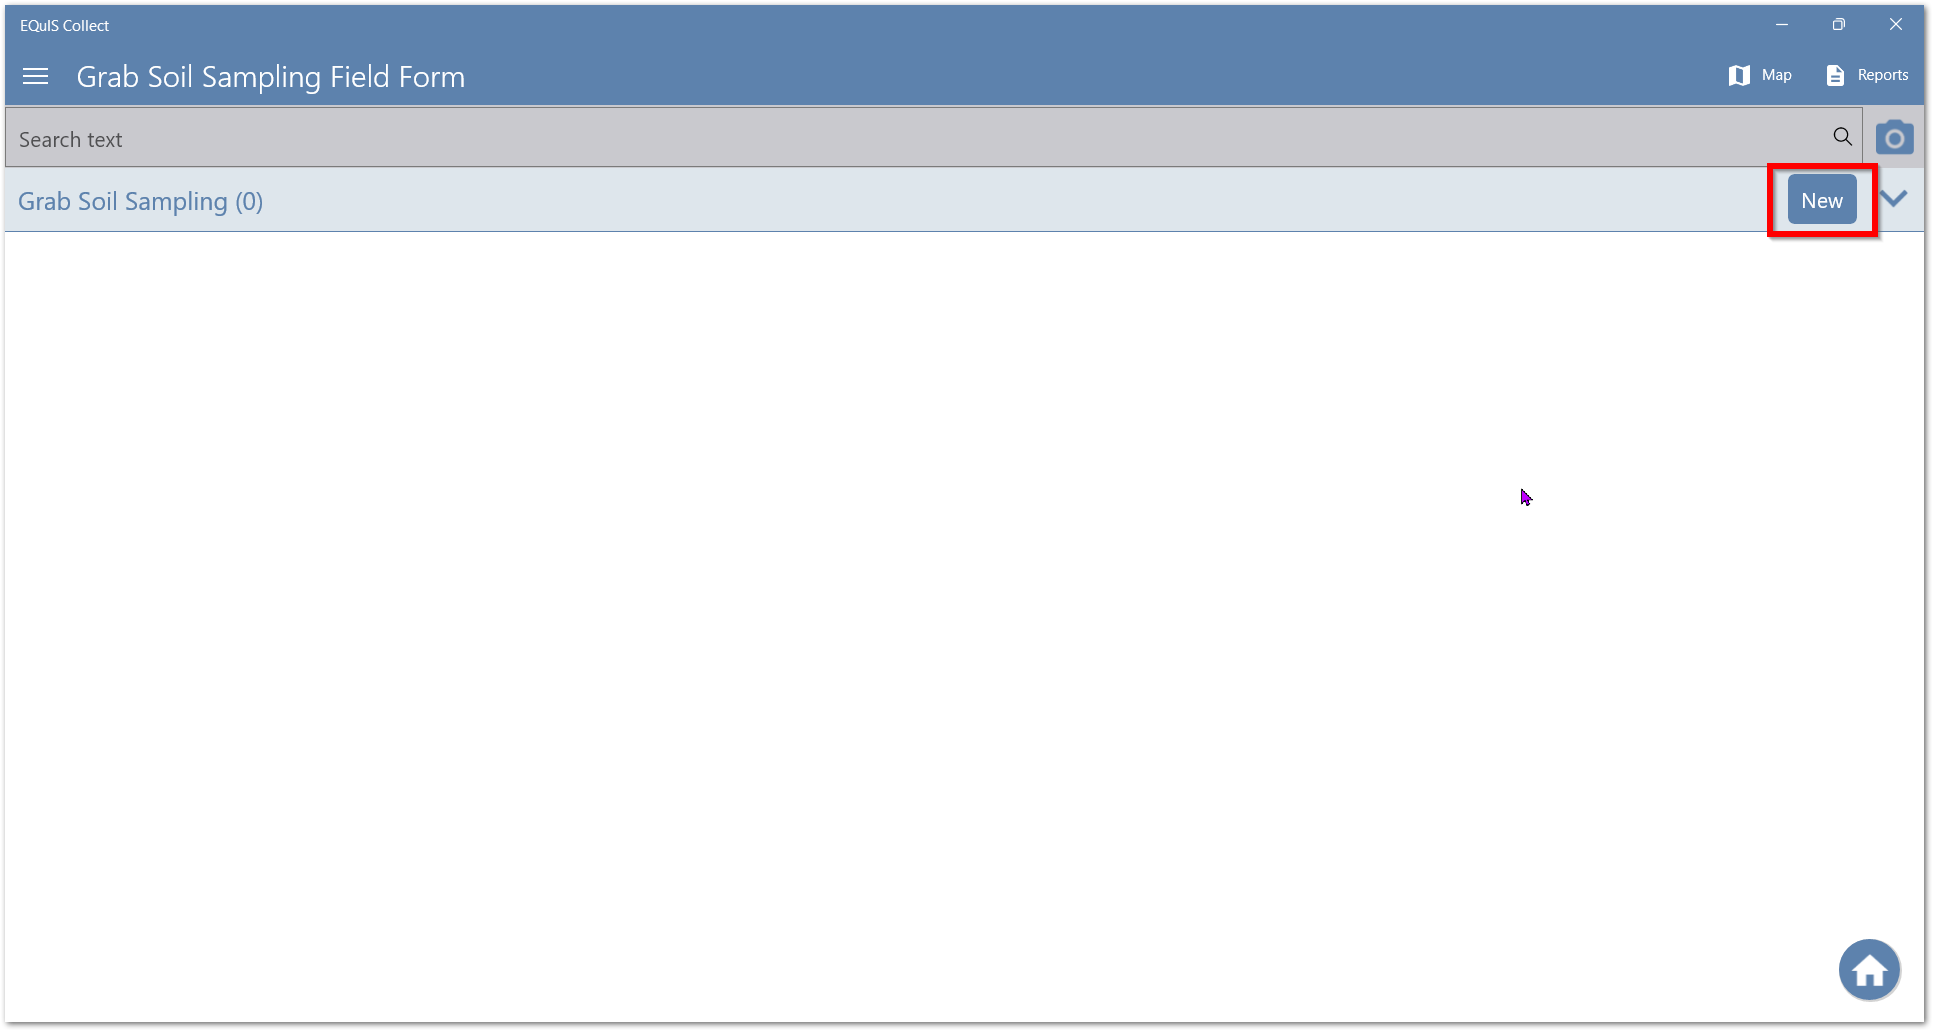
1.Tap +New in the top right corner of the Forms tab. The Information screen will then open.
2.Choose a template, enter a form name, select a facility, and add an optional form description.
a.When selecting a facility, the user can use the search bar or scroll to find a facility in the list. Alternatively, the user can select the Get closest facility to my location button.
3.Tap Save to create the data form. Once the data form is saved, it will appear in the Forms tab.
Navigating Through a Data Form
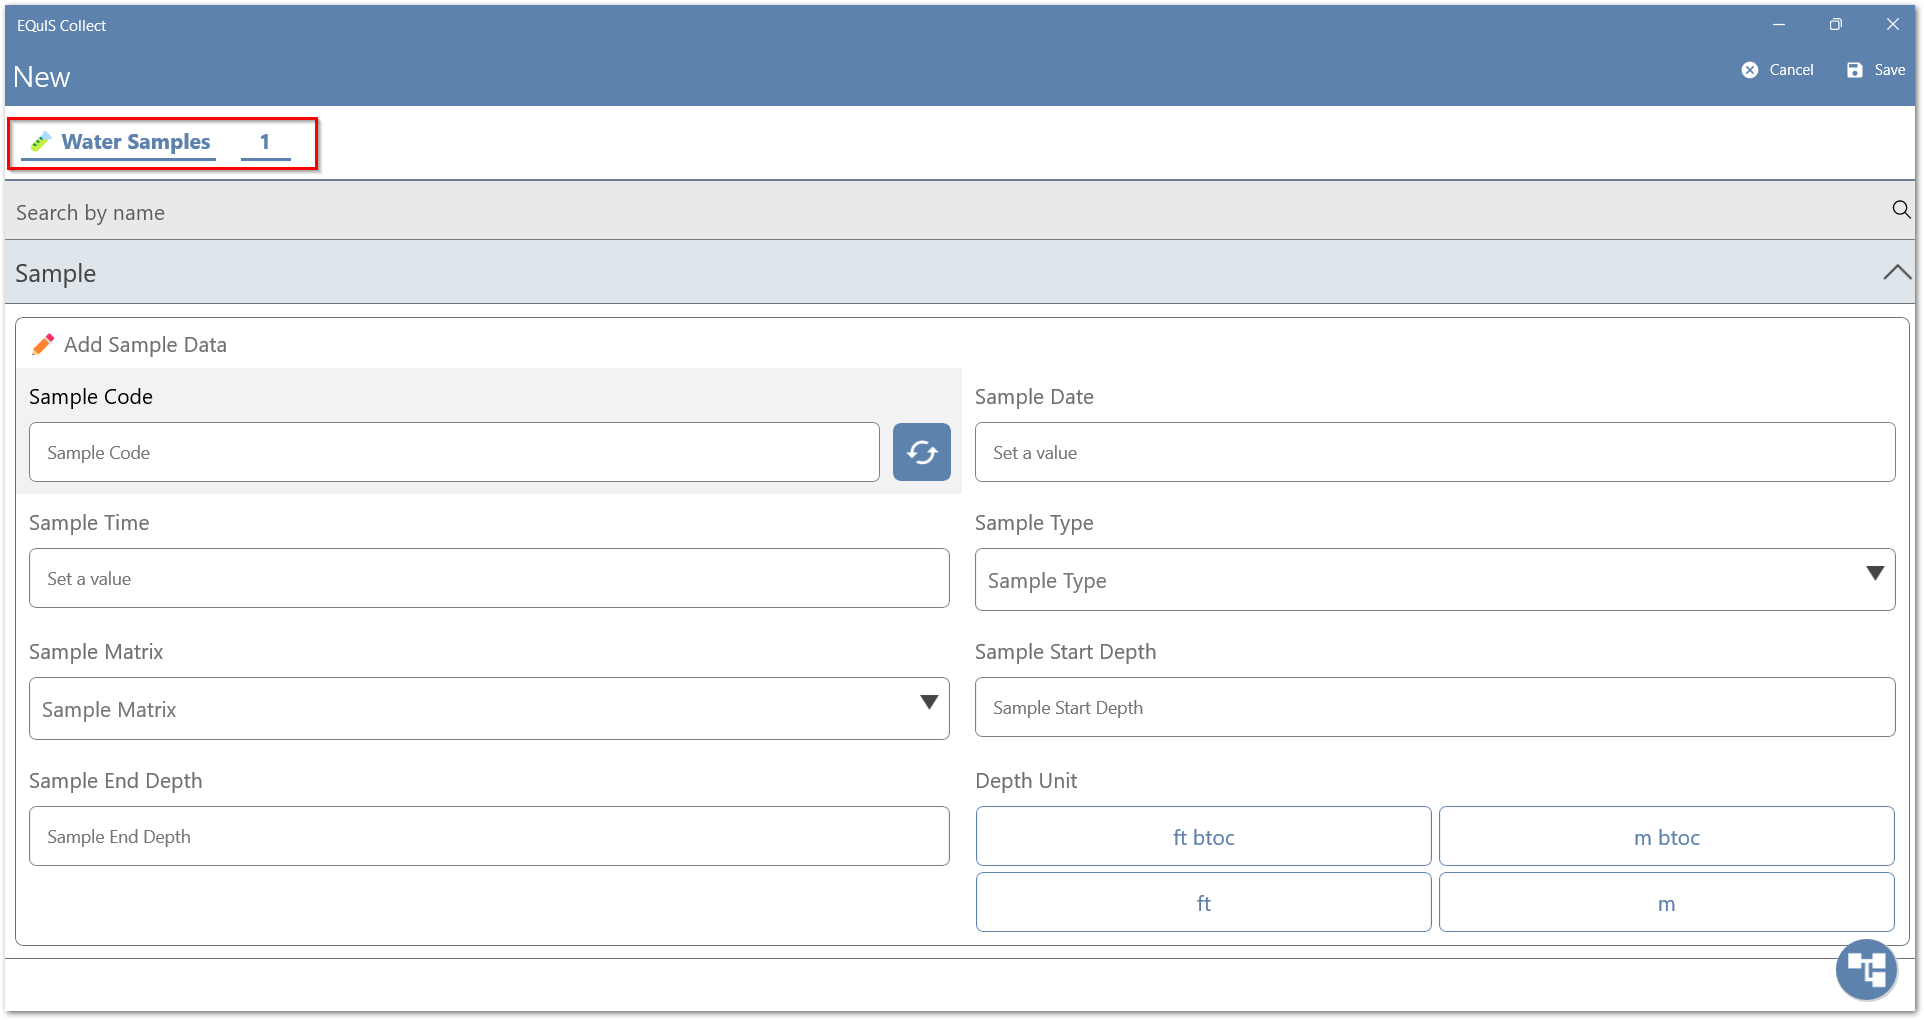
In the data form, both Parent and Child forms will show the number of records in parentheses in the form header. The record count is seen with both new ad hoc records and pre-populated records. This feature allows users to easily know if a group of forms has any records when the groups are collapsed.
Note: The text displayed in the Form Header is the value set in the Form Description property. If the description is left blank, the Form Name (a required field) is displayed. |
|---|
A purple check mark![]() will appear next to a record to indicate that that record has been populated with all required fields.
will appear next to a record to indicate that that record has been populated with all required fields.
The ![]() icon to the far right of the form header can be used to expand or collapse (
icon to the far right of the form header can be used to expand or collapse (![]() ) the form records.
) the form records.
To start entering data in a new form record tap the New button or click the desired record you wish to enter data in if the data form is pre-populated.
To navigate to a Child form of a pre-existing record, expand the form records and tap Subforms. Only forms with Child Records will have a Subforms option. Subforms will bring the user to a list of Subforms configured for that parent form.
Once in a form record, the user can use the Navigation Pane. The Navigation Pane provides a tree structure of the forms, sub-forms, and records within the current data form that allows users another way to navigate between forms and records.
Entering Data
Once in a form record, enter needed information into the fields. Groups of fields can be expanded or collapse using the Expand ![]() or Collapse
or Collapse ![]() icons in the group header.
icons in the group header.
The Data Entry setting sets the controls for how data is entered on forms. By default, the Auto edit next available fields option is set to on. When this option is on, the next available field for data entry is automatically selected when working through the fields in the form. There are three further sub-options to allow for further customization in the Data Entry setting.
An Enable Two Column View option can be set in Collect Enterprise when designing a template and allows for entering data across two columns. The two column view is available on larger screen devices, such as tablets and PCs. If the Enable Two Column View option is selected for the template form in Collect Enterprise, the field(s) will display in the order defined in the template. The first data entry field will be the upper left field, then will alternate to the right column, and then move back to the left column on the next row. Only values for fields with a Visible attribute will be displayed. Hidden fields that contain field values will not be displayed.
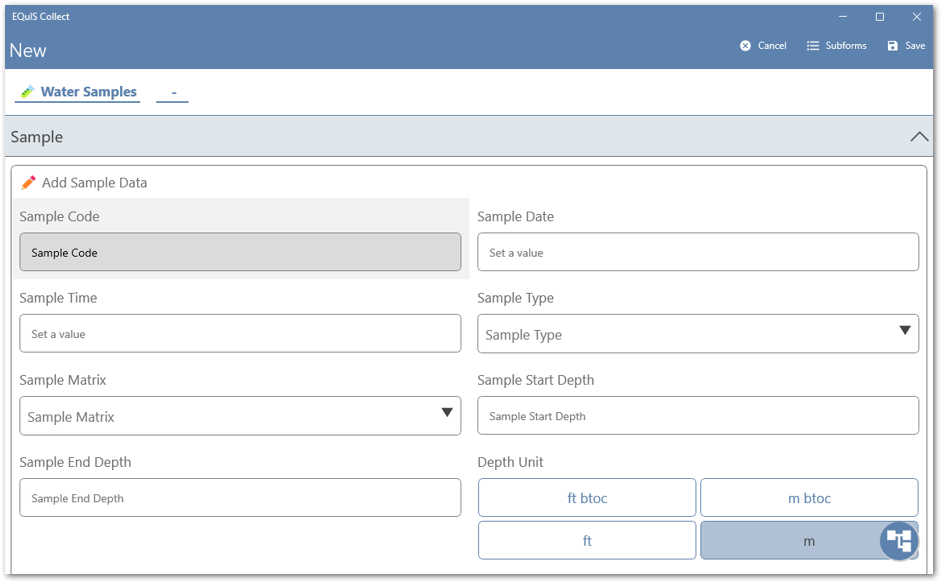
The form name and form record ID are displayed at the top of the data form.
Status Icons
Collect Mobile uses the following icons to indicate the statuses of data forms for that device.
•The Download ![]() icon is displayed when a new data form is available but has not yet been downloaded to the device.
icon is displayed when a new data form is available but has not yet been downloaded to the device.
•The Upload ![]() icon is displayed when changes in a data form have been saved and the device is connected to the internet, allowing data to be pushed back to Collect Enterprise.
icon is displayed when changes in a data form have been saved and the device is connected to the internet, allowing data to be pushed back to Collect Enterprise.
•The Received and Processing ![]() icon is displayed when a data form has been uploaded and accepted, but no EDD has been processed by Enterprise EDP.
icon is displayed when a data form has been uploaded and accepted, but no EDD has been processed by Enterprise EDP.
•The Pass ![]() icon is displayed if the EDD has been processed by Enterprise EDP without any errors. Clicking on the icon will allow user to mark the data form complete.
icon is displayed if the EDD has been processed by Enterprise EDP without any errors. Clicking on the icon will allow user to mark the data form complete.
•The Fail ![]() icon is displayed if the EDD fails when being processed by Enterprise EDP. Clicking on the icon will attempt to upload the data form again.
icon is displayed if the EDD fails when being processed by Enterprise EDP. Clicking on the icon will attempt to upload the data form again.
•The Completed ![]() icon is displayed if a data form has been marked as complete. To mark a data form as complete, users can navigate to Forms > Edit and chose to mark the form as "Completed", or if the data form has passed, clicking on the Pass icon will allow the user to mark the data form as complete.
icon is displayed if a data form has been marked as complete. To mark a data form as complete, users can navigate to Forms > Edit and chose to mark the form as "Completed", or if the data form has passed, clicking on the Pass icon will allow the user to mark the data form as complete.
•The Deleted ![]() icon is displayed if a user went to Forms > Edit and chose to mark the data form as "Deleted".
icon is displayed if a user went to Forms > Edit and chose to mark the data form as "Deleted".
•The Developer Mode ![]() icon refers to form templates that are in Test Mode. This also applies to any Forms that are planned or started based on testing form templates.
icon refers to form templates that are in Test Mode. This also applies to any Forms that are planned or started based on testing form templates.
•The Reports ![]() icon is displayed if there are reports associated with the form. Clicking on this icon will navigate the users to the Reports menu.
icon is displayed if there are reports associated with the form. Clicking on this icon will navigate the users to the Reports menu.
Notes: •The following error: "Error uploading the data file: {name of form} => Value cannot be null. Parameter name: path2." is displayed as a result of clicking either the Received and Processing, Completed, or Deleted icons. Clicking these icons and receiving this error message does not impact the data. •If a form was deleted or completed in Collect Mobile, adding additional data will restore the form. This will change the status from Deleted or Completed to Upload. |
|---|