The Web Mapping Service (WMS) standard offers a great way to access maps and aerial photos from online WMS compliant servers. There are paid servers, but many states provide access to maps and aerial photos at no cost via WMS.
View a training video on Web Mapping Services in EnviroInsite here.
Select Insert> Web Map Service from the main menu to open the Web Mapping Services dialog box. The first thing to do is to select the WMS server from the Layers tab. Next, go through the Layers tree control and select the individual layers to display. Finally, go to the Bounding Box tab and set the pixel size so that the pixel width and height does not exceed 2000.
WMS images will automatically be georeferenced to either UTM or State Plane coordinates. The destination coordinate system is selected from the View Options dialog box. Select View> Options from the main menu to open the View Options dialog box. Be sure to select the State Plane zone or the UTM zone and set the hemisphere as northern or southern before trying to insert a WMS image.
WMS URL – Contains the URL address for the WMS servers. Either select one of the default URLs in the WMS dialog box, or enter a URL into the starred (*) row at the bottom of the URL list. After entering the URL, hit the header column to the left, and a layer list will be generated in the list box below.
Layers – The layer list is generated to show the layers in the selected WMS URL. Each layer is listed, along with all of the available format styles. Place a check box next to the layers to display. Only one WMS URL can be selected in each WMS plot object. To access layers from other URLs, simply create another WMS object by selecting Insert> Web Map Service.
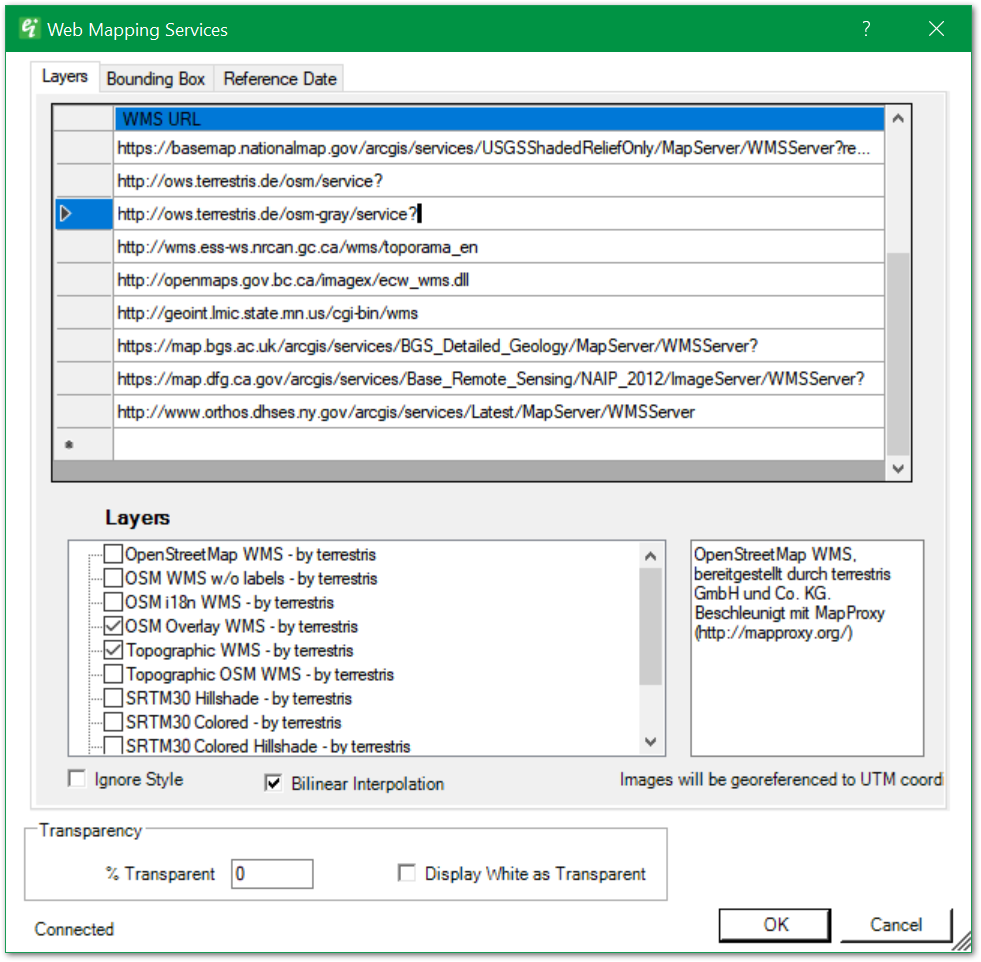
Layers Pane – In the left pane, place checks to select one or more layers from the selected WMS service. The right pane shows a description of the selected service.
Ignore Style – Place check to ignore WMS styles.
Bilinear Interpolation – Check to reduce potential visual distortion caused by resizing.
Transparency – Set image transparency. This can be an effective method for graying-out images.
The bottom left corner will display WMS Status/Warning messages (e.g., "Connected").
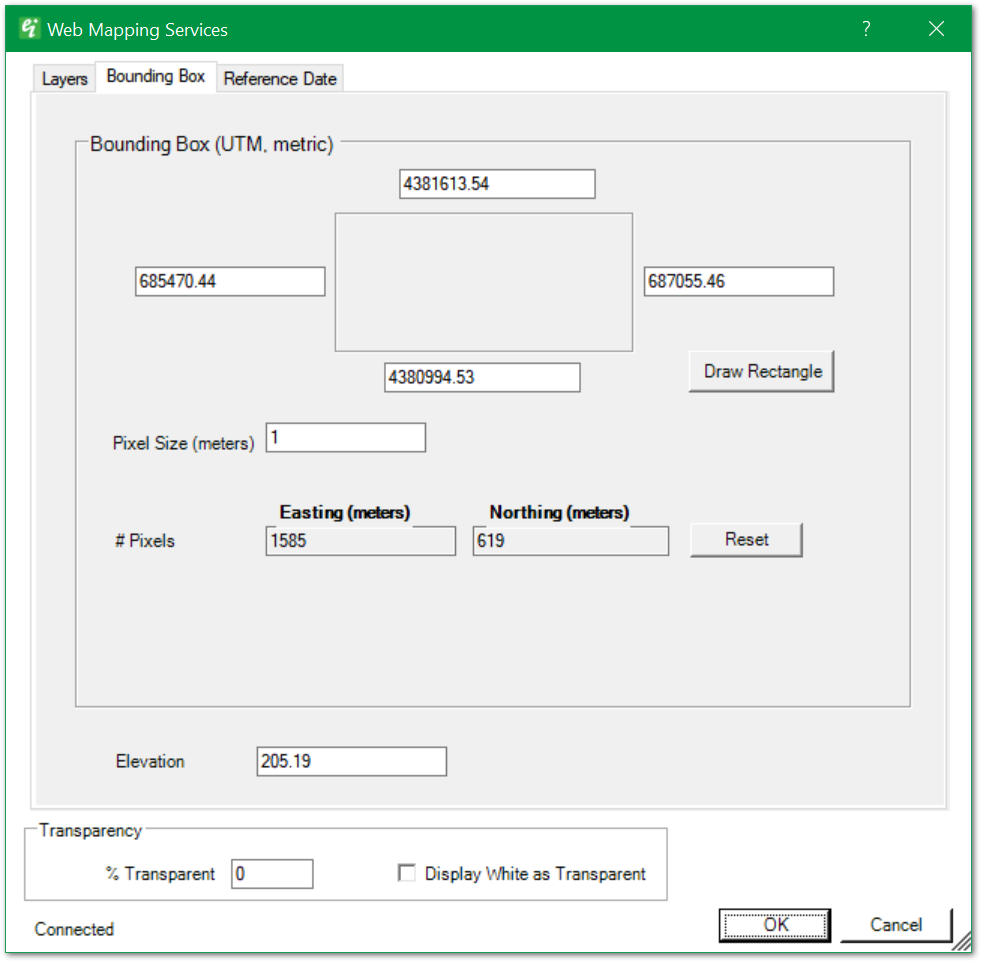
Bounding Box – Bounding box of requested map area. Modify bounds by editing individual east-west and north-south values, or click Draw Rectangle. The coordinates will be used in the request for a map image.
Draw Rectangle – Click this button to redraw the map limits manually.
Pixel Size (meters) – Specify pixel size. Actual size may be bound by original source.
# Pixels – Calculated number of pixels based on resolution and bounding box. The smaller the pixel size, the more detail that will be displayed in the image. Typically, there is a limit in the pixel size of images that servers will download, often about 2,000 pixels wide or high. If after leaving the WMS dialog box, the image does not appear, try increasing the pixel size to reduce the number of pixels.
Reset – Reset button.
Elevation – Elevation in which the image is drawn (for 3D views).
Transparency – Set image transparency. This can be an effective method for graying-out images.
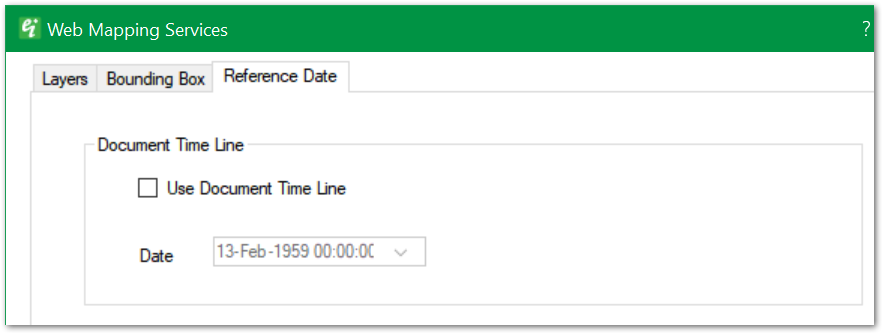
Option to Use Document Time Line.