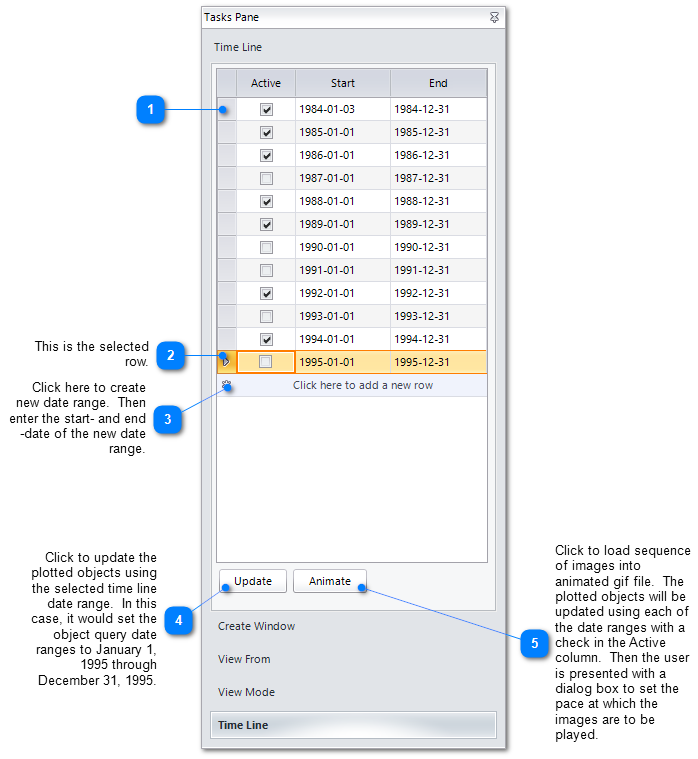
The Time Line option is available on the Tasks Pane and is used to simultaneously update the queried date range for one or more of the existing plotted objects.
Note: All plotted objects listed with Use Document Date Range checked will be updated, even if they are unchecked in the Plot Control window (i.e. not active). |
Follow these steps to use Time Line:
1.Click Time Line in the bottom right-hand corner.
2.On the right-hand side, type in start and end dates for each desired date range
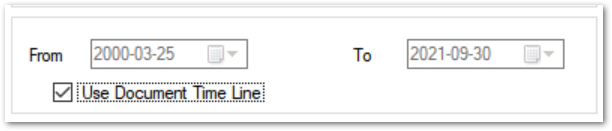
3.Create or edit any existing plot object and place a check at Use Document Date Range in the Query tab of the plot object.
To update all plotted objects that have Use Document Date Range checked, select a date range from the time line and click the Update button.
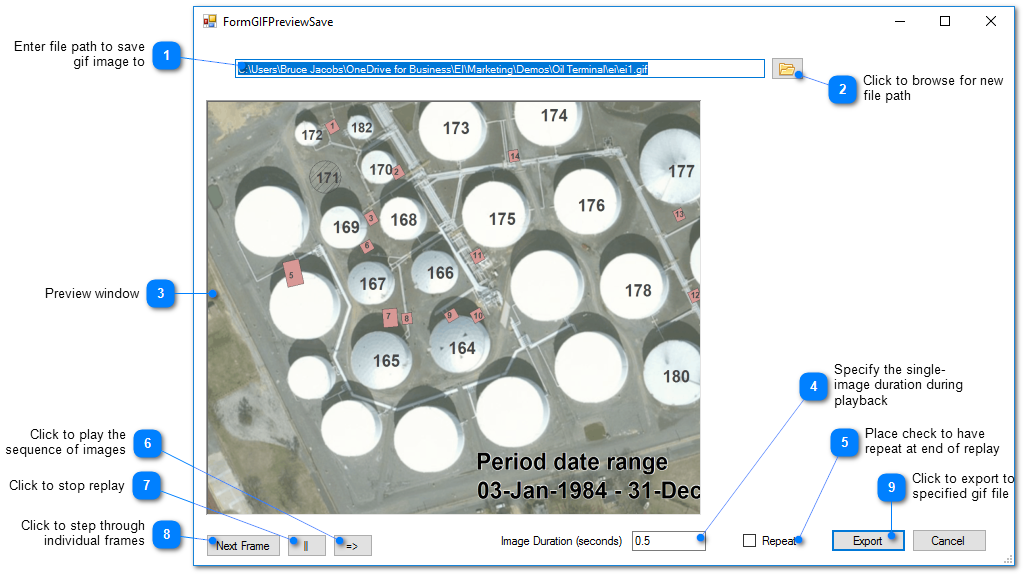
The time line may also be used to generate animated GIF files. Similar to updating based on the active date range, edit each object and check Use Document Date Range in the Query tab. Next, place a check in the Active column of each of the date range rows that will appear in the animated GIF. Click the Animate button to review the generated GIF images in the FormGIFPreviewSave window. Set preferences and select the Export button to create the animated GIF file.
View a training video on the use of time lines for generation of animation files here.
Complete the following steps to use GIFs in an Enterprise dashboard:
1.Upload the saved GIFs to the Enterprise site using the Explorer Widget.
2.Within the Explorer Widget, find the uploaded file and hover the mouse over it. Look for a URL in the bottom left-hand corner.
3.Copy the URL.
4.Add an HTML widget to the Dashboard.
5.Paste the URL from Step 3 into the HTML widget with the following syntax:
<img src="YOUR_URL_HERE">
6.Save.