Both EQuIS Professional and Enterprise provide the option to group reports.
Note: Whether report groups are created in Professional or Enterprise, the groups will be available in both places. |
In Enterprise, report groups will appear as folders in the Report Chooser. Reports may be grouped in the Explorer Widget by dragging and dropping entries of the report_id type into folders; these folders will have the "*" (heterogeneous) group type.
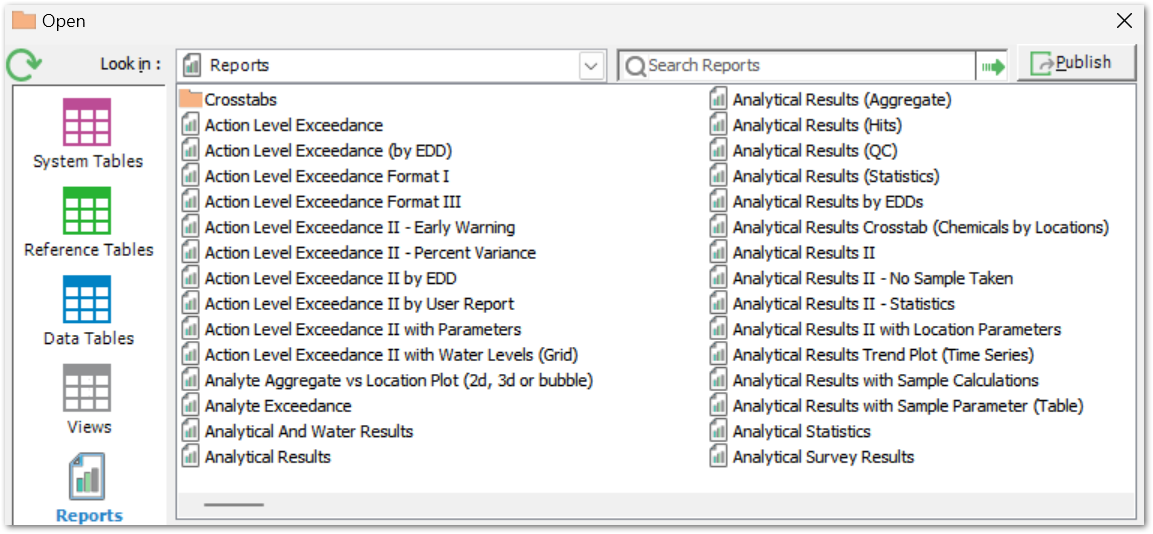
In Professional, grouped reports will appear in the EQuIS Professional Open Reports window as follows:

In Professional, complete the following steps to group reports in Professional:
1.Open the RT_GROUP and RT_GROUP_MEMBER tables.
2.In RT_GROUP, create a new record. The three major fields to fill in are: GROUP_CODE, GROUP_TYPE, and GROUP_DESC.
a.GROUP_CODE: A short, unique name for the group.
b.GROUP_TYPE: "report_id"
c.GROUP_DESC: The Folder name that will appear.
d.FACILITY_ID: Assign to create a facility-specific group. Clear this field to allow all facilities to access the group.
3.In RT_GROUP_MEMBER, create a new record.
a.GROUP_CODE: The group code just created in RT_GROUP.
b.MEMBER_CODE: The REPORT_ID of the report (from the ST_REPORT table) to include in the group.
c.MEMBER_TYPE: "report_id"
d.STATUS_FLAG: "A"
These report groups appear in EQuIS Enterprise as folders; moving items with other object types into those folders will automatically change the group type to the "*" (heterogenous) group type.
Notes: •Users can only group reports that have been published to the database. For information, see Publish a Report - Quick-start Guide. •Creating subgroups of report groups is also possible, per Create New Group using the method above: a.RT_GROUP: The details entered here will be for the subgroup. b.RT_GROUP_MEMBER: i.Add a new record to the group to which the subgroup will be added. ii.MEMBER_CODE: The GROUP_CODE that was setup in the RT_GROUP table. iii.MEMBER_TYPE: "SUB_GROUP." c.To add a report to the sub-group, follow the steps outlined above. |