•Create New Groups in Groups Form •Create Subgroups and Groups of Groups •Create Sample Parameter Group •Create Location Parameter Group
|
|
Using the Groups Form interface available in Professional is an easy way to create and maintain groups within the EQuIS database.
Groups and group members can also be added or edited by accessing the associated reference tables.
Warning: Group Members (RT_GROUP_MEMBER.MEMBER_CODE) and Group Names (RT_GROUP.GROUP_CODE) should be unique names, and group members should not have the same name as the group they belong to. Doing so may result in unexpected behavior. For instance, making a Facility a member of a Facility Group with the same name (RT_GROUP.MEMBER_CODE=RT_GROUP.GROUP_CODE) may cause users to be unable to login to EQuIS Professional or adding a subfacility to a location group with the same name will cause that location group to be unusable in reports. |
Create New Groups in Groups Form
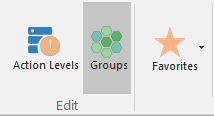
1.Click Groups in the Edit section of the Home ribbon in EQuIS Professional to open the Groups Form.
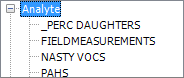
2.Select the group type in the left pane of the Group Form window (e.g., Analyte) by clicking on the type next to the node.
3.Click New > New Group to create a new group with a blank Code field.
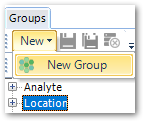
4.Enter a new Group Code and click Save.
Warning: Words that are also SQL commands (e.g., 'UPDATE', 'DELETE') should not be included in the group 'Code' field as they will cause errors when generating related reports. |
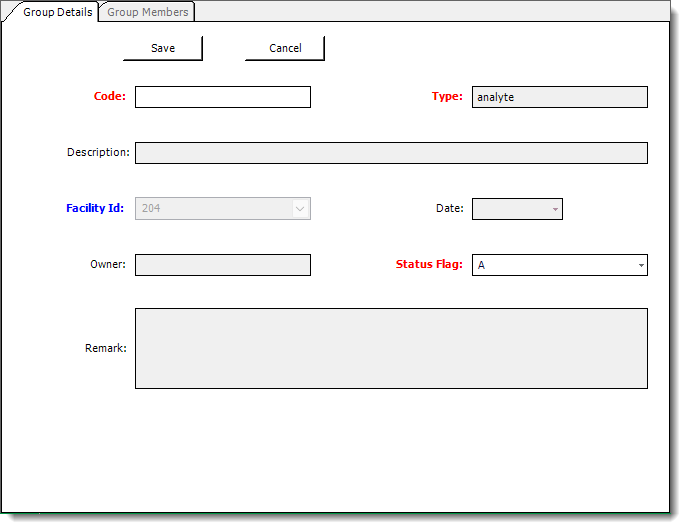
5.Upon creation of the new group, fields in the Group Details tab are available for data entry. By default, new groups have Facility Id and Status Flag automatically populated. Users can modify these default values, with the exception of Facility Id for Facility Groups. See the Group Details article for details about specific group types.
6.Click the Group Members tab and add group members. See the Add Group Members article for specific details.
Group Order in Groups Form
Users can use the Column Chooser to display columns DISPLAY_ORDER and REPORT_ORDER in the Group Members tab, if those fields are hidden. Either or both may be hidden by default for some groups.
Reorder the REPORT_ORDER by clicking on a group member in the Group Members tab and using arrow keys to move entries up and down. Save to preserve the change in the database.
While similar, DISPLAY_ORDER and REPORT_ORDER have different purposes.
DISPLAY_ORDER – Determines the order of group members as they appear on screen. For Analyte Groups, the DISPLAY_ORDER field allows multiple entries with the same CAS_RN for records that have different methods, fractions, etc., which it does by being part of the primary key for the RT_MTH_ANL_GROUP_MEMBER table.
REPORT_ORDER – Determines the order of group members as they appear in reports.
A group created or modified with the Groups interface will save both DISPLAY_ORDER and REPORT_ORDER with identical values. Populating a group through another means (such as an EDD or manually in RT_GROUP_MEMBER) requires unique REPORT_ORDER values to be used for that group. Otherwise, reordering the REPORT_ORDER of group members will not function as expected.
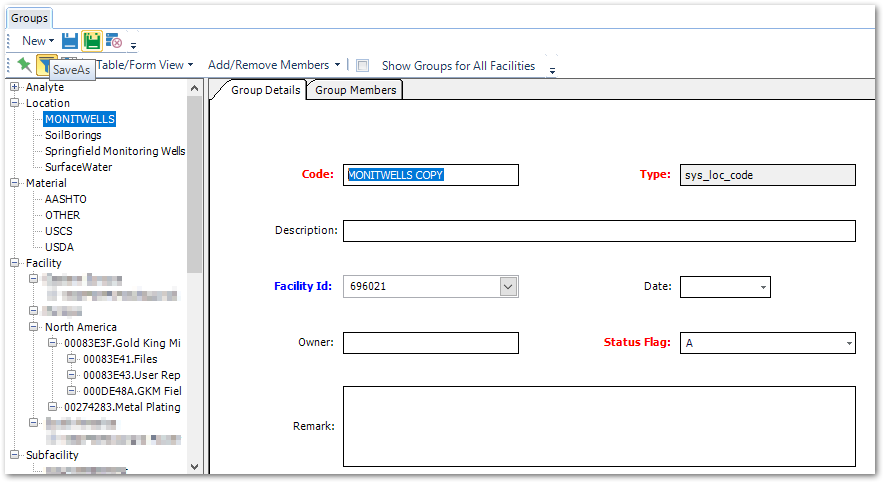
Copy Groups in Groups Form
1.Change the Code (GROUP_CODE) on the Group Details tab.
2.Click Save As on the toolbar.
Delete Groups in Group Form
1.Select the group from the left side under the Group type.
2.Once the Group is highlighted, click Delete ![]() on the toolbar or right-click and select Delete from the menu.
on the toolbar or right-click and select Delete from the menu.
Create Subgroups and Groups of Groups
1.Create a new group either in the RT_GROUP table or in the Professional Groups Forms interface.
2.To create a parent-child relationship, add a new row in the RT_GROUP_MEMBER table with the following:
•GROUP_CODE = [Parent Group Code]
•MEMBER_CODE = [Child Group Code]
•FACILITY_ID = Leave blank
•MEMBER_TYPE = GROUP_CODE
•STATUS_FLAG = A
Create Sample Parameter Group
If a GROUP_TYPE = param_code has previously been created in the ST_GROUP_TYPE table, skip to Step 5 below.
1.Open the ST_GROUP_TYPE table and follow the steps below.
a.Click on Data Tables.
b.In the upper-left corner, click System Tables.
c.Select ST_GROUP_TYPE.
2.Click Add... ST_GROUP_TYPE.
3.Enter param_code in the GROUP_TYPE and GROUP_TYPE_DESC fields.
4.Save.
5.Open the RT_GROUP table.
6.Enter the values for the new group name in GROUP_CODE with a GROUP_TYPE of param_code.
7.Save.
8.Open RT_SAMPLE_PARAM_TYPE and RT_GROUP_MEMBER tables.
9.In the RT_GROUP_MEMBER table, enter the values as indicated below.
a.GROUP_CODE: the group name created in number six above.
b.MEMBER_CODE: select the group member from RT_SAMPLE_PARAM_TYPE.PARAM_CODE.
c.MEMBER_TYPE: PARAM_CODE
For group members, the RT_GROUP_MEMBER.MEMBER_TYPE should typically be the same value as the parent group's RT_GROUP.GROUP_TYPE.
10.Save.
Create Location Parameter Group
If a GROUP_TYPE = param_code has previously been created in the ST_GROUP_TYPE table, skip to Step 5 below.
1.Open the ST_GROUP_TYPE table and follow the steps below.
a.Click Data Tables.
b.In the upper-left corner, click System Tables.
c.Select ST_GROUP_TYPE.
2.Click Add... ST_GROUP_TYPE.
3.Enter param_code in the GROUP_TYPE and GROUP_TYPE_DESC fields.
4.Save.
5.Open RT_GROUP.
6.Enter values for the new group name in GROUP_CODE with a GROUP_TYPE of param_code.
7.Save.
8.Open RT_LOCATION_PARAM_TYPE and RT_GROUP_MEMBER.
9.In RT_GROUP_MEMBER, enter the values as indicated below.
a.GROUP_CODE: the group name created in number six above.
b.MEMBER_CODE: select the group member from RT_LOCATION_PARAM_TYPE.PARAM_CODE.
c.MEMBER_TYPE: PARAM_CODE
10.Save.