•RockWorks in EQuIS Professional
•Version Selection in RockWorks
RockWorks (by RockWare) is a desktop tool used for creating Fence diagrams, 3D Plume Models and much more.
RockWorks in EQuIS Professional
In this exercise, directions for exporting using the RockWorks interface included in EQuIS Professional is demonstrated.
1.Login to EQuIS Professional (this exercise uses the Springfield Training facility).
2.Open the RockWorks interface by selecting the RockWorks ![]() button in the Plus section of the Graphics ribbon.
button in the Plus section of the Graphics ribbon.
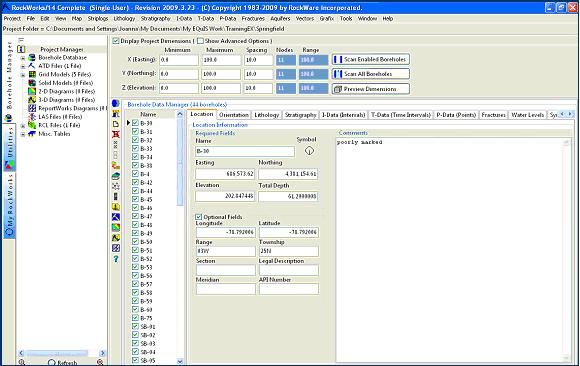
3.Once the RockWorks interface is open, select all the Borehole files located in the column on the left by right-clicking in the Borehole Files list, located on the left-hand side of the interface. Navigate to Select > All.
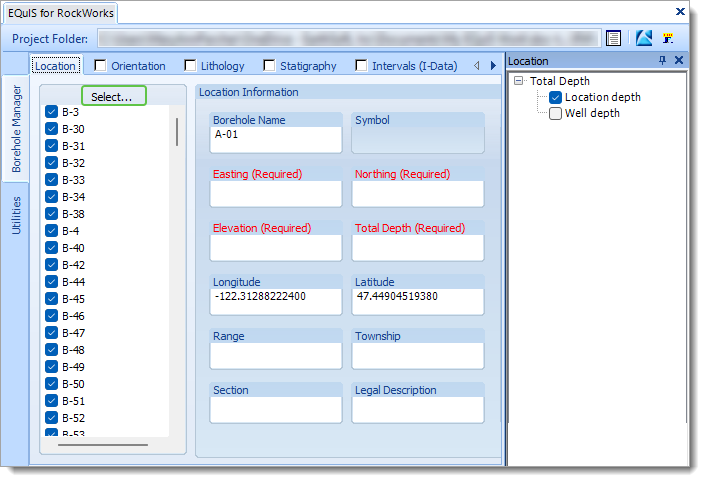
Note: Select all, and deselect all Borehole locations that appear in the Borehole Files column. Individual wells can be selected by checking the boxes to the left of the borehole names; groups of locations can be selected using the right-click menu. |
The Location tab displays the coordinate information related to each location. It also allows users to select which depth to use in the export. “Location Depth” is from the DT_LOCATION.TOTAL_DEPTH field and “Well Depth” is from the DT_WELL.DEPTH field. These fields may be used to store the depth to which the location was drilled or the depth at which the well was installed. These fields may also be used to represent any “silting” that may occur in the well.
Notes: •Click the Well Depth check box, located on the right-hand side of the screen; note that the value in the “Total Depth (required)" field changes. •Location Depth is how deep the hole is drilled. Well Depth is how far the actual casing and screen are. |
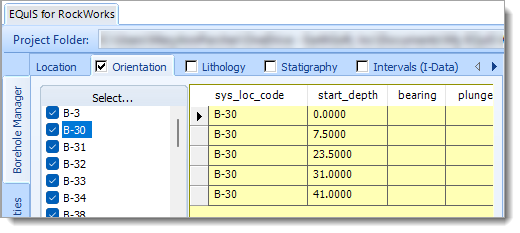
4.Select the Orientation tab. This is used for wells that are drilled at angles.
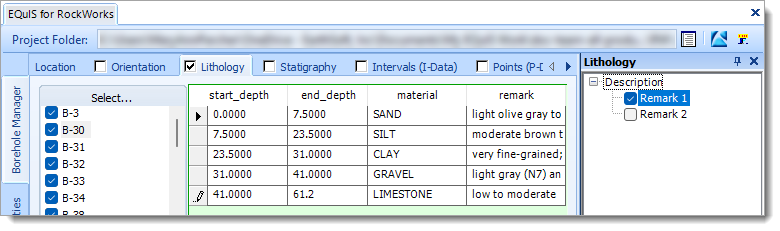
5.Select the Lithology tab. There are two options for remarks that can be used in data collection. Check “Remark 1” for this exercise. Remark 1 contains the lithology description.
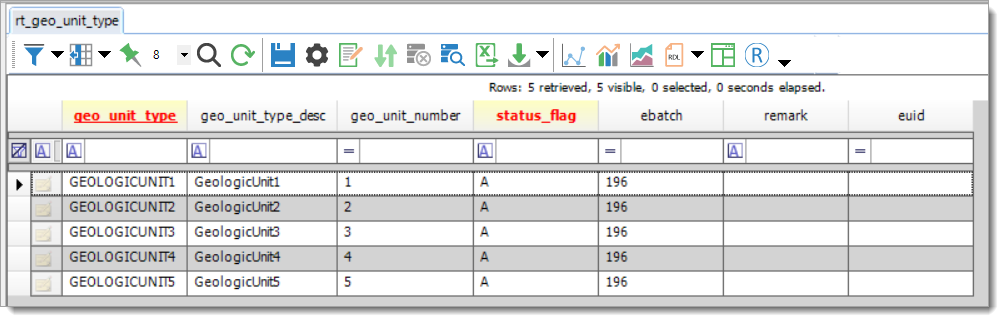
6.The Stratigraphy tab describes the geological unit (e.g., aquifer or aquitard). Select “GEOLOGICUNIT1”.
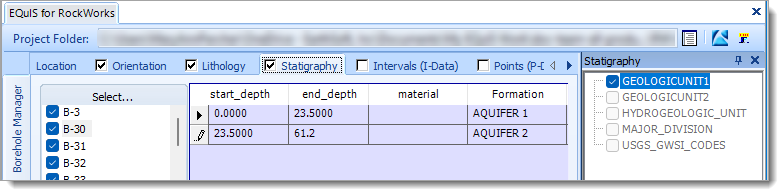
Note: There are five geologic unit fields in DT_LITHOLOGY: GEOLOGIC_UNIT_CODE_1 through GEOLOGIC_UNIT_CODE_5. For these to be selectable in the Stratigraphy section of EQuIS for RockWorks, the RT_GEO_UNIT_TYPE table must be populated as shown below. EQuIS for RockWorks will display the 5 records, but only one can be chosen for export.
 |
7.The Intervals (I-Data) tab is next, and allows running the Analytical Results Report or setting sample parameters. For this exercise, enter the following parameters in the top window to the right of the screen – the Analytical Results box:
Parameter |
Selection |
|---|---|
Type(s) |
N |
Matrix(es) |
WG |
Task(s) |
WG97Q2 |
Result Analyte Group |
_PERC |
Result Unit |
ug/l |
Click the Go ![]() button to run the report.
button to run the report.
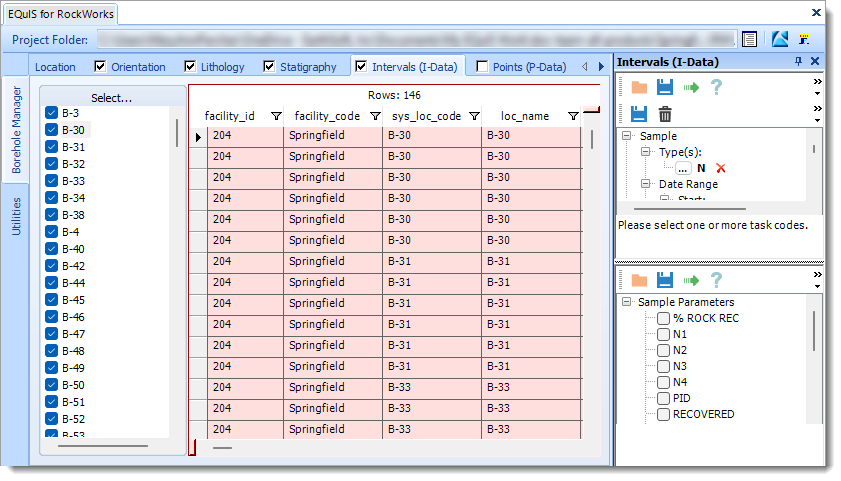
Notes: •The RockWorks Interface features a tab for exporting Time Interval Data to RockWorks. •Save and load report settings the same as done for the Analytical Report in EQuIS Professional. •It is necessary to enter selections in the Analytical Report for the report to run. •The Interface will return selections for either Analytical Results or Sample Parameters, but not both. |
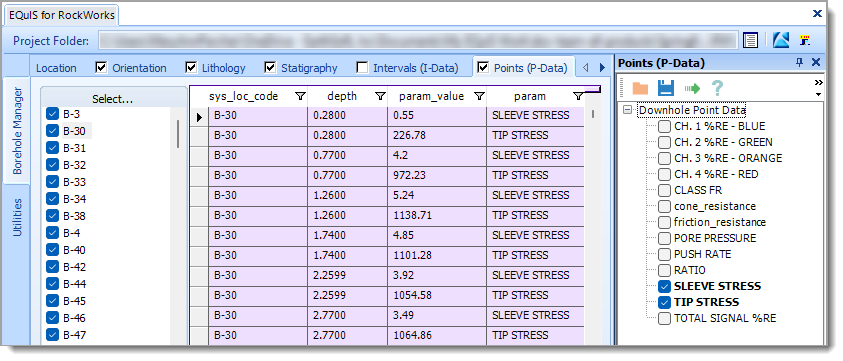
8.The P-Data or Downhole Point Data tab allows reporting of additional information. For this exercise, select “Sleeve Stress" and “Tip Stress” and click the Go ![]() button to run the report.
button to run the report.
9.The Water Levels tab is the same as the Water Levels Report. Leave the default parameters in place and click the Go ![]() button to run the report.
button to run the report.
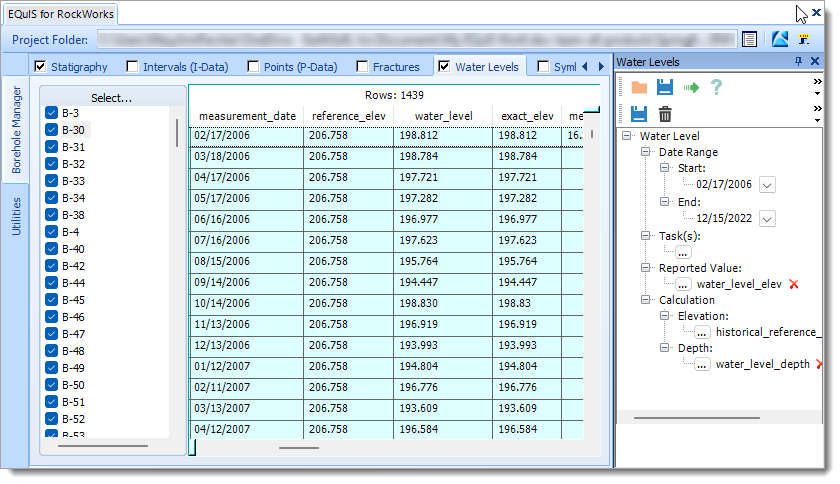
Remember to Save and load the report settings, the same as done for the Water Level Report in EQuIS Professional.
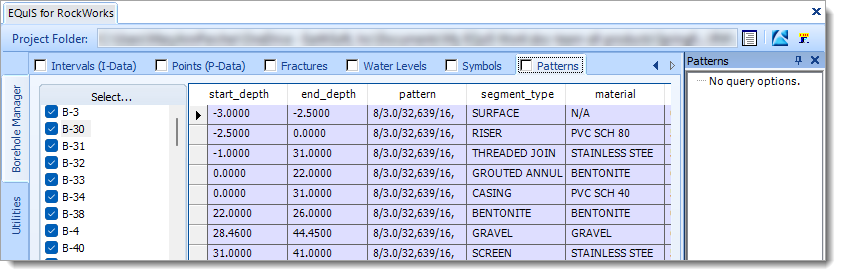
10.The Patterns tab shows where the wells are actually installed, and to what depth. This is useful for 3D modeling and fence diagrams. There are no query options for this tab, but make sure the tab is checked for this exercise.
Notes: •Project Folder defines the path where the RockWorks project will be stored. Select the folder by clicking in the box and navigating to the personal folder. •The default location is MyEQuISWork/<Database Name>/<Facility Name>. |
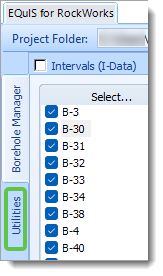
11.At the bottom of the RockWorks interface, select the Utilities tab. Enter parameters into this tab to enable data to be exported to the RockWorks Utilities section, and create a RockWorks ATD file. This facilitates modeling and creation of diagrams, such as Piper and Stiff diagrams.
12.On the Utilities tab, make the following selections:
Parameter |
Selection |
Type(s) |
N |
Matrix(es) |
WG |
Task(s) |
WG97Q2 |
Result Analyte Group |
_PERC |
Result Unit |
ug/l |
Then run the report by clicking the Go ![]() button.
button.
Remember to Save and load the report settings, the same as done for the Analytical Report in EQuIS Professional.
13.Click the Launch RockWorks button to export to RockWorks.
Note: RockWorks versions 17+ do not allow for importing data directly from EQuIS Professional into the RockWorks Database. Therefore, as of RockWorks 17, data must be imported manually using the RockWorks program. (See "Exporting to RockWorks 17+" section below). |
When exporting to RockWorks 16 or earlier versions, EQuIS data are populated in RockWorks after launching it from EQuIS Professional:
Exporting to RockWorks 17+
For RockWorks Version 17+ EQuIS for RockWorks creates an Excel spreadsheet for importing into Rockworks 17 following the steps below.
1.In EQuIS Professional, follow the steps above to select data for export using EQuIS for RockWorks. Make sure that all the selected tabs contain data to be exported.
2.Click the Export to RockWorks button to generate an Excel file with the version of RockWorks in the name (e.g., "RW17.xlsx") in the My EQuIS Work/[current database]/RW folder.
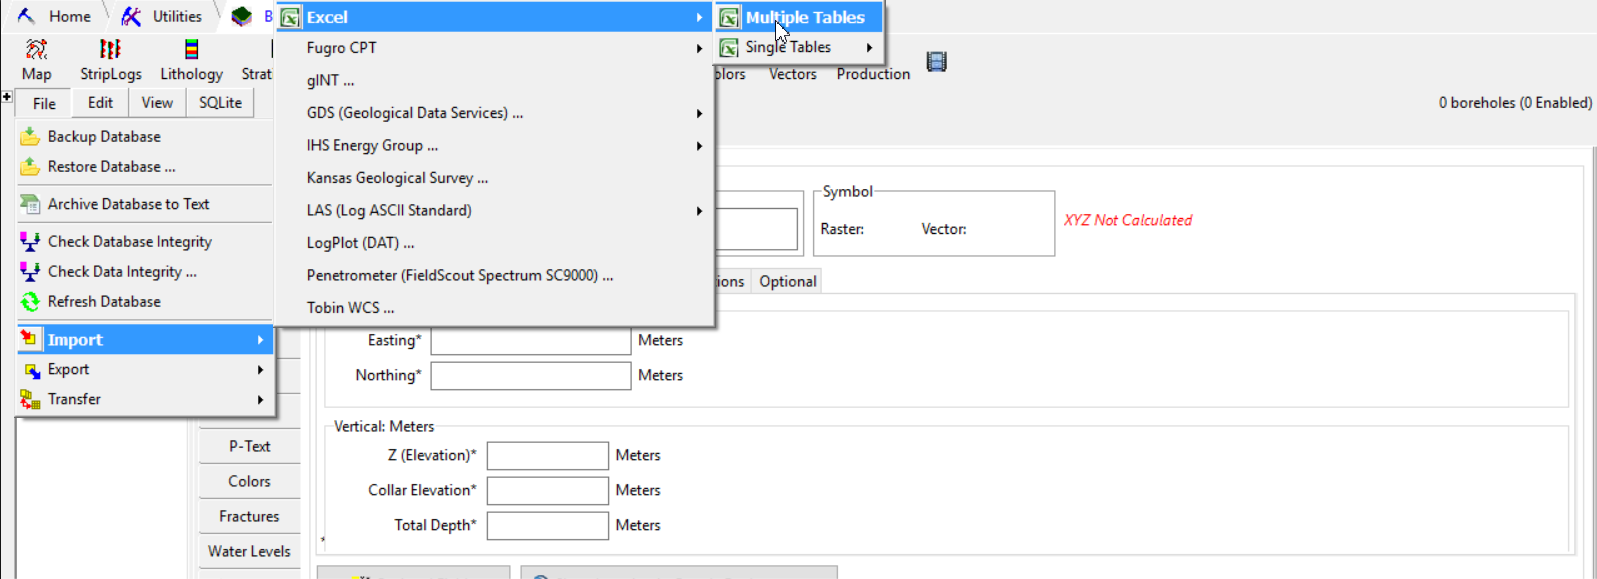
3.In RockWorks 17, select "File >Import >Excel >Multiple Tables" on the Borehole Manager tab and choose the newly created RW17.xlsx file from within the RockWorks 17 program.
EQuIS Professional also creates a RW17.txt file containing the data to be imported. The steps to import data from the text file are the same as those for the Excel file, except for the file type menu and selection: choose Text from the File >Import menu within RockWorks 17, and then select the RW17.txt file.
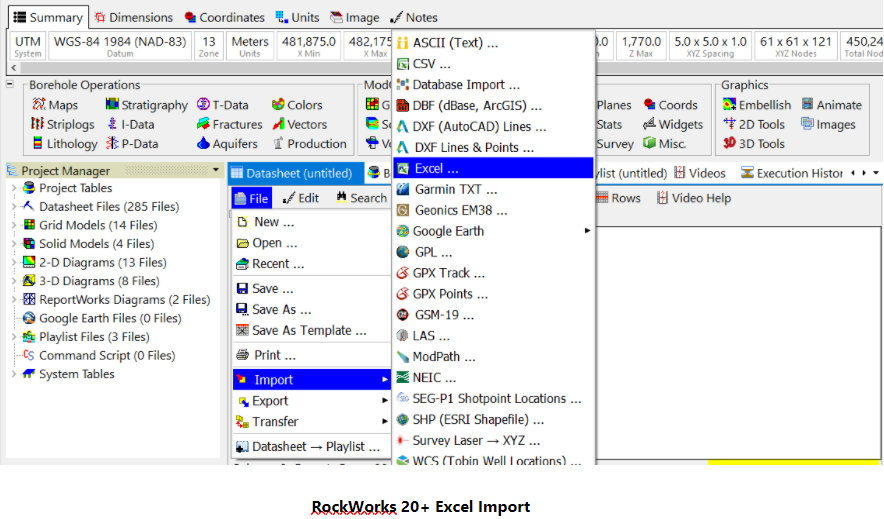
4.In RockWorks 20+ on the Datasheet tab, select "File > Import > Excel". Upload the file and click Continue.
5.Follow the prompts to finish importing the data. After the import completes, the EQuIS data will be available in the Borehole manager of the RockWorks program.
Version Selection in RockWorks
If multiple versions of RockWorks are installed, then it is possible to manually select which version the data will be exported to through the Version toolbar in the EQuIS for RockWorks interface. The Version toolbar can be accessed by right-clicking in the EQuIS for RockWorks window and selecting Version from the list of available toolbars.

After selecting a version, EQuIS for RockWorks will determine if the designated version is installed on the machine. If it is not, a message will appear indicating that the version could not be found. Otherwise the selected version will become the version that is used to export.
Note: "RockWorks17+" assumes a 64-bit version is installed. |