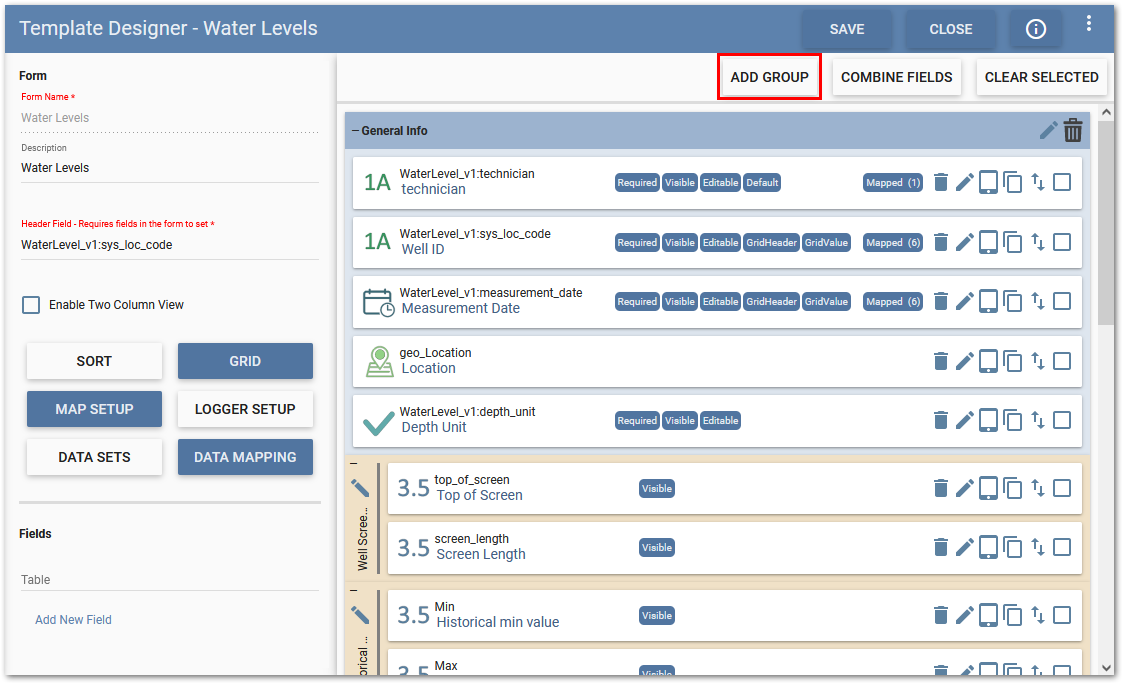
The Add Group feature allows fields to be grouped together within a form.
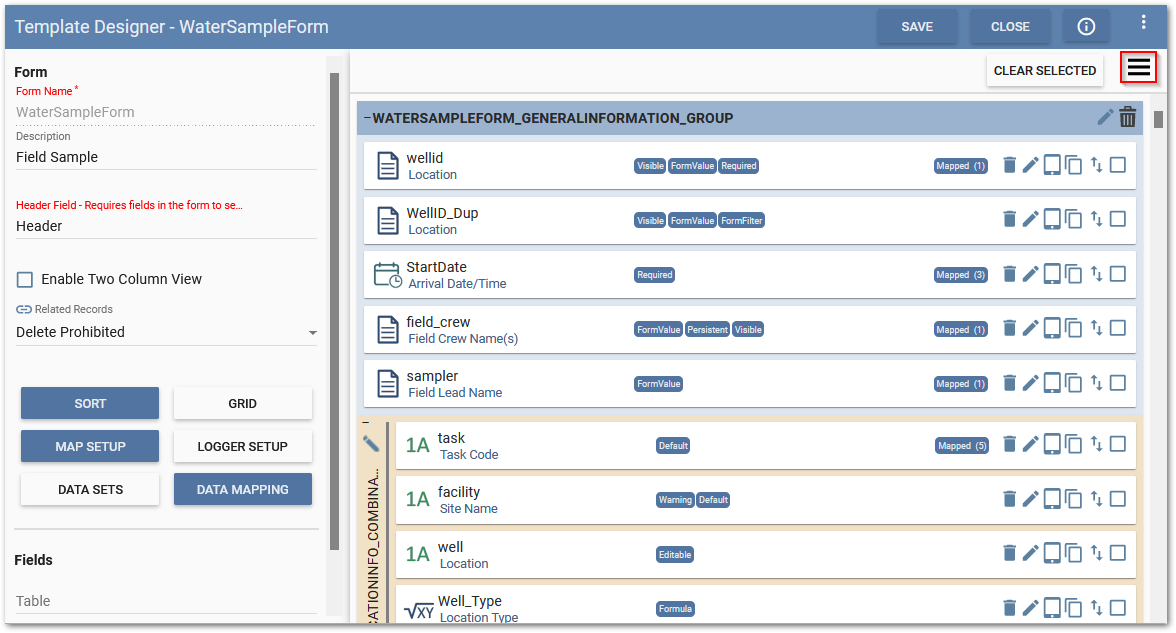
The Add Groups option is available by clicking on the Attributes button (highlighted in the screenshot above). Multiple groups can be created but each field can only be added to one group.
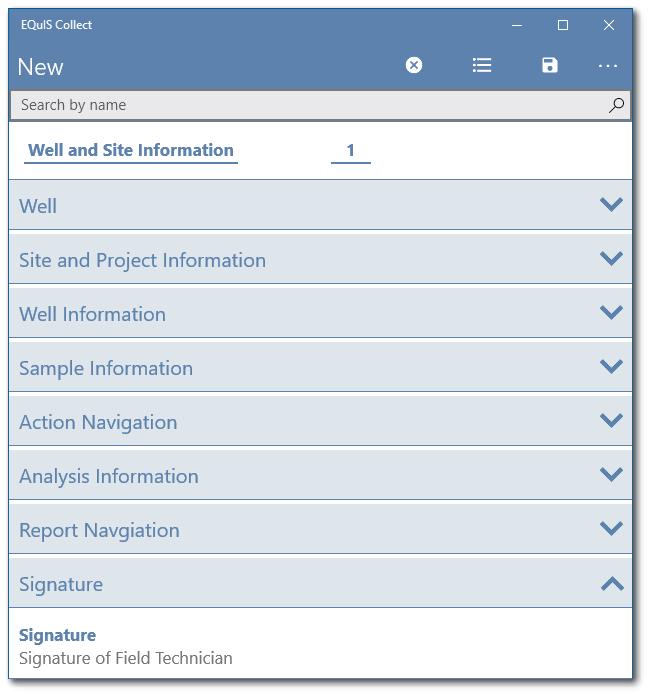
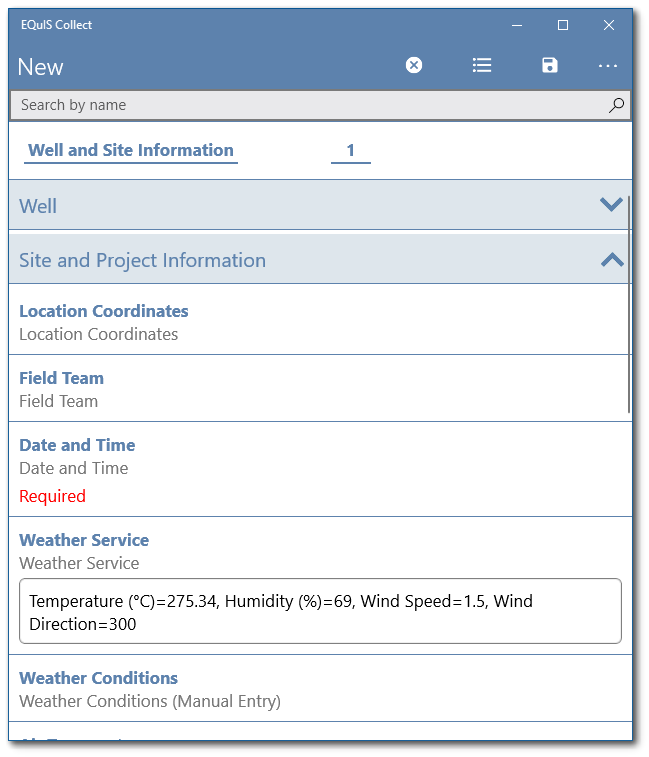
Grouped fields will be displayed on the mobile device in a collapsible/expandable view.
Add Group
Two methods are available to add a group. The first method is to click the Attributes button and select the Add Group option from the Form Setup page on the Template Designer page.
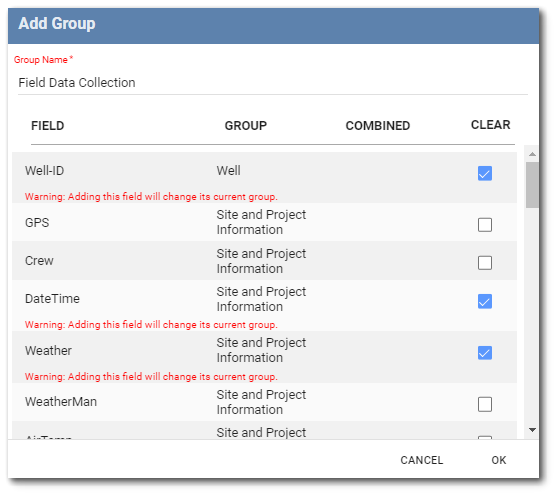
The Add Group window will appear displaying the available fields. Fields currently assigned to a field grouping or combined field display their current group name under the Group or Combined columns in the dialog. Ungrouped fields will not display any Group (or Combined) column title. Create a Group Name and check the boxes of the fields to be added to the group. Click the OK button at the bottom of the Add Group window.
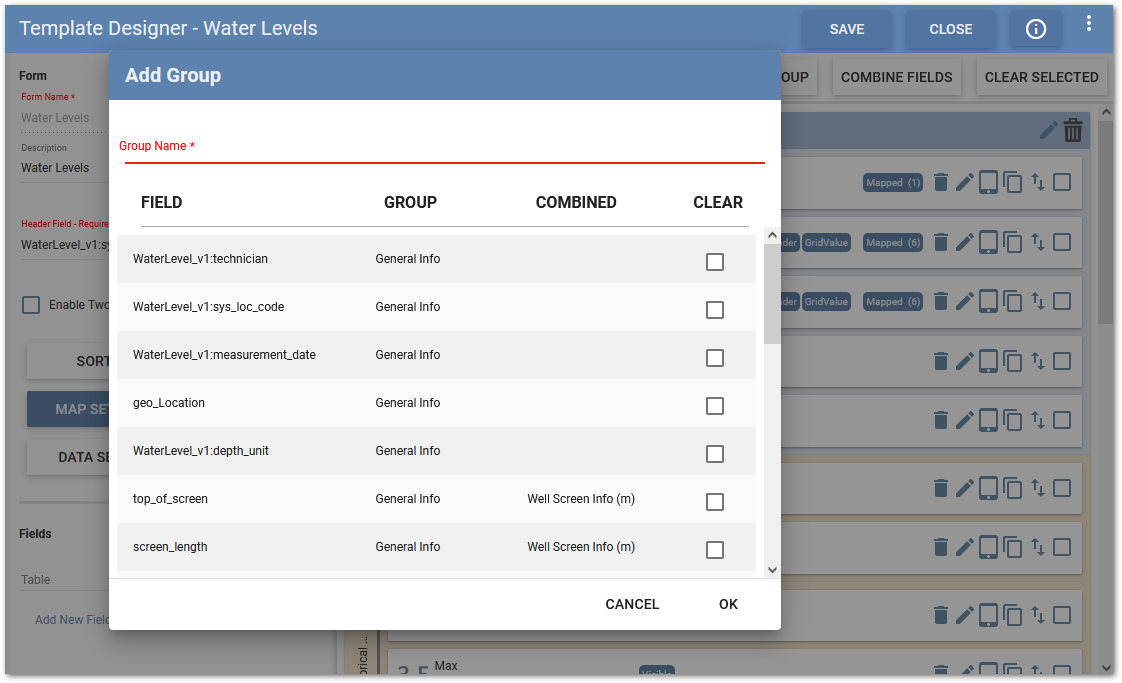
Note: When creating a group, selecting a field that already belongs to a Group will move that field from its current Group to the newly created Group. A warning will be displayed below the field in red, when selecting fields that belong to other groups.
|
|---|
The display of Grouped fields is collapsible/expandable on the Form Setup page by clicking on the +/- icon to the left of the Group name.
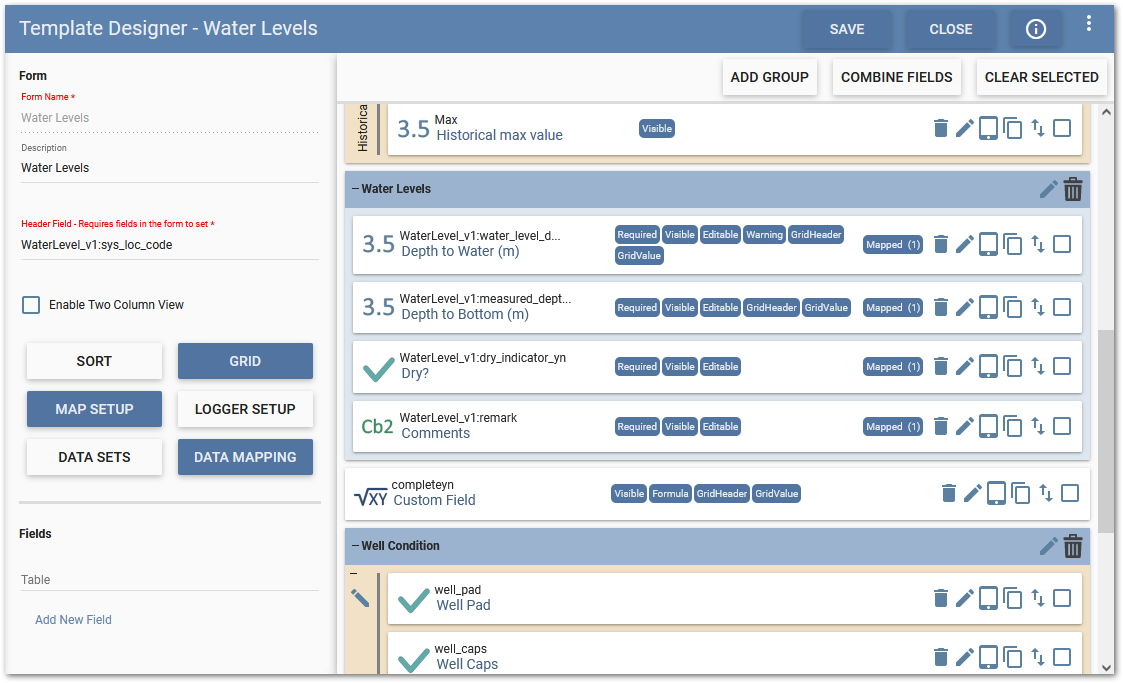
The second method to add a group is to first select the fields to be added by checking the box at the right side of the desired fields. Then click the Add Group button. The previously selected fields will be automatically selected in the Add Group dialog. Enter a group name and click OK.
Edit Group
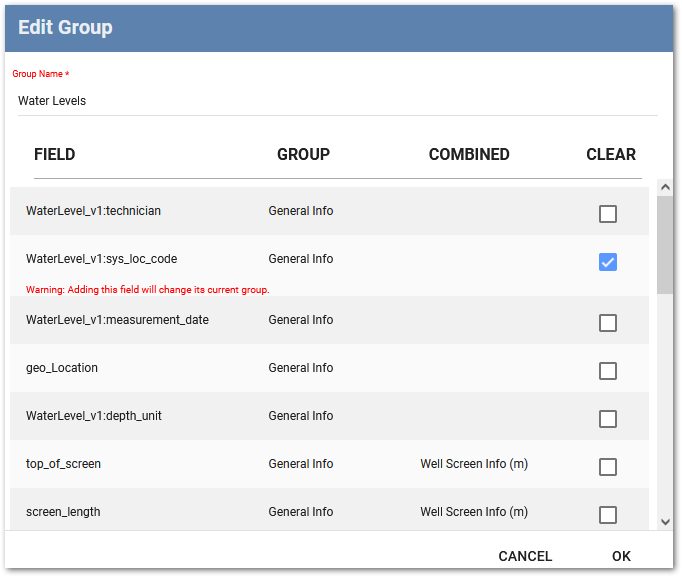
To Edit a group, click on the Edit ![]() button in the Group header. The Edit Group window will be displayed. Fields currently assigned to that group with appear in blue. All other fields will appear in black. Reassign fields and/or rename the group. Click the OK button at the bottom of the Edit Group window to save changes.
button in the Group header. The Edit Group window will be displayed. Fields currently assigned to that group with appear in blue. All other fields will appear in black. Reassign fields and/or rename the group. Click the OK button at the bottom of the Edit Group window to save changes.
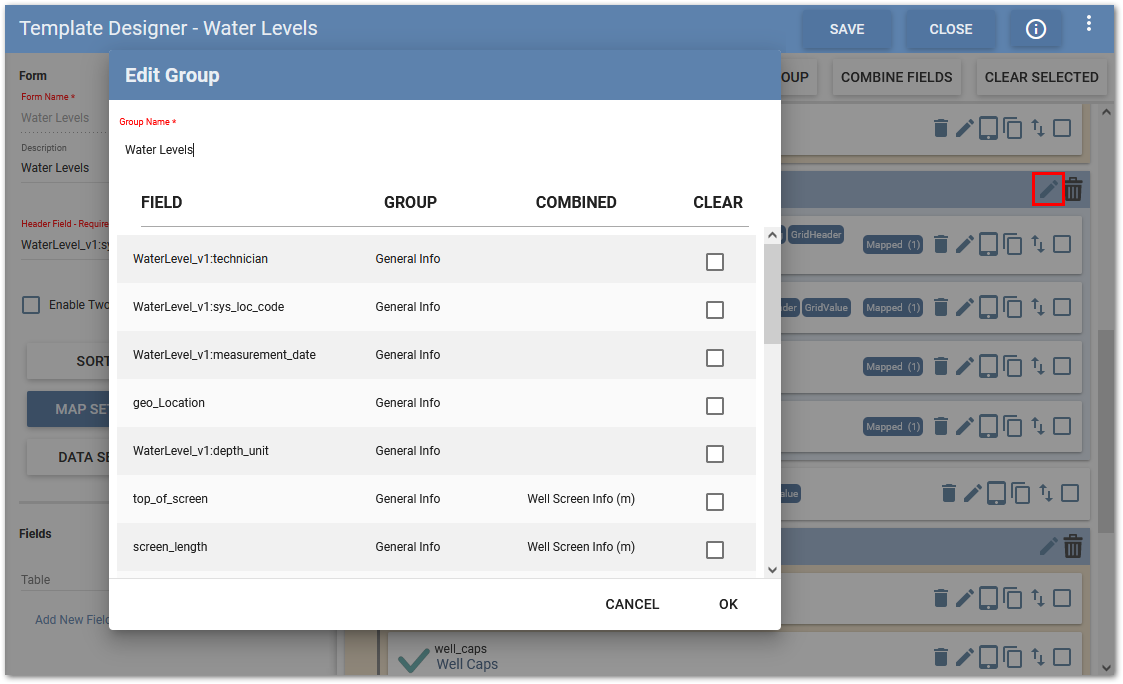
Note: When editing a group, selecting a field that already belongs to a Group will move that field from its current Group to the edited Group. A warning will be displayed below the field in red, when selecting fields that belong to other groups.
|
|---|
Delete Group
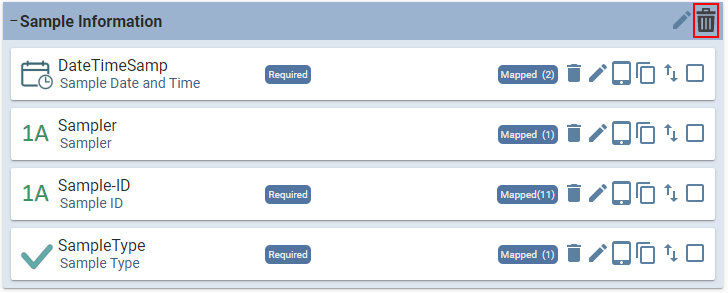
To delete a group, click the Delete button in the Group header. The fields will become ungrouped. No warning message is provided.
