•Replace EQuIS Enterprise Icon Image
The EQuIS Enterprise Login Screen can be customized through entries in the ST_CONFIG table or replacing images.
Replace EQuIS Enterprise Icon Image
The EQuIS Enterprise icon that appears on the Enterprise Login Screen can be replaced with a company logo or other image. The following steps outline the process involved in replacing the EQuIS Enterprise icon image.
Instructions
1.Add the desired image file to a directory/folder (e.g., C:\Program Files\EarthSoft\Enterprise7\assets\images).
2.Open the Login.html file found in the C:\Program Files\EarthSoft\Enterprise7\components\Login.html folder in a text editor (e.g., Notepad++).
3.Navigate to the section "set image for login dashboard" (approximately Line 5).
4.Replace the existing directory path and image file name with the path and name of the new image file.
<img style="width:50px; height:50px;" src="directory path/image name and extension" layout-margin/>

5.The EQuIS Enterprise icon (favicon.ico) image is 50 x 50 pixels. If the replacement image has different dimensions, the width and height specifications for the new image may need to be modified in the Login.html file to prevent distortion.
6.Save the Login.html file.
Acceptable Image Formats
.png
.svg
.jpg or .jpeg
.gif
.bmp
Note: Do not modify the class="custom-image". |
The background image file for the Enterprise Login Screen is welcome-background.png found in the assets\dist\images folder of the application. The easiest way to change the background for the Login Screen is to replace this file with another image that has the same file name.
1.Rename the desired image file to welcome-background.png.
2.Navigate to the install location of Enterprise.
3.Navigate to the assets\dist\images folder of the application.
4.Overwrite or delete the welcome-background.png file that is currently in the folder and replace it with the custom background file with the same name.
5.Refresh and clear cache of the application to see the new custom background image.
The default welcome-background.png image is 1500 x 844 pixels. Since the background image is dynamic with different screen sizes, users may need to experiment with the background image file to have it work well on most screens. Image dimensions of 1920 x 1080 pixels and 1024 x 768 pixels seem to behave well with most screens, depending on the image content.
The EQuIS Enterprise Login Screen can be customized in a variety of ways using entries in the ST_CONFIG database table, as described briefly below. Links to articles provide the details to implement the changes.
1.User Password Complexity – EQuIS user password complexity is enforced by applying a JavaScript Regular Expression match. If the entered password matches the expression then it is accepted. The default value for Password Complexity is "^(?=.*\d)(?=.*[a-z])(?=.*[A-Z]).{6,30}$". This matches any string that is between 6 and 30 characters long that includes numbers (ASCII code 48 to 57), lowercase letters (ASCII code 97 to 122), and uppercase letters (ASCII code 65 to 90). A different JavaScript Regular Expression can be set to enforce increased password complexity (see the User Password Complexity section of the Configure Login Screen article). The username and password are used by the Login Screen for Basic authentication (RFC 7617) and by Enterprise EDP User Certificates.
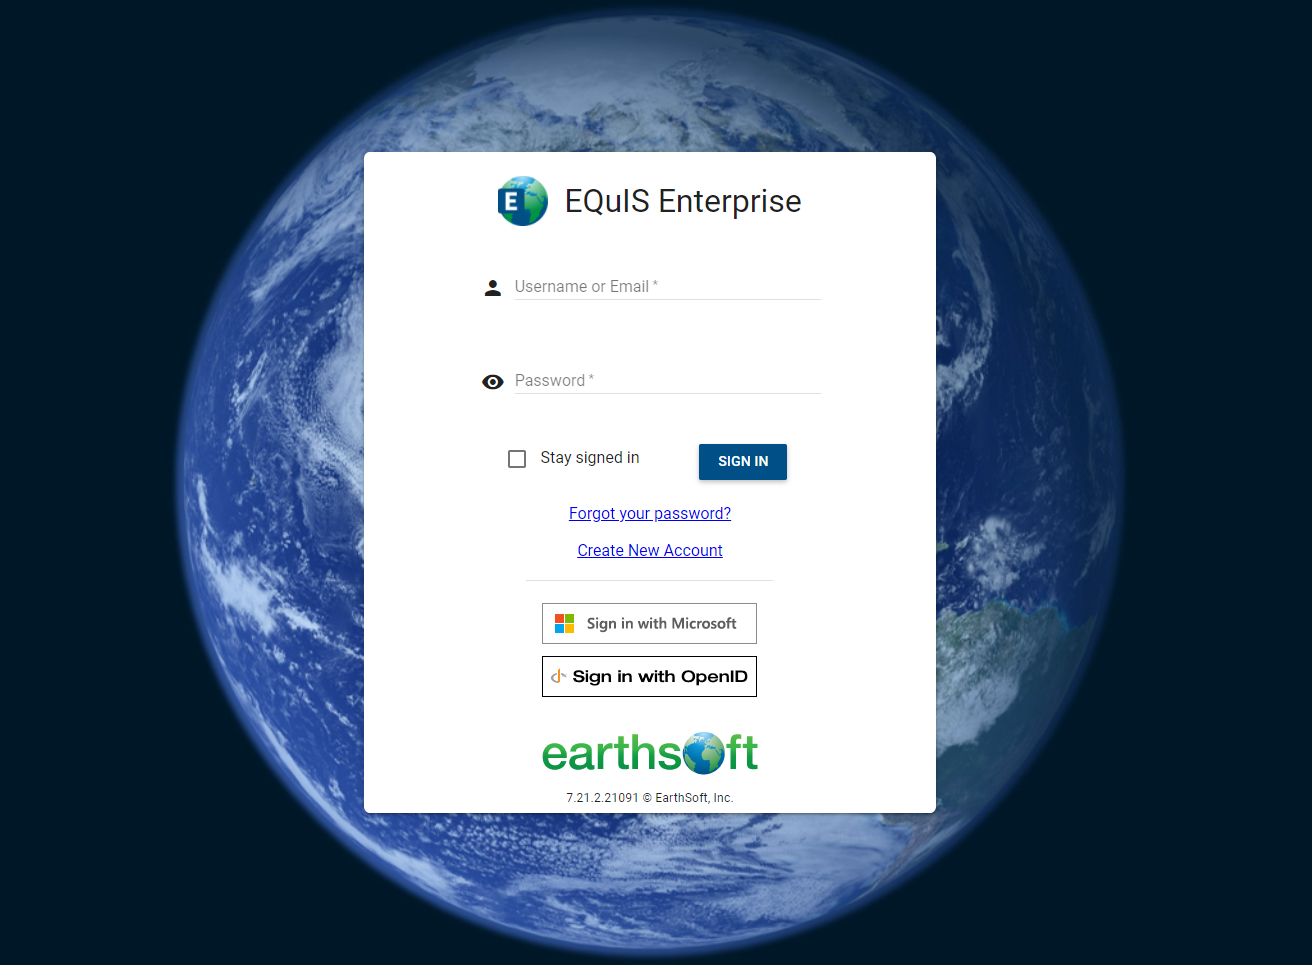
2.Authenticate Enterprise users with Microsoft Entra ID – Formerly known as Azure Active Directory (AAD). Enterprise users may be authenticated with Microsoft Entra ID. A "Sign in with Microsoft" button will be visible on the Enterprise Login Screen that will redirect the browser to https://login.microsoftonline.com/, where the user can login with an Microsoft Entra ID account. Upon successful login, the user will be automatically redirected back to Enterprise as an authenticated user.
3.Authenticate Enterprise users with OpenID Connect – Enterprise users may be authenticated with OpenID. A "Sign in with OpenID" button will be visible on the Enterprise Login Screen that will redirect the browser to the identity provider login screen, where the user will authenticate with the identity provider. Upon successful login, the user will be automatically redirected back to Enterprise as an authenticated user.
4.Use only Microsoft Entra ID or OpenID user authentication – If an administrator wants all EQuIS users to use only Microsoft Entra ID or OpenID user authentication, basic user authentication (i.e., EQuIS username and password) can be disabled. The EQuIS username and password text boxes and the Sign In button will no longer be displayed on the Login Screen. See the Configure Login Screen article.
5.Enable the ability to register a new user – The ability to register new users is disabled by default. An EnableRegistration entry needs to be added to the ST_CONFIG table to enable the new user registration functionality. Once the entry for enabling registration has been added to the ST_CONFIG table, a “Create New Account” link is displayed at the bottom of the Enterprise Login Screen.
6.Change “Create New Account” link text – When new user registration is enabled, the text for the link can be customized to meet specific needs. See the Configure Login Screen article.