The foundation of EQuIS Link is creating mapping project templates that can be used to easily map source data to an EQuIS format for upload to an EQuIS database. Mapping project templates contain the definition of source tables and target table mappings that can be used to read data from source tables and fields and send it to specific target tables. Once created, mapping project templates can be used repeatedly to load data. An existing mapping project template can be edited and then saved as a different template. Two mapping project templates can be merged together. Users can create a library of mapping project templates to meet their needs.
Note: Mapping project templates are eXtensible Markup Language (XML) files denoted with a .link file extension.
Link mapping project templates are compatible to Collect templates, however, they only use the Tables Section of the Collect template and do not use the Forms and Plotting definitions within the Collect template. Thus, Collect templates can be used as Link mapping project templates. |
|---|
Create a New Mapping Project Template
1.Open EQuIS Professional and select EDP ![]() from the Import group of the Home ribbon. Professional EDP opens in a separate window.
from the Import group of the Home ribbon. Professional EDP opens in a separate window.
2.Within Professional EDP, load the desired format file (e.g., Geotechnical.zip) to use as the target sections and fields in the EDD. Load a format file by selecting the Format ![]() button located in the Open group of the Home ribbon.
button located in the Open group of the Home ribbon.
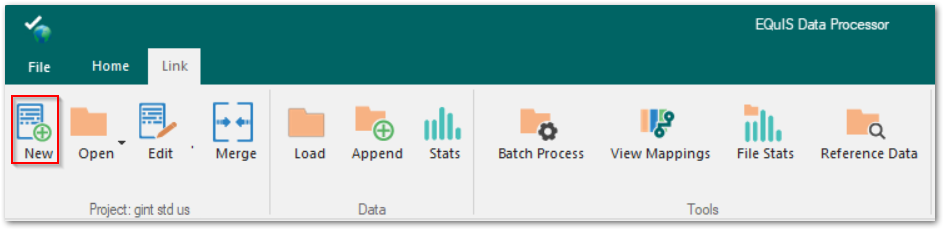
3.Select the Link ribbon and click the New button in the Project group.
4.In the Save As window, browse to the desired file folder. Create a file name and click the Save button to create the new mapping project template file.

5.The Mapping Project window opens. The file name and path are displayed in the window frame. Enter a mapping project template name and description.
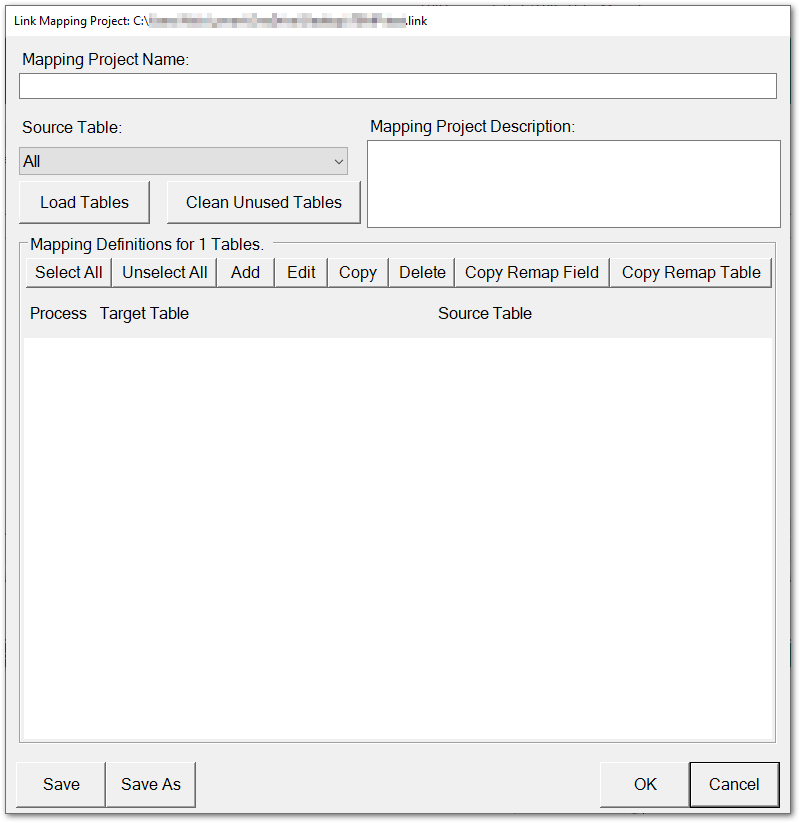
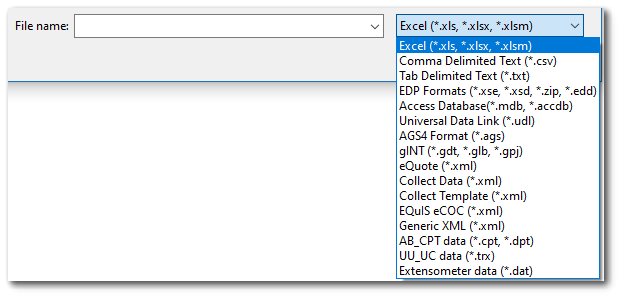
6.Click the Load Tables button to display an Open File window. Browse to the folder containing the source data. Use the file type drop-down to filter data files by file type. Select and Open the desired source data file.
Note: EQuIS Link requires the first line of an Excel data file to be the header row. |
|---|
7.For Excel (*.xls, *.xlsx, *.xlsm), Comma Delimited Text (*.csv), and Tab Delimited Text (*.txt) files, dialog opens to allow users to select the header rows so Link files can identify where the source data begins based on the selected rows. For other file types, the data will be displayed, but the option to set where the source data begins will not be available.
a.The annotated example below contains details and workflow steps:
1.Name of the Link table.
2.Source tab detailing what will be shown in the Excel output (limited to 100 rows).
3.Select the header row(s).
4.Click the Source Selection -> New Fields button.
5.The New Fields table should now include the header rows (i.e., field names) that were selected in step 3.
6.Click OK to save the changes.

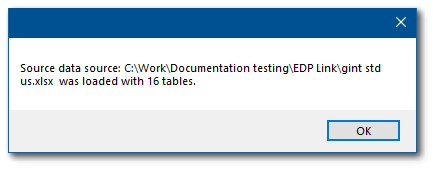
8.A message box will detail which file was loaded and how many data tables the file contained. Click the OK button.
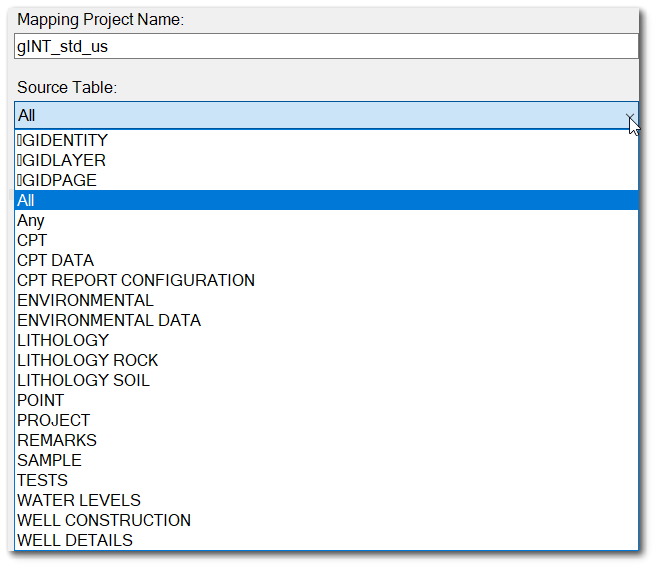
9.Select the Source Table drop-down menu to view the available source data tables. Select the desired source table from the list to begin the data mapping process.
10.Add as many data mappings as needed. See the EQuIS Link Data Mapping article for details on creating and editing data mappings.
11.Click the Save button to save changes to the mapping project template.
12.Click the OK button to close the Mapping Project window.
13.EQuIS Link is now ready to load data files to map to the EDD format.
Open a Mapping Project Template
1.Open EQuIS Professional and select EDP ![]() from the Import group of the Home ribbon. Professional EDP opens in a separate window.
from the Import group of the Home ribbon. Professional EDP opens in a separate window.
2.Within Professional EDP, load the corresponding format file (e.g., Geotechnical.zip) to use as the target sections and fields in the EDD. Load a format file by selecting the Format button ![]() located in the Open group of the Home ribbon.
located in the Open group of the Home ribbon.
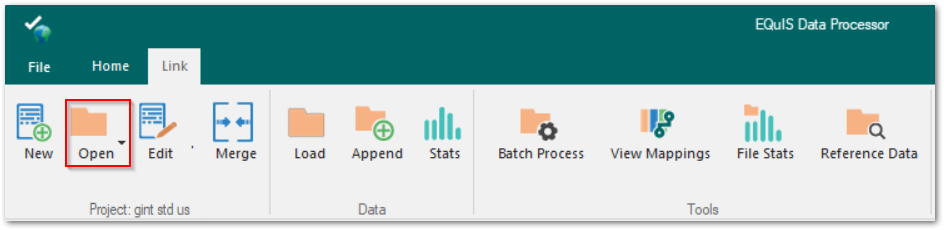
3.Select the Link ribbon and click the Open button in the Project Group.
4.In the Open File window, browse to the folder containing the desired mapping project template file. Select and Open the file to load the existing data mappings. To support the Geotechnical Module, an example mapping project template (i.e., gINT_US.link) has been provided in the Example folder (e.g., C:\Program Files\EarthSoft\EQuIS\Example\GeoTechnical\Link).
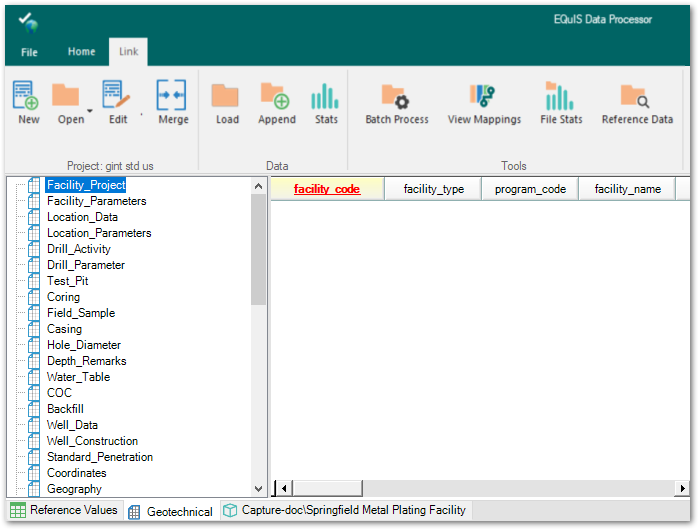
5.The Mapping Project window opens displaying the data mappings associated with the project template. Click the OK button.
6.EQuIS Link is now ready to load data files to map to the EDD format.
Edit a Mapping Project Template
An existing mapping project template can be edited to accommodate source data changes. An existing mapping project template can also be edited and then saved as a different template.
1.Open EQuIS Professional and select EDP ![]() from the Import group of the Home ribbon. Professional EDP opens in a separate window.
from the Import group of the Home ribbon. Professional EDP opens in a separate window.
2.Within Professional EDP, load the corresponding format file (e.g., Geotechnical.zip) to use as the target sections and fields in the EDD. Load a format file by selecting the Format button ![]() located in the Open group of the Home ribbon.
located in the Open group of the Home ribbon.
3.Select the Link ribbon and click the Open button in the Project Group.
4.In the Open File window, browse to the folder containing the desired mapping project template file. Select and Open the file to load the existing data mappings.
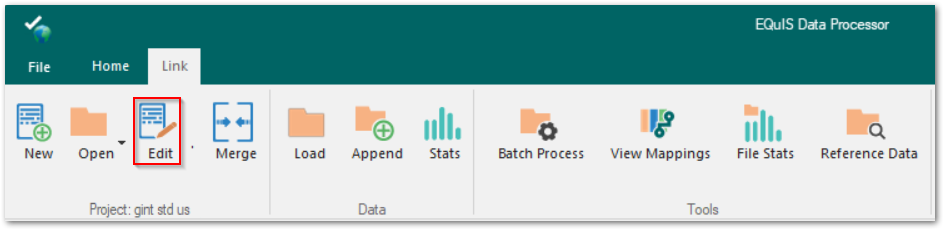
5.After the project template loads, click the Edit button in the Project Group.
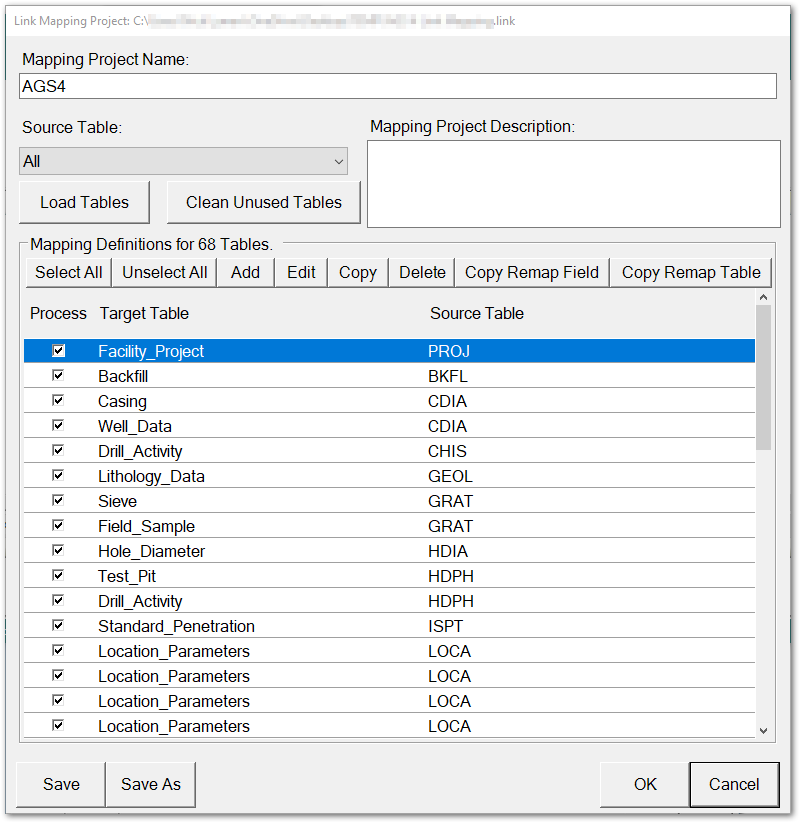
6.The Mapping Project window opens. The file name and path are displayed in the window frame.
7.(Optional) To use the existing template to create a new template, click the Save As button to change the file name. Change the mapping project template name and description.
8.Make the desired edits to the data mappings. See the EQuIS Link Data Mapping article for details on editing the data mappings.
9.Click the Save button.
10.Click the OK button to close the Mapping Project window.
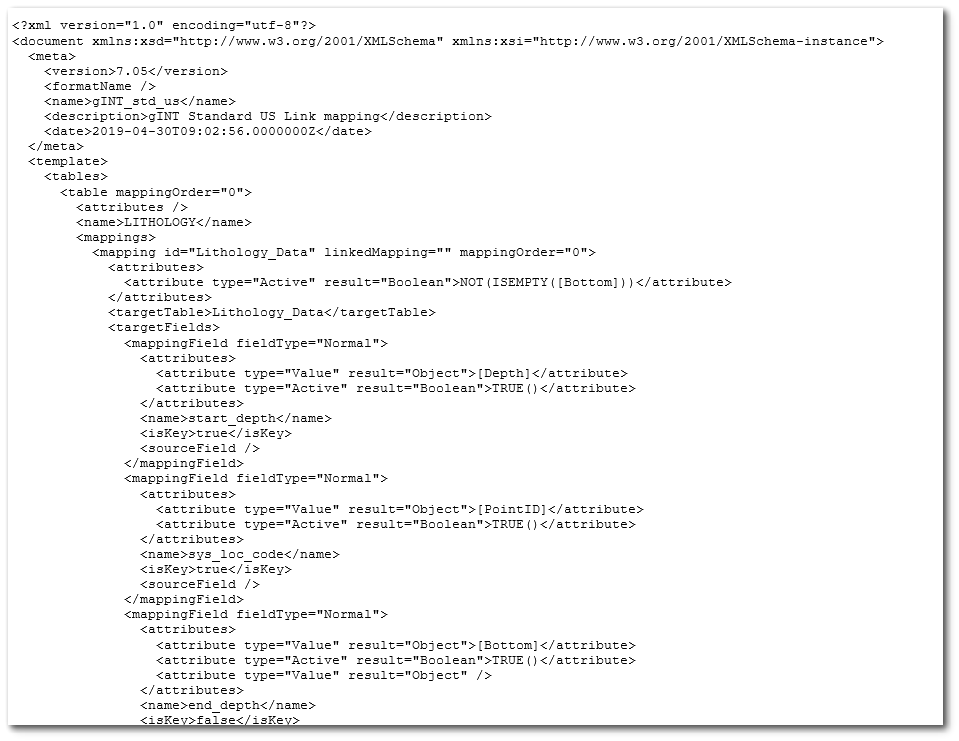
Tip: Mapping Project templates are eXtensible Markup Language (XML) files denoted with a .link file extension. Thus, the Mapping Project templates can be opened in a browser window to view the data mapping.
Mapping Project templates are also compatible with Collect templates, and therefore, Collect pre-population or collect forms templates can be opened and used to map data. Type in *.xml in the open dialog when opening a Mapping Project Template to see XML files and select the PrePopulation.xml or FormsDef.xml file that are provided in Collect template zip files available on the EarthSoft Community Center.
|
|---|
Merge Mapping Project Templates
An existing mapping project template can be merged into the current mapping project template. For the merge process to work correctly, both templates should target the same format. All mappings from the selected template will be added to the current (open) project.
Warning: Once a template is merged with the current (open) template, all mappings from the selected template are added to the current project. An undo option does not exist. Users can make a copy of an existing mapping project template prior to merging if a user is uncertain about the merging process. |
|---|
1.Have open the desired mapping project template file (original file) that will receive the data mappings after the merge.
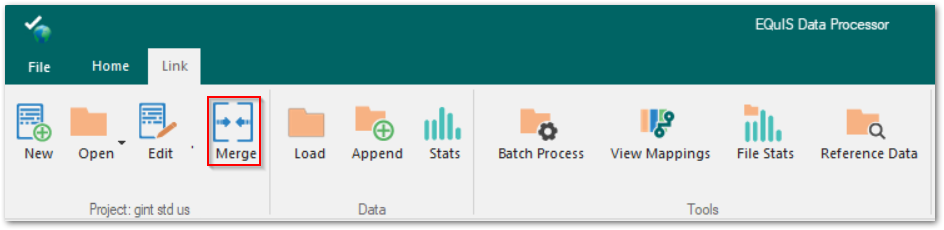
2.Click the Merge button in the Project Group.
3.In the Open File window, browse to the folder containing the mapping project template file to merge with the current mapping project template. Select and Open the file to load the existing data mappings.
4.The data mappings from the selected file are now in the original mapping project template.
Publish Mapping Project Templates
An existing mapping project template can be published, allowing for simpler configuration of "virtual" formats. When published, a Link file will be added to DT_FILE and configuration records will be added, or updated, in ST_CONFIG. If a reference file is added and selected, that file will also be added to DT_FILE and configured in ST_CONFIG.
Notes: •This functionality requires an active Link license and Administrator permissions. •The Publish button will be disabled until the following criteria are met: oA user with Administrator permissions is logged in. oEDP is connected to a database. oEDP has access to a Link project. oA format has been selected in EDP. |

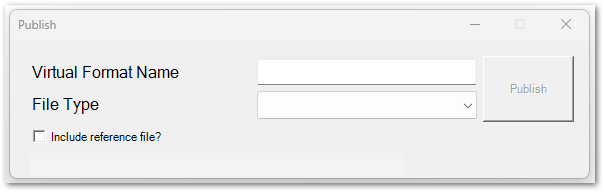
The Publish button opens the following dialog:
For additional information about configuring EQuIS Link virtual formats, please see the Configuring EQuIS Link Virtual Formats in Professional EDP article.