Connect to the Data Logger
Connect the data logger to the computer or mobile device using the following steps:
1.Turn on the data logger's Bluetooth, or plug the data logger's serial/USB cable into the computer or mobile device running the Collect Mobile app.
2.In Collect Mobile, open a form that has the logger setup configured (see Setup Form).
3.Tap the Logger button in the navigation bar on the form.
![]()
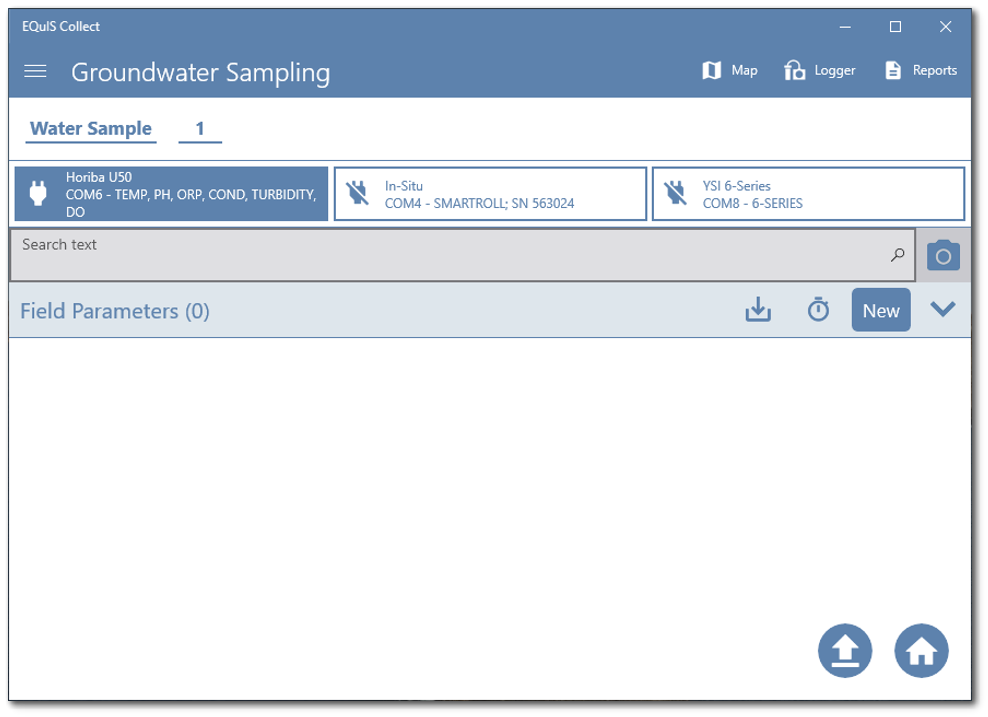
4.The Collect Mobile app will display supported probe types.
Note: Android and iOS currently only support In-Situ probe types. If using these Mobile devices, go to Step 6. |
|---|
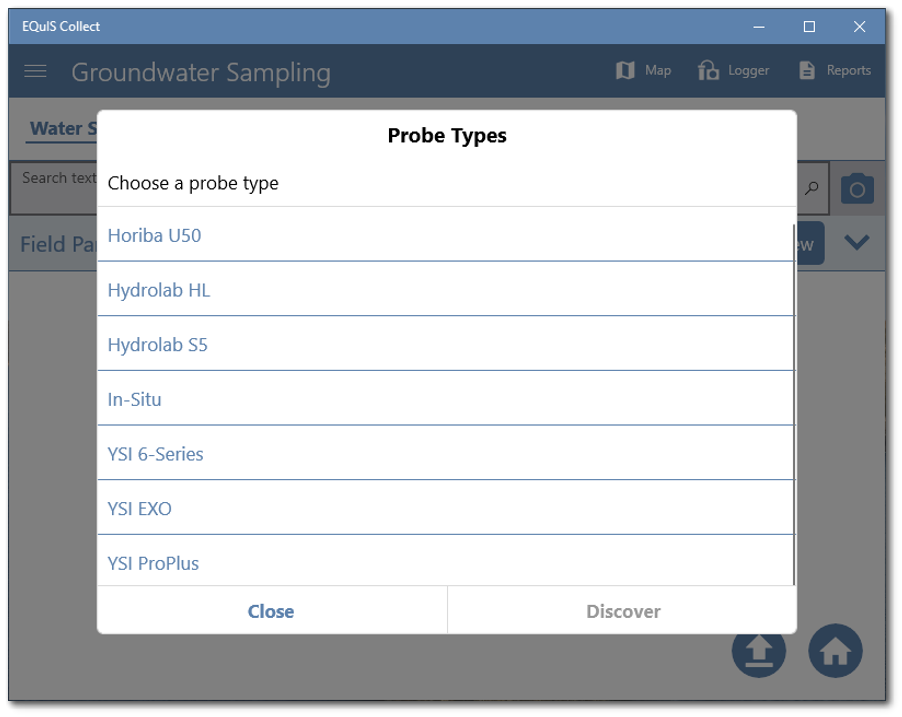
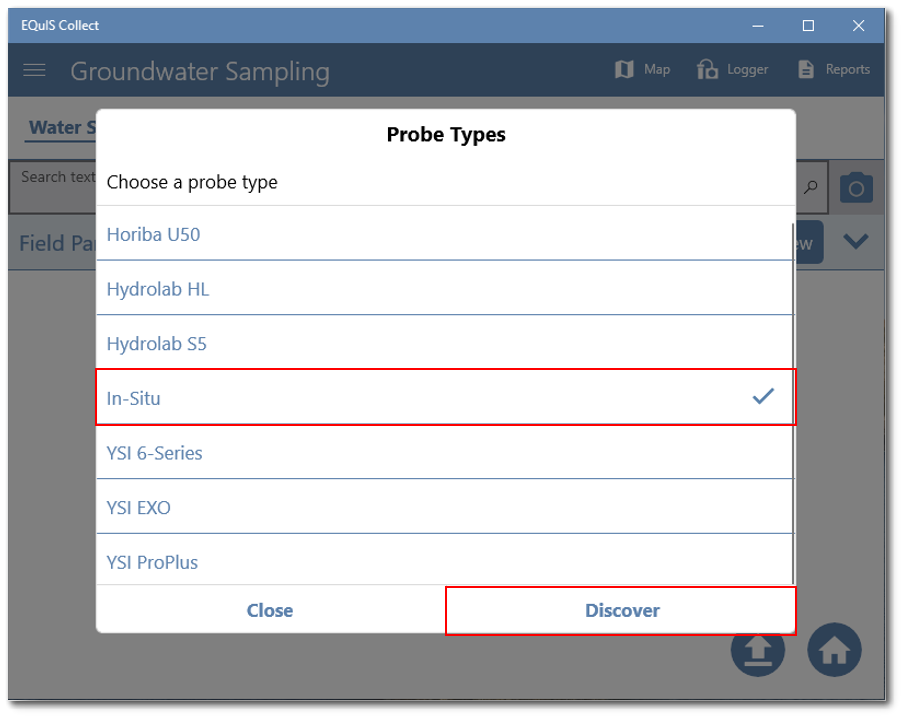
5.Select the desired probe type and tap the Discover button.
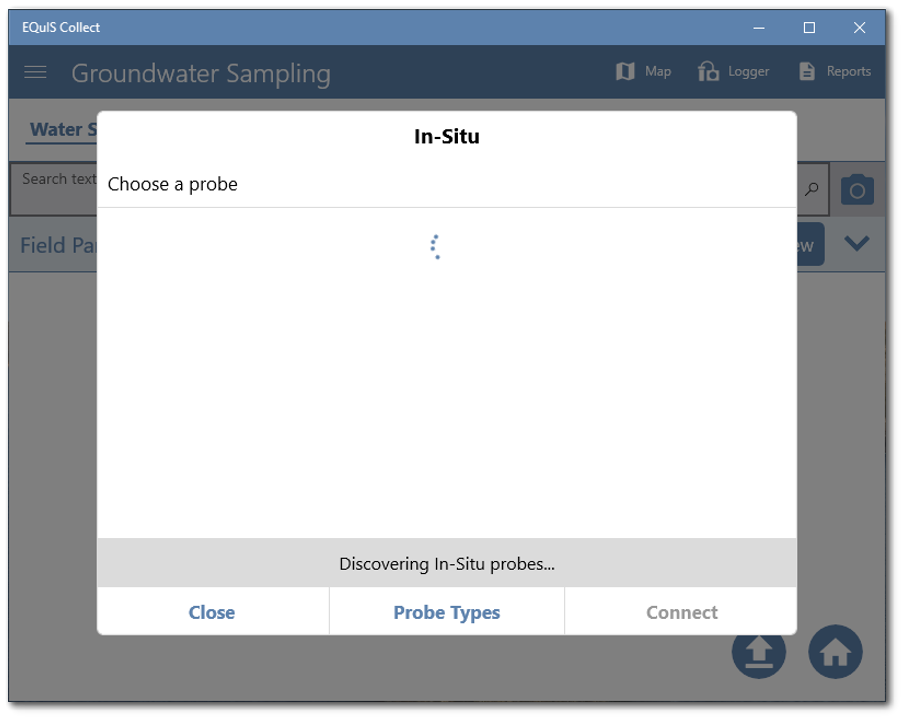
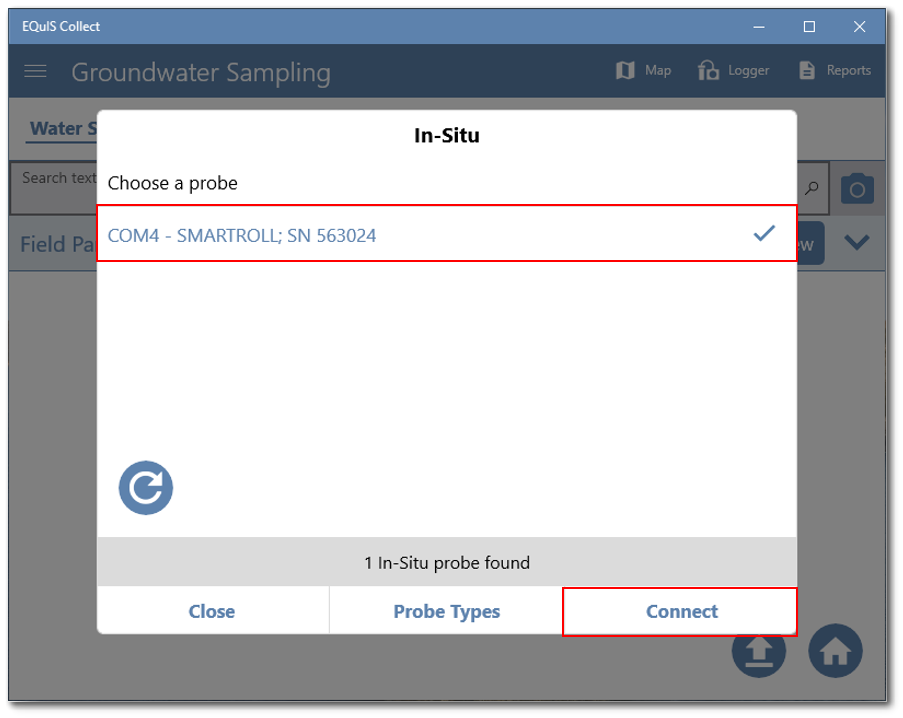
6.The Collect Mobile app will detect available data loggers for the selected probe type.
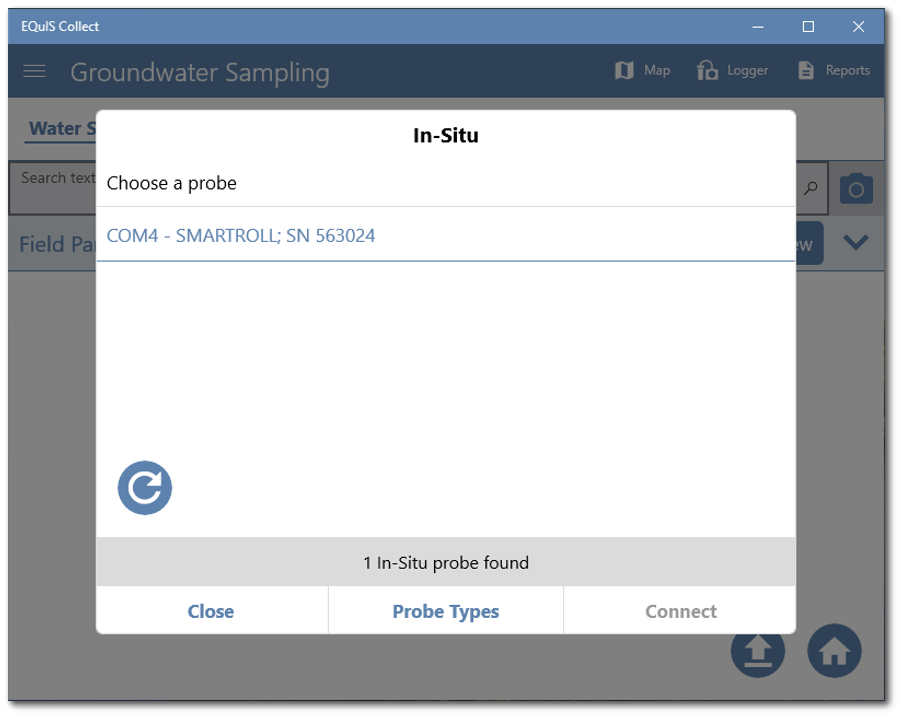
7.Select the desired data logger and tap the Connect button.
8.The Collect Mobile app will try to establish a connection to the data logger.
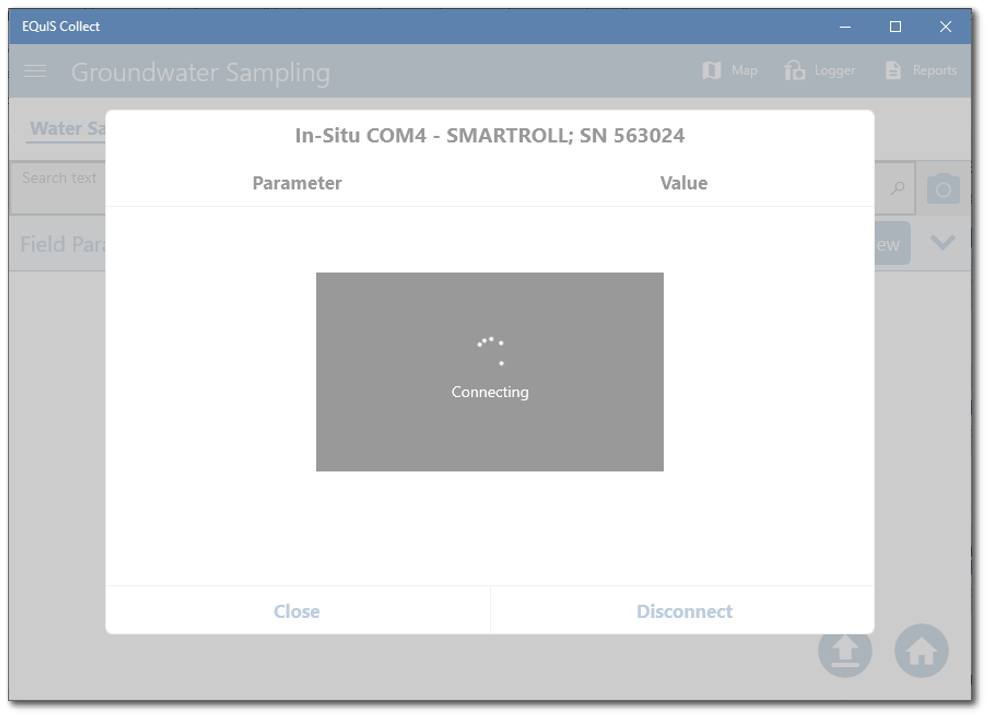
9.If the connection process fails, the following dialog will be displayed. Tap the Ok button. The dialog will disappear, and the app will again attempt to detect the available data loggers for the selected probe type.

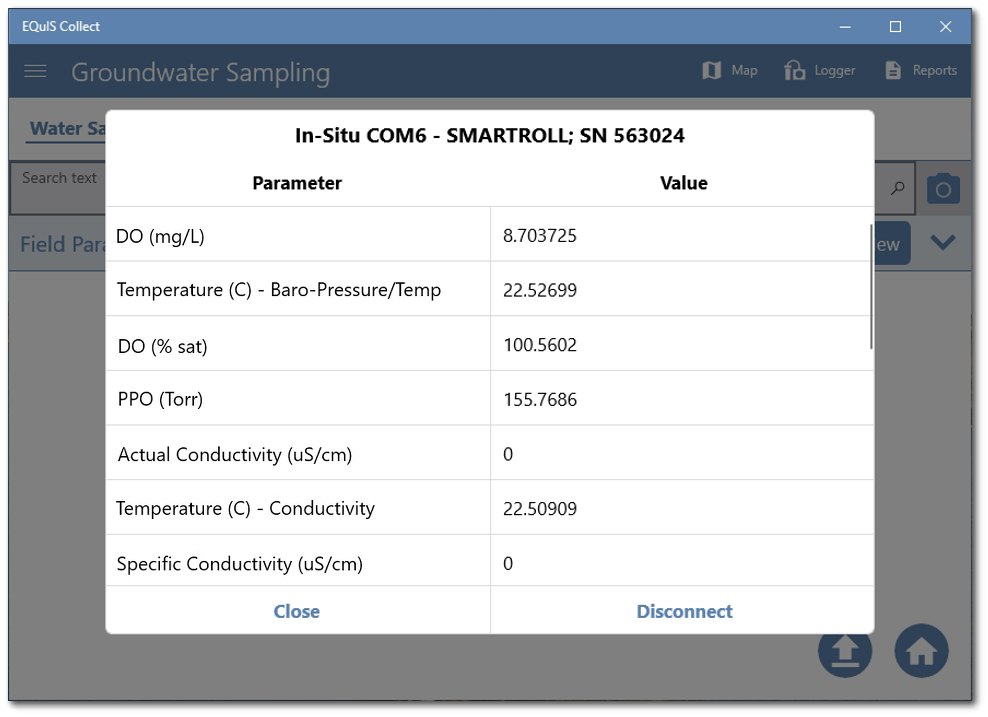
10.If the connection process was successful, the data logger will begin getting sensor parameter values.
Note: Sensor parameter labels will be abbreviated (e.g., Temperature (C) - DO is the temperature value captured by the 'DO' sensor) if there are multiple(s) of the same parameter from different sensors. |
|---|
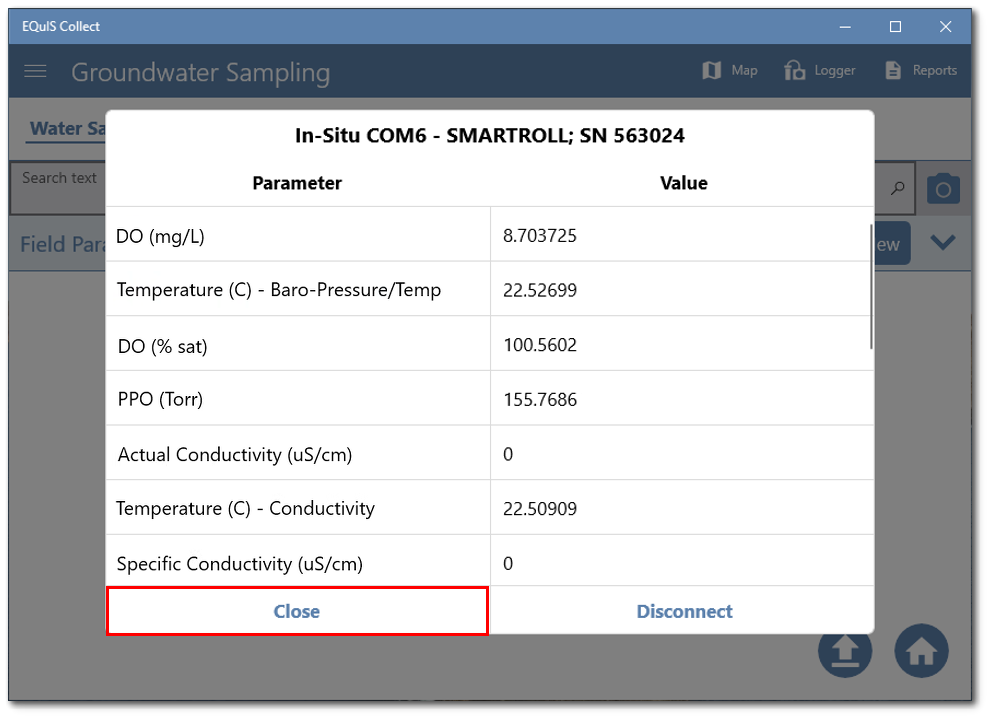
11.Close the logger window.
12.The Collect Mobile app will display the last three loggers that were connected to the device. The loggers can be viewed in the loggers bar, which is located below to the navigation bar on the top of the screen. The currently connected logger will be highlighted in the loggers bar. To switch between loggers, touch the desired logger.
Capture Logger Data on Collect Mobile
After a connection has been established between the data logger and the Collect Mobile app, the logger can be used to populate fields on a form. Three methods are available to populate fields and create a new record:
•Tap Fast Creation Record Button
•Create New Record and Tap Logger Icon
•Set Capture Interval
Note: When a logger is populating fields with data or creating new records, the logger buttons will temporarily become disabled while the logger is collecting data. |
|---|
Each of these methods will be described using an example Low Flow Sample form. In the example, the data logger is capturing pH, conductivity, turbidity, dissolved oxygen (DO), temperature, and oxidation reduction potential (ORP). Depth to water and turbidity are manually entered by the field technician. The form is configured to use stabilization calculations to determine if field parameters have stabilized.
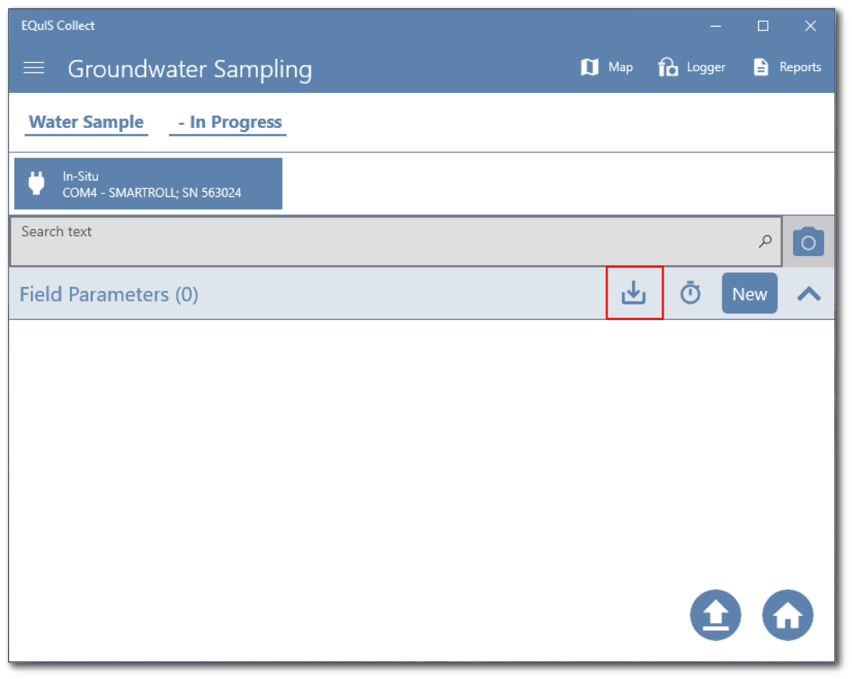
Method 1: Tap Download Icon
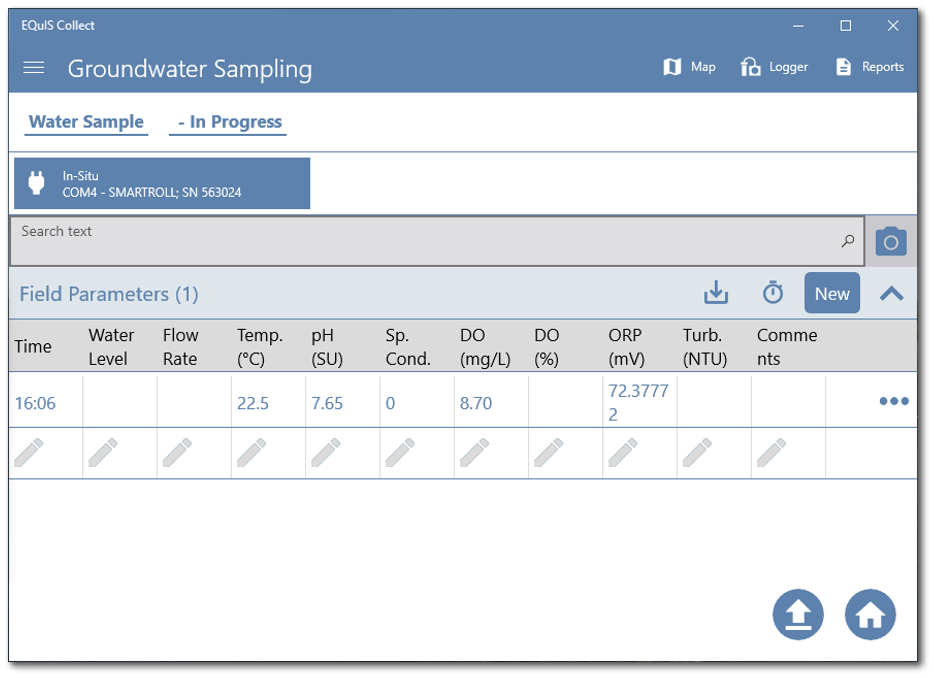
1.Tap the Fast Creation Record Button to create a record and pull the field parameter values from the logger.
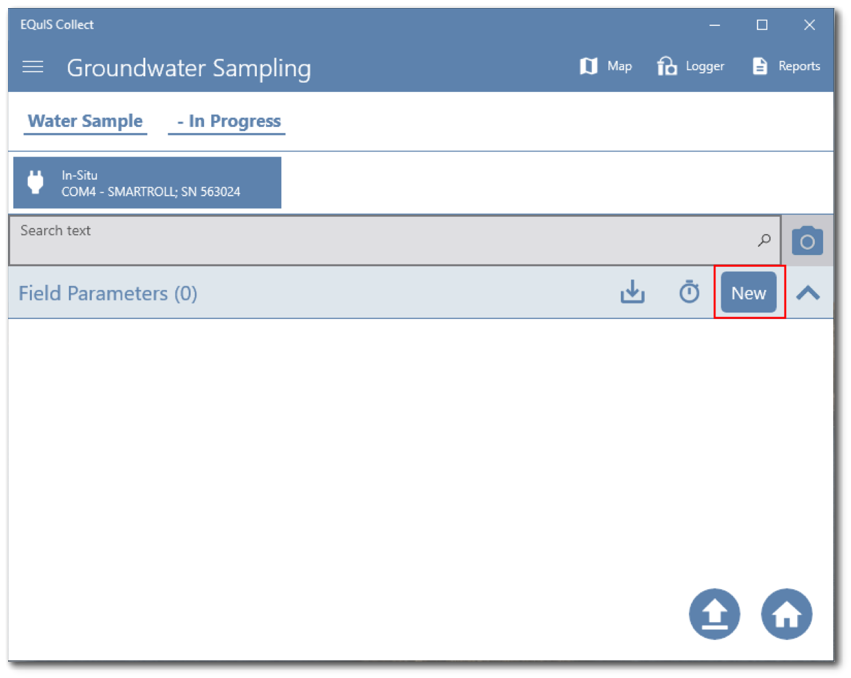
Method 2: Create New Record and Tap Logger Icon
1.Tap the New button to start creating the first record.
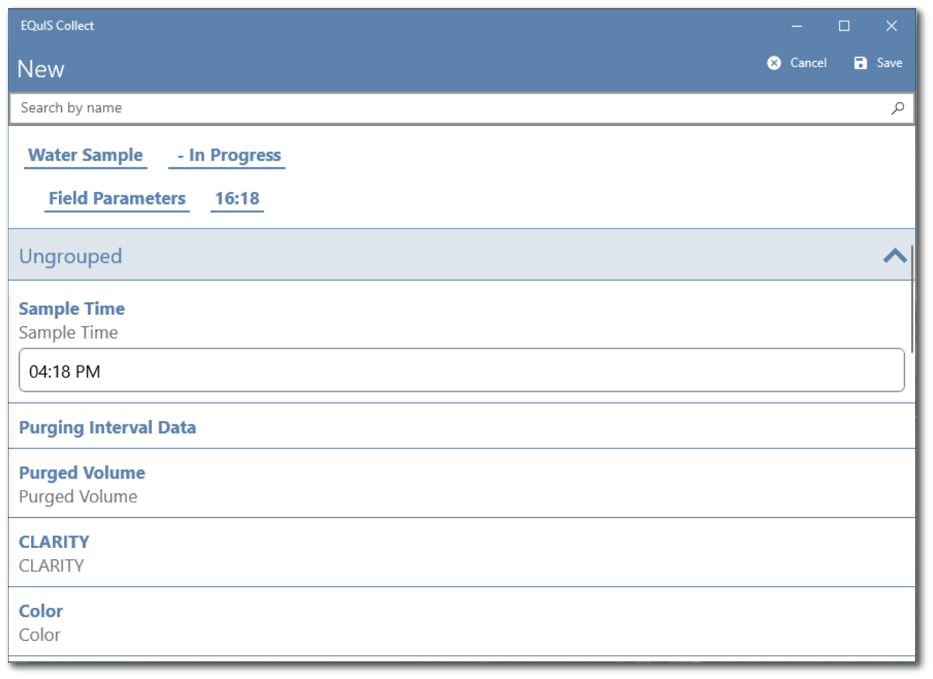
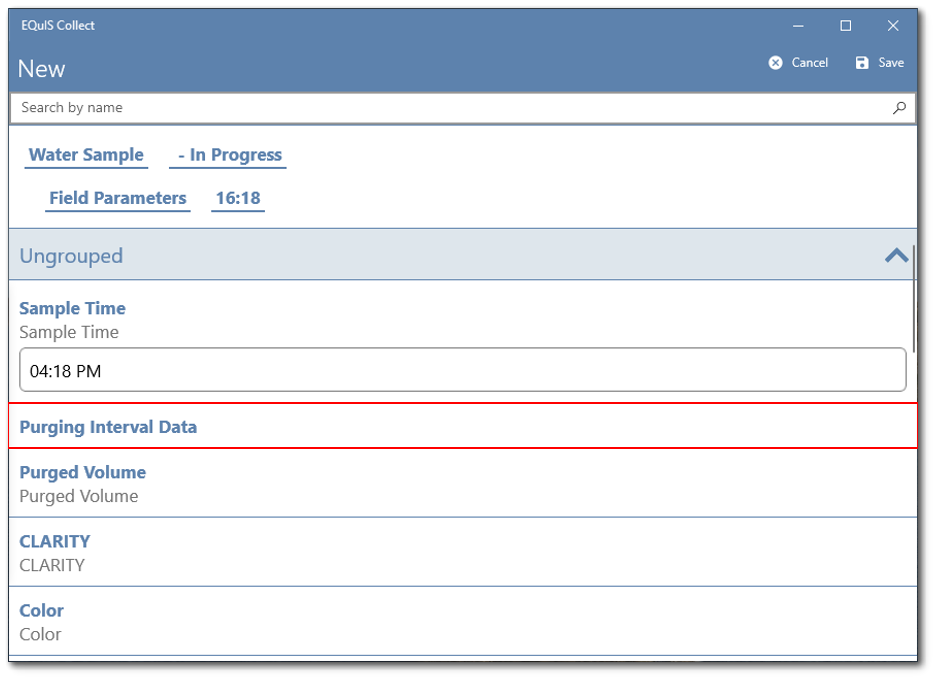
2.Tap on the Purging Interval Data field.
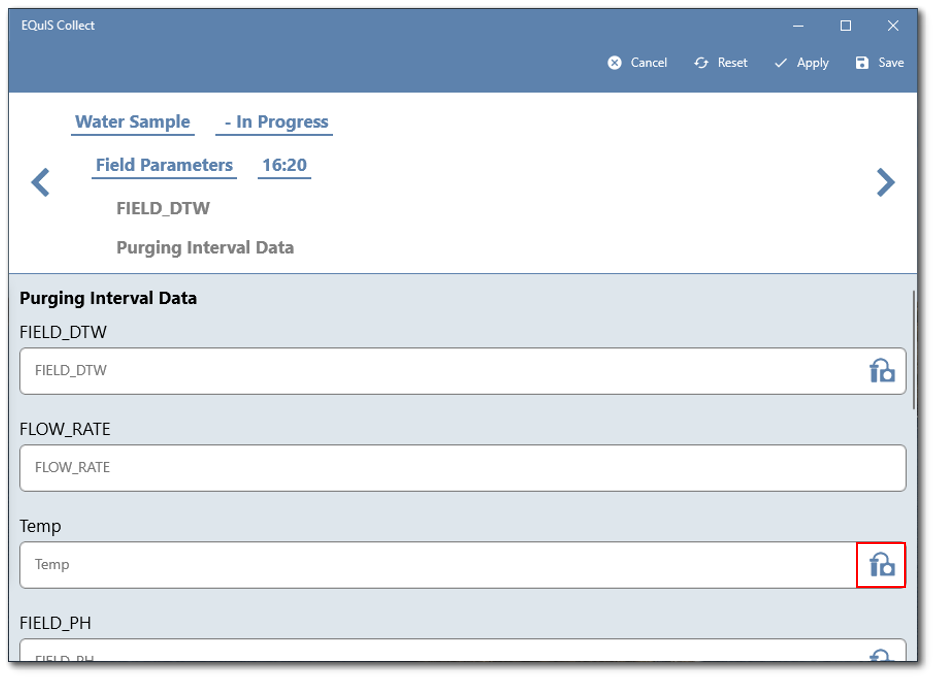
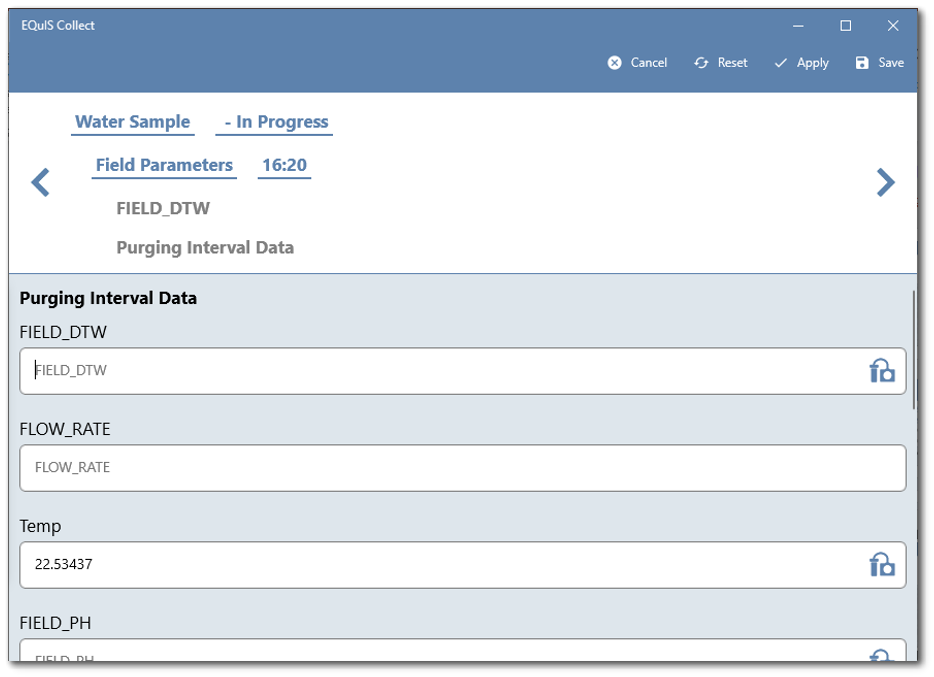
3.Tap the Logger icon to populate data from the logger to the fields.
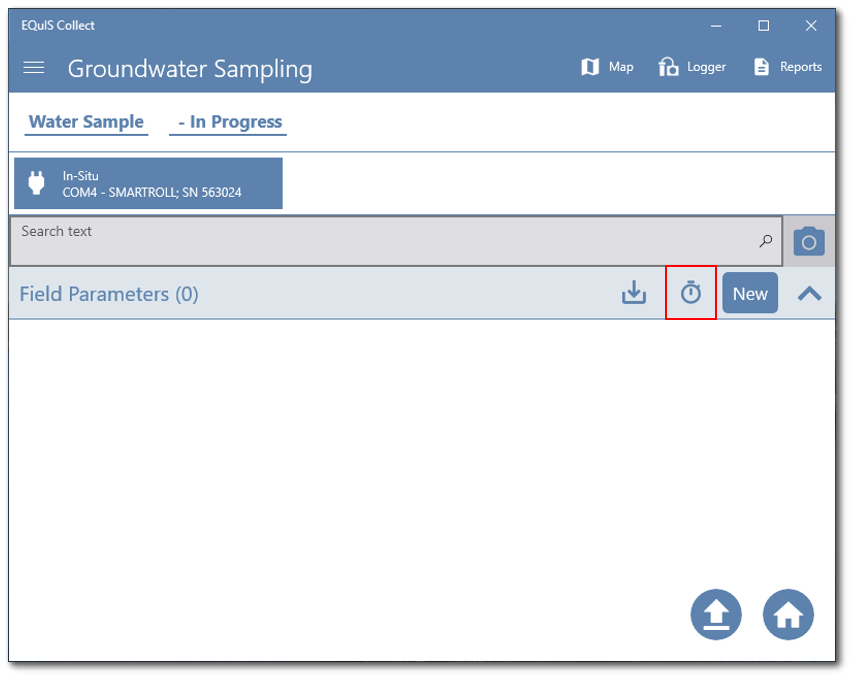
Method 3: Set Capture Interval
For a data logger with an established connection to the Collect Mobile app, a capture interval can be set.
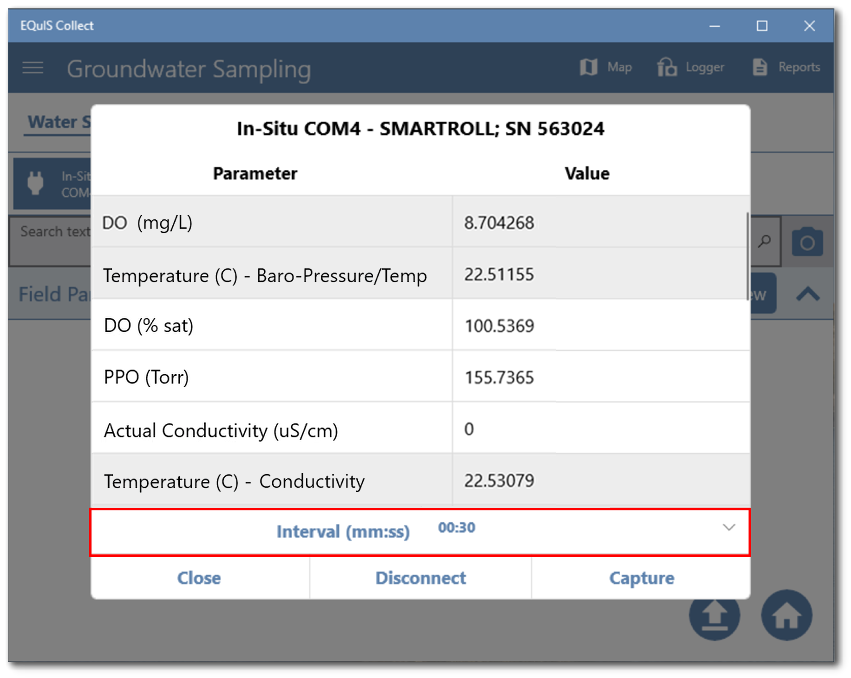
1.Tap the Interval button.
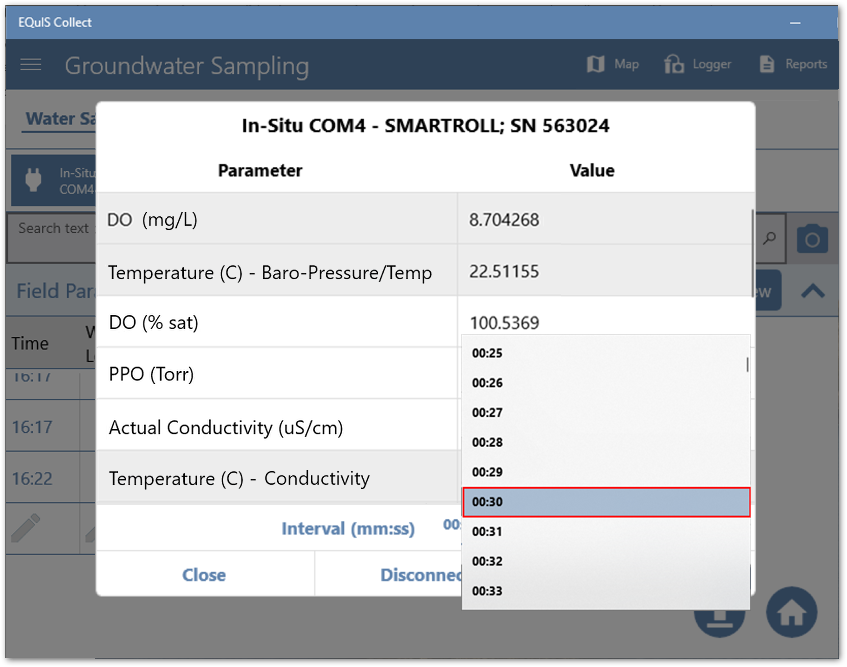
2.Tap the Interval setting and scroll to set the desired time interval between data capture events.
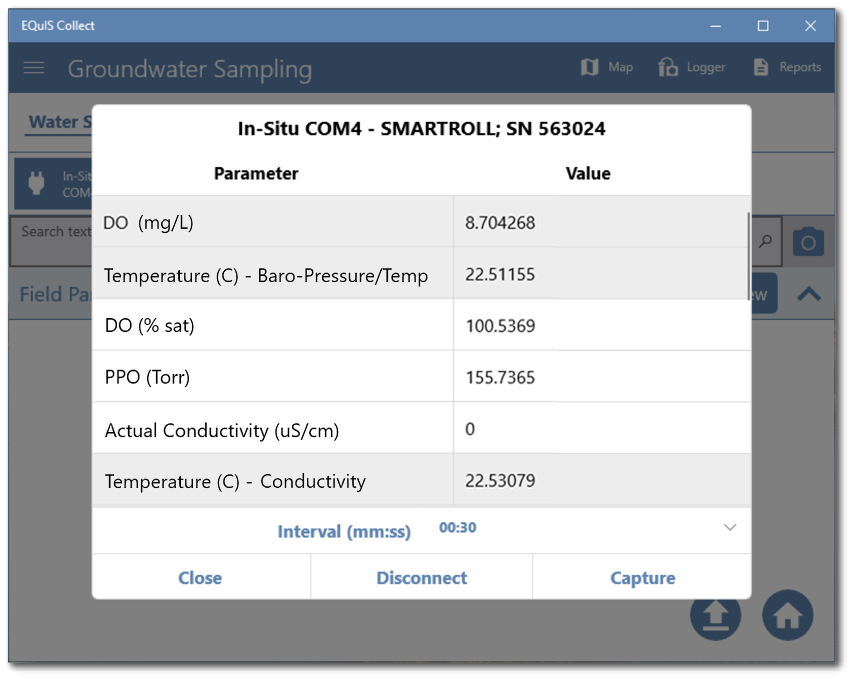
3.Tap the Capture button to start collecting data from the logger.
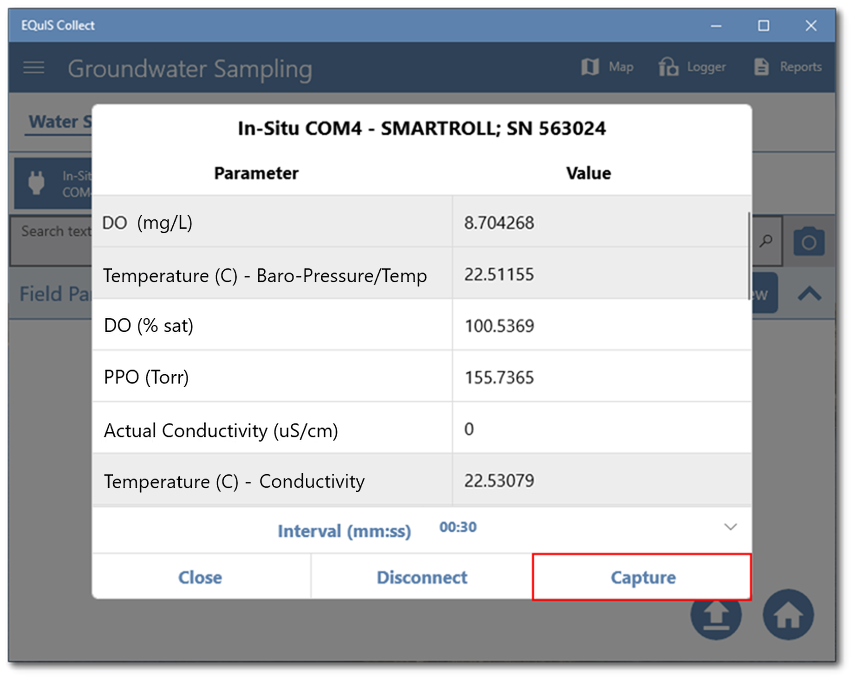
4.A new record will be generated and the field parameter values will be populated from the logger.
5.At each capture interval, another record will be generated until the user taps the Stop button.
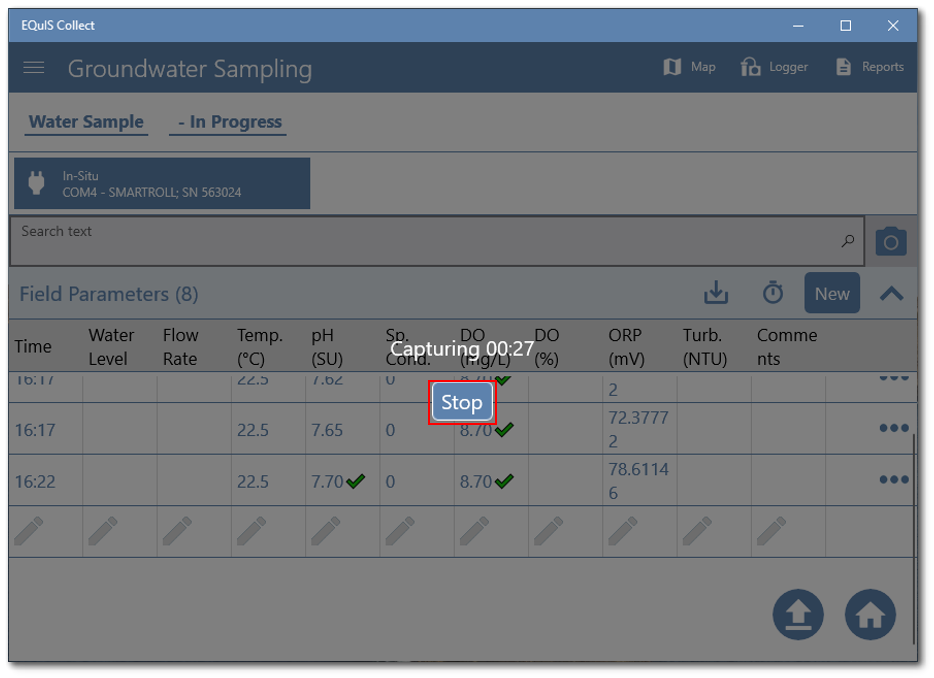
6.Allow the data logger to capture data until the field parameters have achieved stabilization. Stabilization alerts can be added to the fields using stabilization functions.