EQuIS Data Layers
Users can add EQuIS data as group layers in ArcGIS Pro using three different modals:
•Add EQuIS Geospatial Data – Locational and facility data
•Reports – Choose from saved EQuIS user reports or run ad hoc reports
•Table Labels – Run reports and display output in a crosstab table

EQuIS data can be added to the map as either a Link or Snapshot layer.
•Link Layer – Adding a layer using the As Link option will create a Live Connection to the Enterprise site. The layer will be created within the Site’s Group Layer. A live connection can be refreshed if the connection becomes stale or if the project has been closed and reopened (Refresh Connection to a Layer).
•Snapshot Layer – Selecting As Snapshot to add a layer will download a copy of the data at that given point in time. The copy is stored in the specific project's database. The layer name will have the Date the layer was created appended to the end (yyyyMMddmmHHss). The layer will not be created within the Site’s Group Layer.
Sorting and Filtering
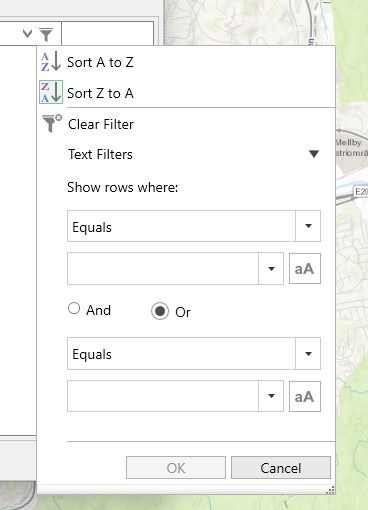
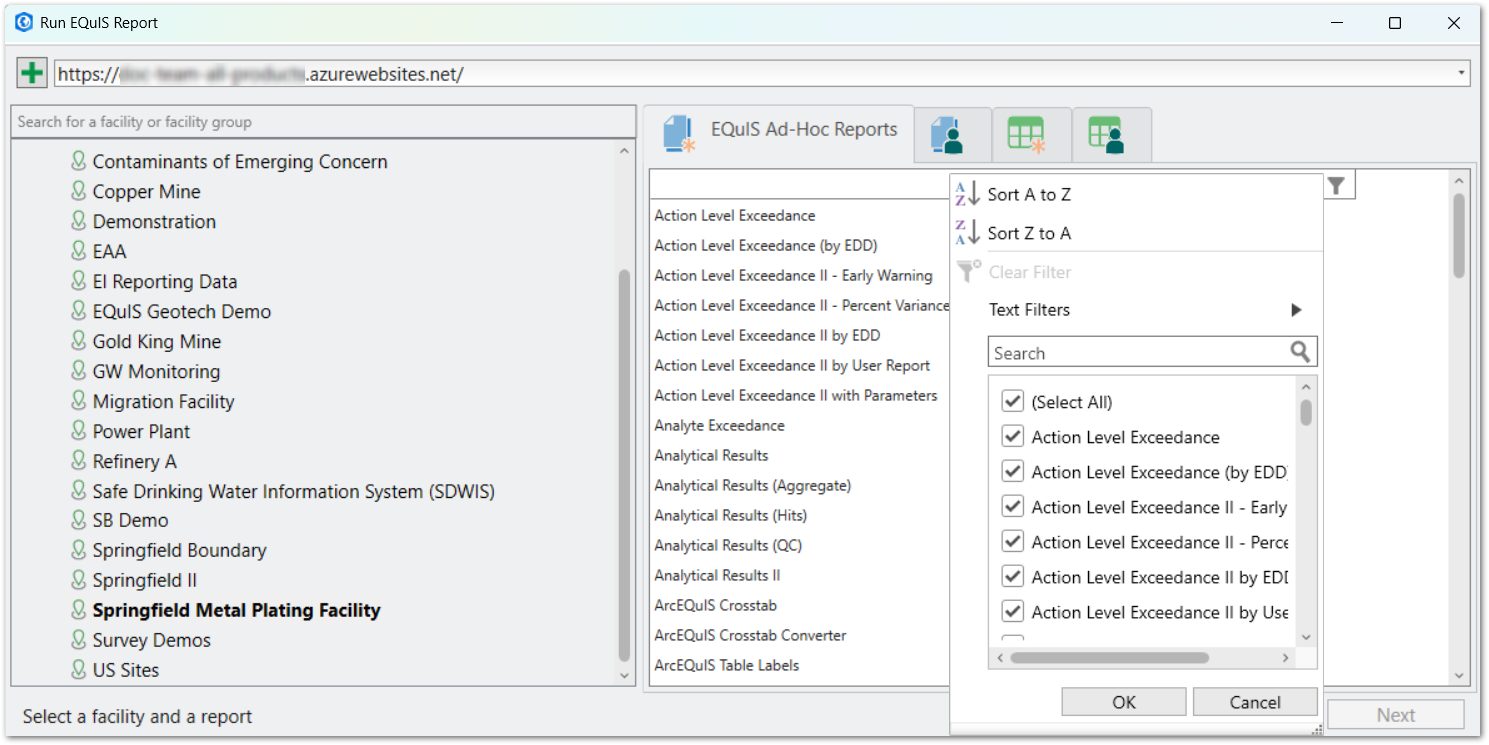
The Add EQuIS Geospatial Data, Reports and Table Label modals have advance sorting, filtering, and searching to more efficiently find data in large datasets. Clicking the filter ![]() icon in any of the modals opens a window with filter, sort, search, and selection functionality.
icon in any of the modals opens a window with filter, sort, search, and selection functionality.
Sorting – Lists are sortable in ascending or descending alphabetically order.
Filtering – Text filtering options include AND/OR comparisons based on specific values and the types of filters applied (e.g., Equals, Not Equals, Begins with, etc.). Selecting Clear Filter, will clear all filters.

Searching – Enter text in the search box and the list preview is filtered in response. Use selectable check boxes to display only the desired results. A checked item will appear when filter is applied. An unchecked item will not be shown when the filter is applied.
Share Data
Snapshot layers can be shared to ArcGIS Online as a Web Layer by either right clicking on the layer and selecting the Share As Web Layer option or by using the Share As Web Layer tool in the ArcGIS Share menu. When sharing a layer, the following error message is displayed:
00374: Unique numeric IDs are not assigned
This error can be resolved by right clicking the error message and selecting Auto-Assign IDs Sequentially. The error can also be resolved for the entire project by right clicking on the Map layer in the Contents pane, opening the Properties, and checking "Allow assignment of unique numeric IDs for sharing web layers".
Snapshot layers can also be exported as a table or feature, which can be done by right clicking on the layer and navigating to the Data menu.
Note: ArcGIS Pro does not allow layers added using the As Link option to be shared or exported. |
|---|
