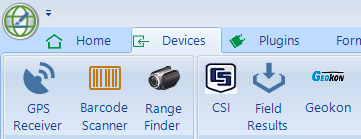
To access the EDGE Range Finder settings, navigate to the Devices section of the ribbon and click on Range Finder.

Tip: If the "Range Finder" button is missing from the ribbon, check the .\EDGE\Plugins\Devices\ folder for the required "Range Finder.dll" file. If this is missing, contact EarthSoft Support. |
Status
The status section displays the current connection status to Range Finder and allows you to establish a Bluetooth connection by clicking the 'Connect' button. Once connected, no settings can be edited.

Connection Settings
EDGE will attempt to automatically detect the current settings for the attached Range Finder. To edit, select the required drop-down and choose the appropriate value.

Note: To identify the correct connection settings for the Range Finder, open your computer's Windows Device Manager, expand the Bluetooth node, then right-click on the Range Finder device. Click Properties, select the Hardware tab, then click the Properties button at the bottom of the form. The Port Settings tab will display the required connection settings. |
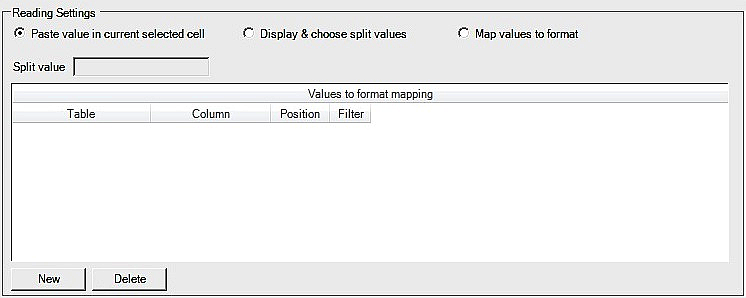
Reading Settings
The reading section defines how EDGE handles the data obtained from the Range Finder.

Paste Value in Currently Selected Cell
This option will paste all the data into the currently selected cell.
Display & Choose Split Values
This option will split the data based on the entered Split value text. The split data will then be displayed after scanning, allowing selection of the required value. This allows reading of specific data within range finder scans that contain multiple sections of data.
Map Values to Format
This option allows you to map many values within a reading to specific sections of the format. To set this up, press the New button to create a new record, and select the required table and column where you would like the data to be inserted. Enter the position within the split string that the value will read from the split reading. The filter check box allows defining that a read value will filter the data before anything is inserted.
Test Area
This section allows you to take a reading with the range finder and view what will be read based on current settings.