This article illustrates a way to display only a subset of the facility's locations on a Map Widget.
Note: This article is intended for advanced users with direct SQL access and a good understanding of the EQuIS Schema. |
|---|
Prepare the Data
The first step is to select two fields in the DT_LOCATION table that are not currently used in the database (i.e., the field is currently null). These fields may be custom fields or any other field that are available in the VW_LOCATION view. One of the fields will be used to control the symbology, the other field will be used for the label. The values need to be set for each of the fields, such that the data represents the subset of locations to display. This article uses the LOC_TYPE_2 field to control symbology and the BORE_ID field to control the label. The Springfield tutorial database used for this article will only display the locations where the SYS_LOC_CODE starts with 'B-3'. All other locations will be hidden.
Run the following UPDATE statements (assumes that the Springfield facility is FACILITY_ID = 1):
Update Locations that Will Be Shown
update DT_LOCATION set LOC_TYPE_2='SHOW' where FACILITY_ID=1 and SYS_LOC_CODE like 'B-3%'
update DT_LOCATION set BORE_ID=SYS_LOC_CODE where FACILITY_ID=1 and SYS_LOC_CODE like 'B-3%'
Update Locations that Will Be Hidden
update DT_LOCATION set LOC_TYPE_2='HIDE' where FACILITY_ID=1 and SYS_LOC_CODE not like 'B-3%'
update DT_LOCATION set BORE_ID='' where FACILITY_ID=1 and SYS_LOC_CODE not like 'B-3%'
Configure the Map Widget
1.Add the Map widget to the dashboard.
a.Open the Dashboard Editor by selecting the More Options ![]() icon in the upper right corner of the dashboard to display the drop-down menu and then select the Edit menu option.
icon in the upper right corner of the dashboard to display the drop-down menu and then select the Edit menu option.
b.Add the Map Widget and click Save.
c.Open the Map Widget Editor by selecting the More Options ![]() icon in the upper right corner of the Map Widget and select the Edit menu option.
icon in the upper right corner of the Map Widget and select the Edit menu option.
d.On the General tab, check Show Facility Layer.
e.Select the desired facility and set Facility Geography to Location Points.
2.Add Location Labels to the Map Widget.
a.On the Labels tab, check Show Location Labels.
b.Choose boreID as the Label Column.
c.Populate the desired font, size, and color for the labels.
3.Show Subset of Locations in the Map Widget.
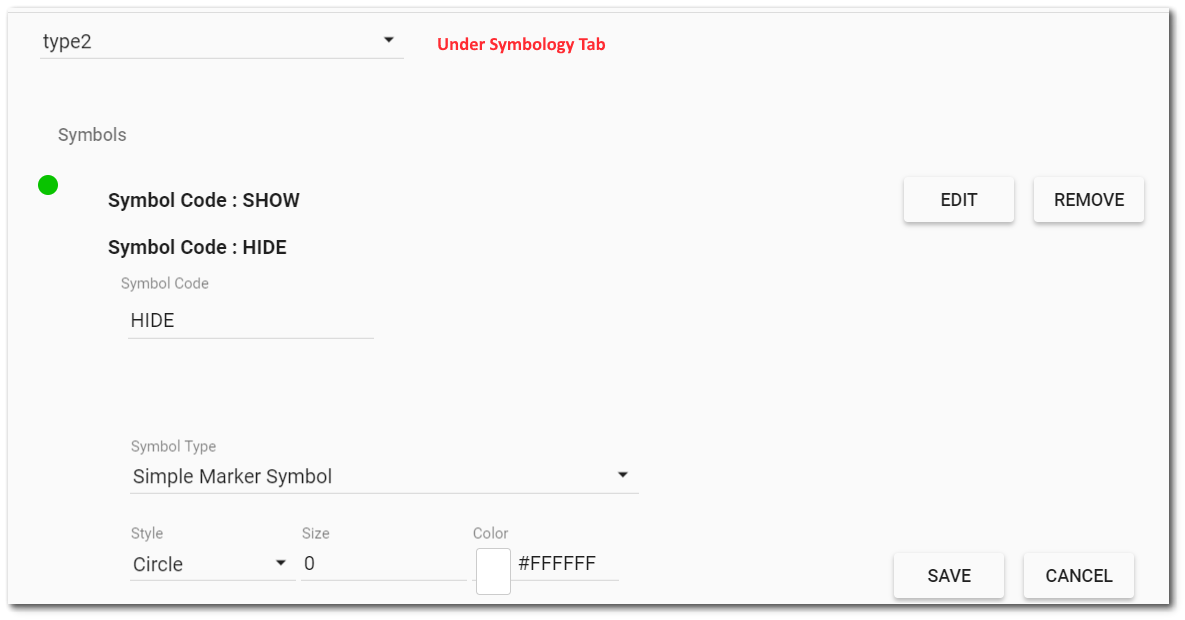
a.On the Symbology tab, select type2 from the Definition Column drop-down menu.
b.Add the desired Symbol Type with the Symbol Code "SHOW" and click ADD SYMBOL.
c.Next, add another symbol for type2 with Symbol Code "HIDE" — but do not select a Symbol Type — and click ADD SYMBOL.
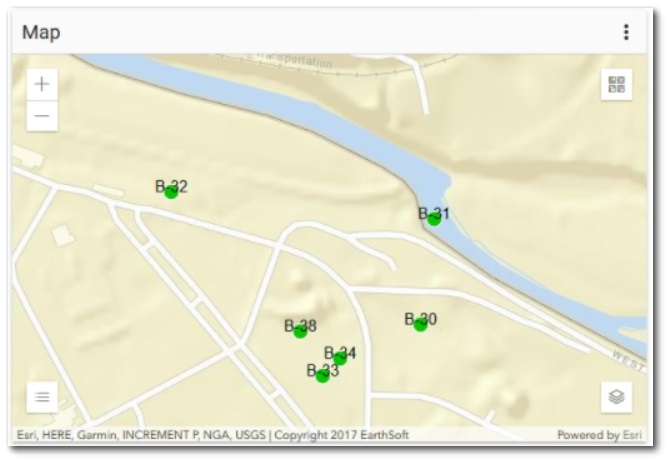
4. Click the Save button. The map will display only the 'B-3*' locations: