Date Filter
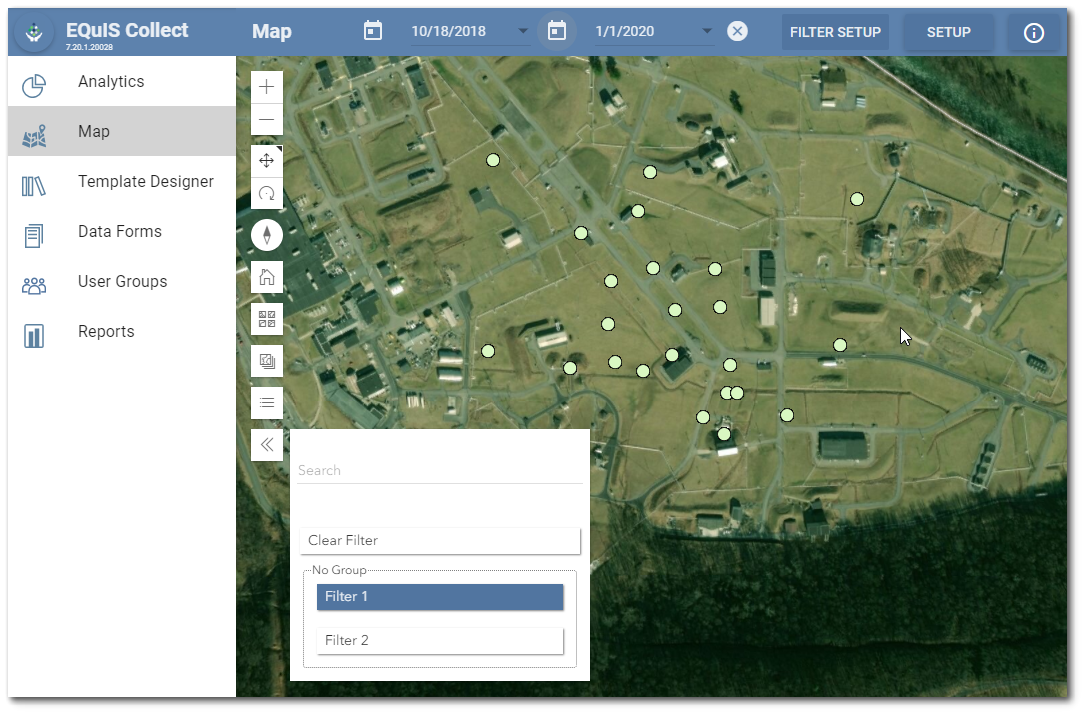
To facilitate quickly changing the date range for a map report layer, a date filter is available on the Map page frame. The date filter is restricted to the facility chosen for the dashboard. To change the report start and/or end dates, either manually enter the date in the date text box or click on the calendar tool to select the desired date.

Advanced Filtering
The advanced filter allows further refinement of the search parameters. Users can create and save map filters through the advanced filter. Clicking the Filter Setup button on the Map page frame opens the Filter Setup window, where users can configure filters, select multiple filters, and group filters.
A list of saved filters can be viewed using the Filter![]() control on the map. Clicking the icon will display a search box, a clear filter button, and a list of any saved filters. Users can select these filters as desired. The filter selection will be applied to the map layers.
control on the map. Clicking the icon will display a search box, a clear filter button, and a list of any saved filters. Users can select these filters as desired. The filter selection will be applied to the map layers.
The user can select filters in the list and observe the map changing for each filter selected. Each filter in a group is inclusive inside its group and each group is exclusive of other groups, as follows:
•If the user selects two filters within the same group that contradict each other (e.g., somefield = 1 and somefield = 2), the features matching both filters will be shown.
•If these filters are in different groups, the features must match both filters to show.
The Clear Filter button will remove all filters and display everything.
Filter Setup
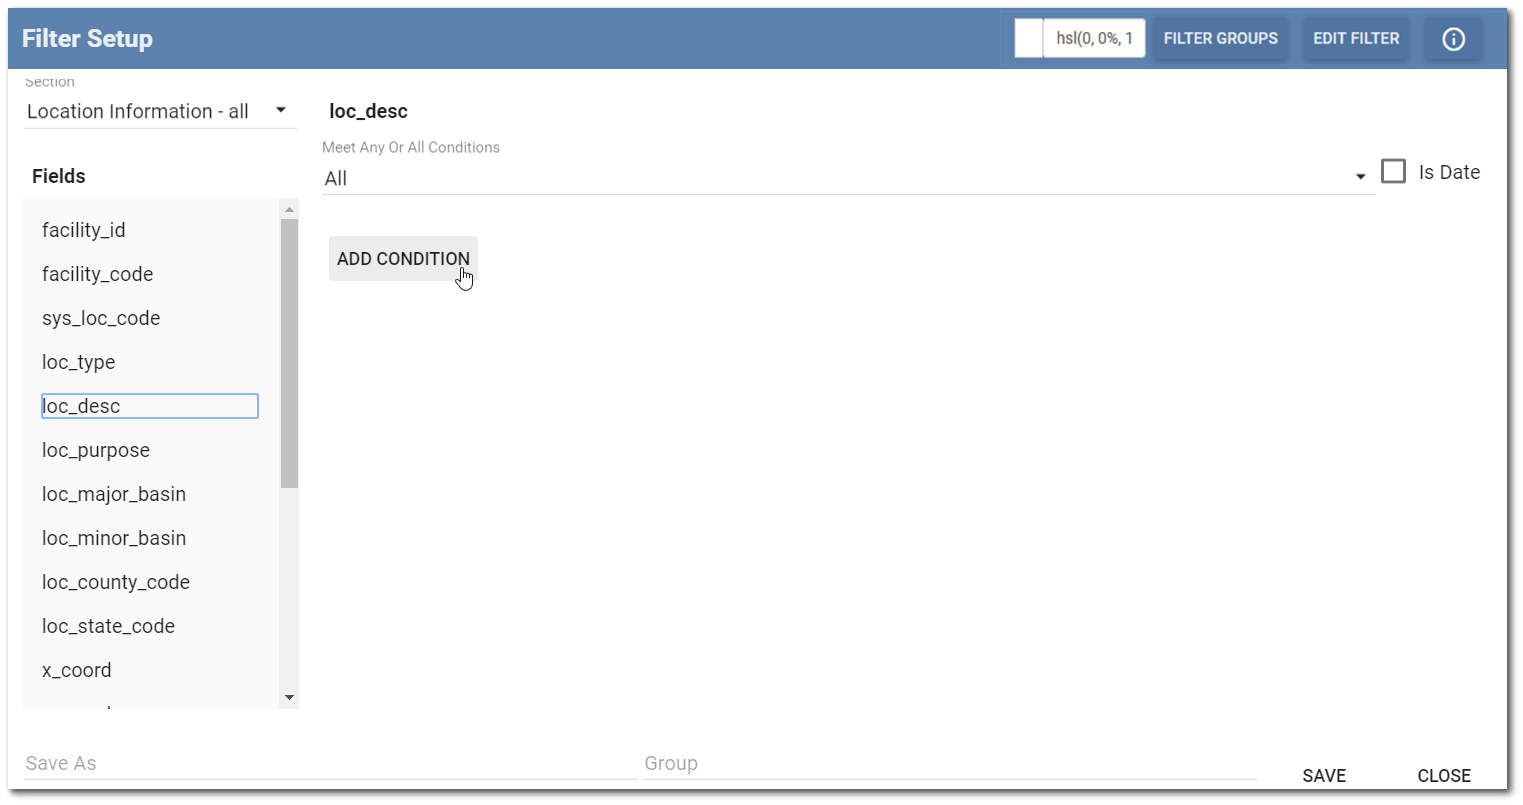
Click the Filter Setup button on the Map page frame to open the Filter Setup window.

Select a layer to filter from the Section drop-down menu in the top left corner of the Filter Setup window. Select one of the Fields and then select Add Condition.
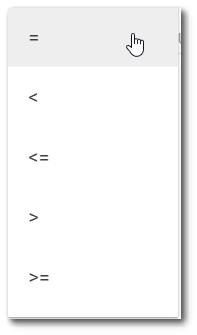
Set the operator and value of the condition. Select the Operator from the drop-down menu. Options include:
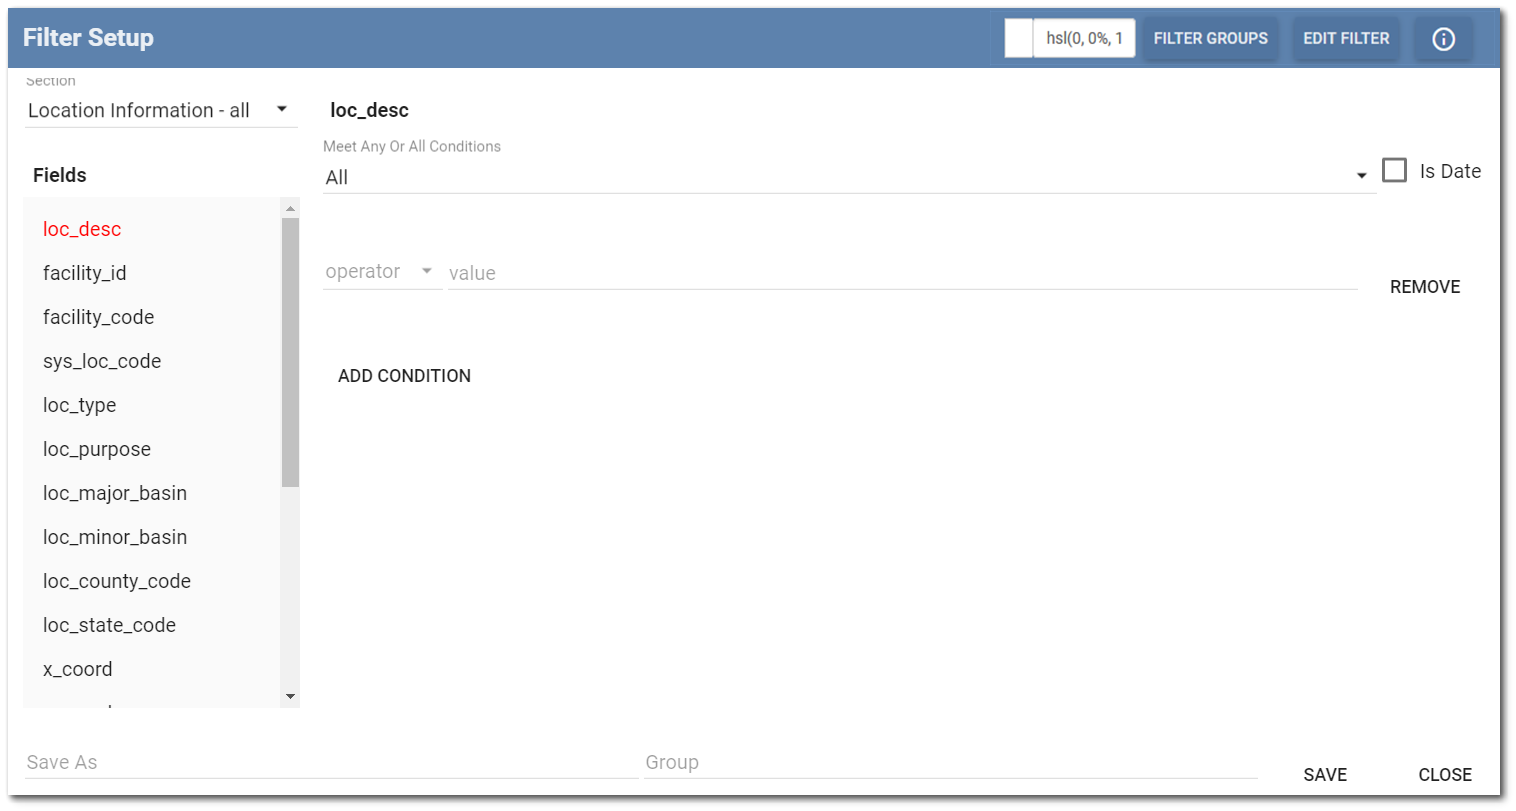
Repeat the steps to add conditions to other layers and/or fields as desired. Give the filter a name in the Save As box. Add the filter to a Group by selecting a group or entering a new one. Click Save. The Filter Setup window will close and the map will be displayed.
Repeat these steps to add more filters.
Editing a Filter
Click the Filter Setup button on the Map page frame to open the Filter Setup window. Click the Edit Filter button in the top right corner of the Filter Setup window. The Edit Filter dialog box will appear showing a list of filters. Select one to edit.
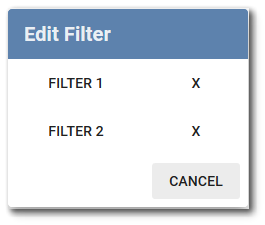
The Edit Filter dialog box will close, and the user can load the conditions and name the filter being edited in the Filter Setup window. Make any changes and Save. Note the name of a filter cannot be changed while editing it.
Clicking the X next to the filter name will delete a filter. Prior to deleting, a message dialog asks “Are you sure you want to delete this filter”. Click Yes to remove the filter.
Editing a Filter Group
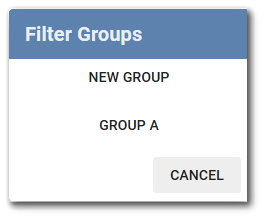
Click the Filter Setup button on the Map page frame to open the Filter Setup window. Click the Filter Groups button in the top right corner of the Filter Setup window. The Filter Groups dialog box will appear showing a list of filter groups. Choose a group.
The Edit Filter Group dialogue box will display the group name and a list of all filters in the group. By default, all the filters in this group will be selected.
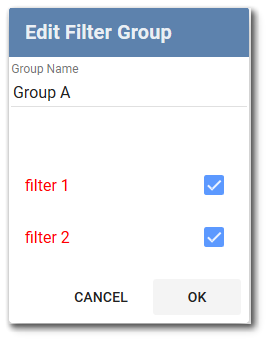
The user can check/uncheck filters to add/remove them. The user can change the name of the filter. Click the OK button to save changes. All changes will be reflected in the Filter control on the map.