1.In EQuIS Professional, click the Forms button (in Open group on Home EQuIS Ribbon).
2.Select and open the Active Reports Form.
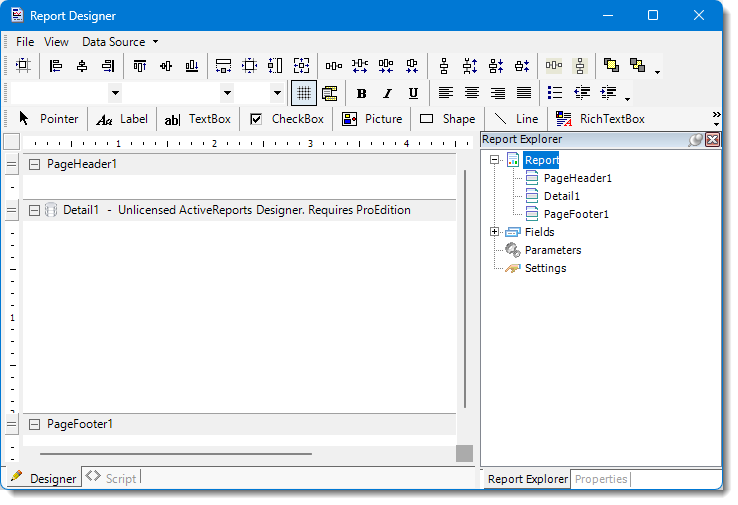
3.In the Detail pane, click the cylinder-shaped database button to the left of the word "Detail". This will open the Report Data Source window.
4.Add start date and end date parameters in the Query text box as shown below.
SELECT * FROM dt_water_level WHERE facility_id = <%@facility_id|Facility ID:|1|S%> and sys_loc_code = '<%@sys_loc_code|Location:^select sys_loc_code from dt_location where facility_id = @facility_id||S%>' and measurement_date between '<%@start_date|Date Range\Start:|1/1/2000|D%>' and '<%@end_date|Date Range\End:|12/31/2000|D%>' |
5.Click OK.
6.In the Report Designer main menu, click File and select Preview. Select a location and date range when prompted.
7.After selecting the location and date range, click Go in the Preview menu. The report will show only water levels for that location within the selected date range.
Tip: When selecting date ranges, either enter the dates manually or select from the calendar by clicking the arrow beside the date text box. |
8.When finished, close the Preview window.