When the EDD is ready to be exported to EDP, follow these steps to complete that process:
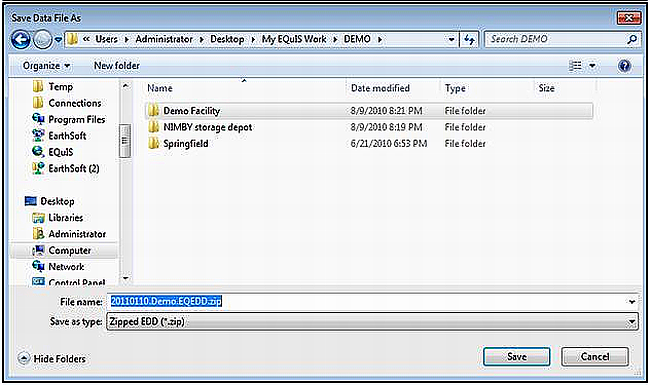
1.Click Save EDD from the EDGE Home tab and save the file in the appropriate location.
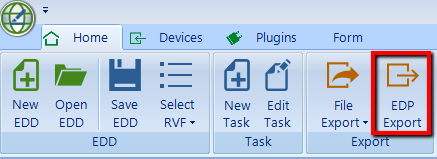
2.Click EDP Export from the EDGE Home tab.
3.In the Prepare EDD for Sign and Submit window that opens, there are a number of ways to filter the data that should be exported:
•Export all tasks.
•Select tasks manually.
•Select by task(s) date range(s).
•Filter by COC, as described in Filter by COC.
•Filter by Location, as described in Filter by Location.
4.Typically the Mark only the most recent field result as reportable option should be selected. This only affects the Field Results data. If multiple readings are entered for each sample in the Field Results section (e.g., when measuring for stabilization as a well is purged), this will set the “Reportable” field in the EQuIS table to “No” for all of the readings, except for the last reading which will be set to “Yes.”
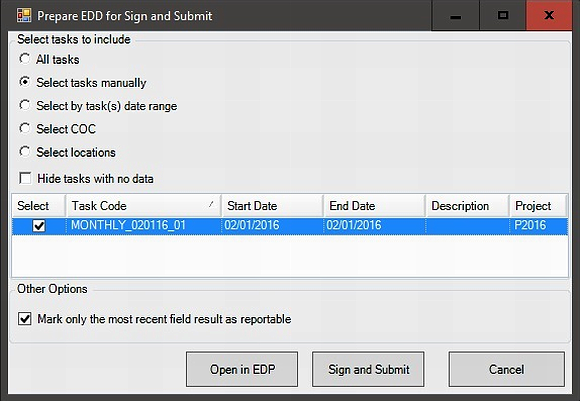
5.Click Sign and Submit; or, to open the data to be exported in EDP, select the Open in EDP button in EDP Integration with EDGE.
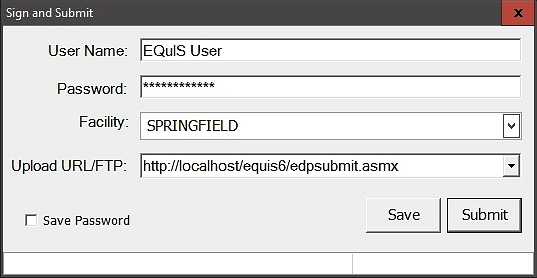
6.In the Sign and Submit window that opens, enter the appropriate user name, password, facility name, and URL or FTP site.
•The username and password are what you would use to log in to the appropriate EQuIS Enterprise site.
•An EDD exported from SPM or Professional will pull the facility information from the EDD.
•This information will be visible in the “facility_readonly” tab. If using EDGE without an EDD created in SPM or Professional, data present in the RVF file will populate the facility drop-down with the facility name.
•To submit directly to EQuIS Enterprise, the Upload URL/FTP box should be filled with the Enterprise site URL with "/edpsubmit.asmx" appended to the end.
Note: To add your URL or FTP address to the drop-down in the Sign and Submit window, enter the value in the ss_submit_url enumeration in Configuration Plugin Tool. |
7.To sign (attach user certificate) and submit the EDD to the EQuIS database or FTP site, click Submit.
Notes: •If you implement a customized Sign and Submit form, place the custom Sign and Submit *.dll in \EDGE\Formats\EDGE\Plugins\SignSubmit\. That custom form will appear here when implemented correctly. •If you receive the error "The request failed with HTTP status 405: Method Not Allowed, please ensure that the Upload URL ends with /edpsubmit.asmx, which is required. An error may also indicate there is a problem with the web service configuration. In that case, create an instance of the edpSubmit proxy class: Dim edpSubmit As New EarthSoft.enterprise.earthsoft.com.edpSubmit("http://yourserver.com/equis/edpSubmit.asmx." To submit data through the Sign and Submit, add '/edpsubmit.asmx' to the end of your connection string. •When using Enterprise EDP, the EDD will be encrypted using HTTPS if Enterprise is configured to use HTTPS, which is highly recommended. (All EOL sites use HTTPS with TLS 1.2). |
8.To save the EDD with the user certification for later submission, click Save (rather than Submit) and save the file in the desired folder. The export will be named with the appropriate naming convention required for email submission to EQuIS Enterprise.
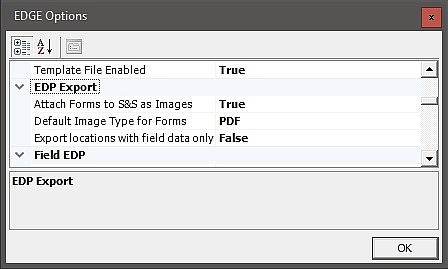
Form Images
Images of populated forms (e.g., FieldSampleForm) can be added to the EDP export. They can be saved as *.jpg or *.pdf files, depending on the selection made in the "EDP Export" EDGE options.